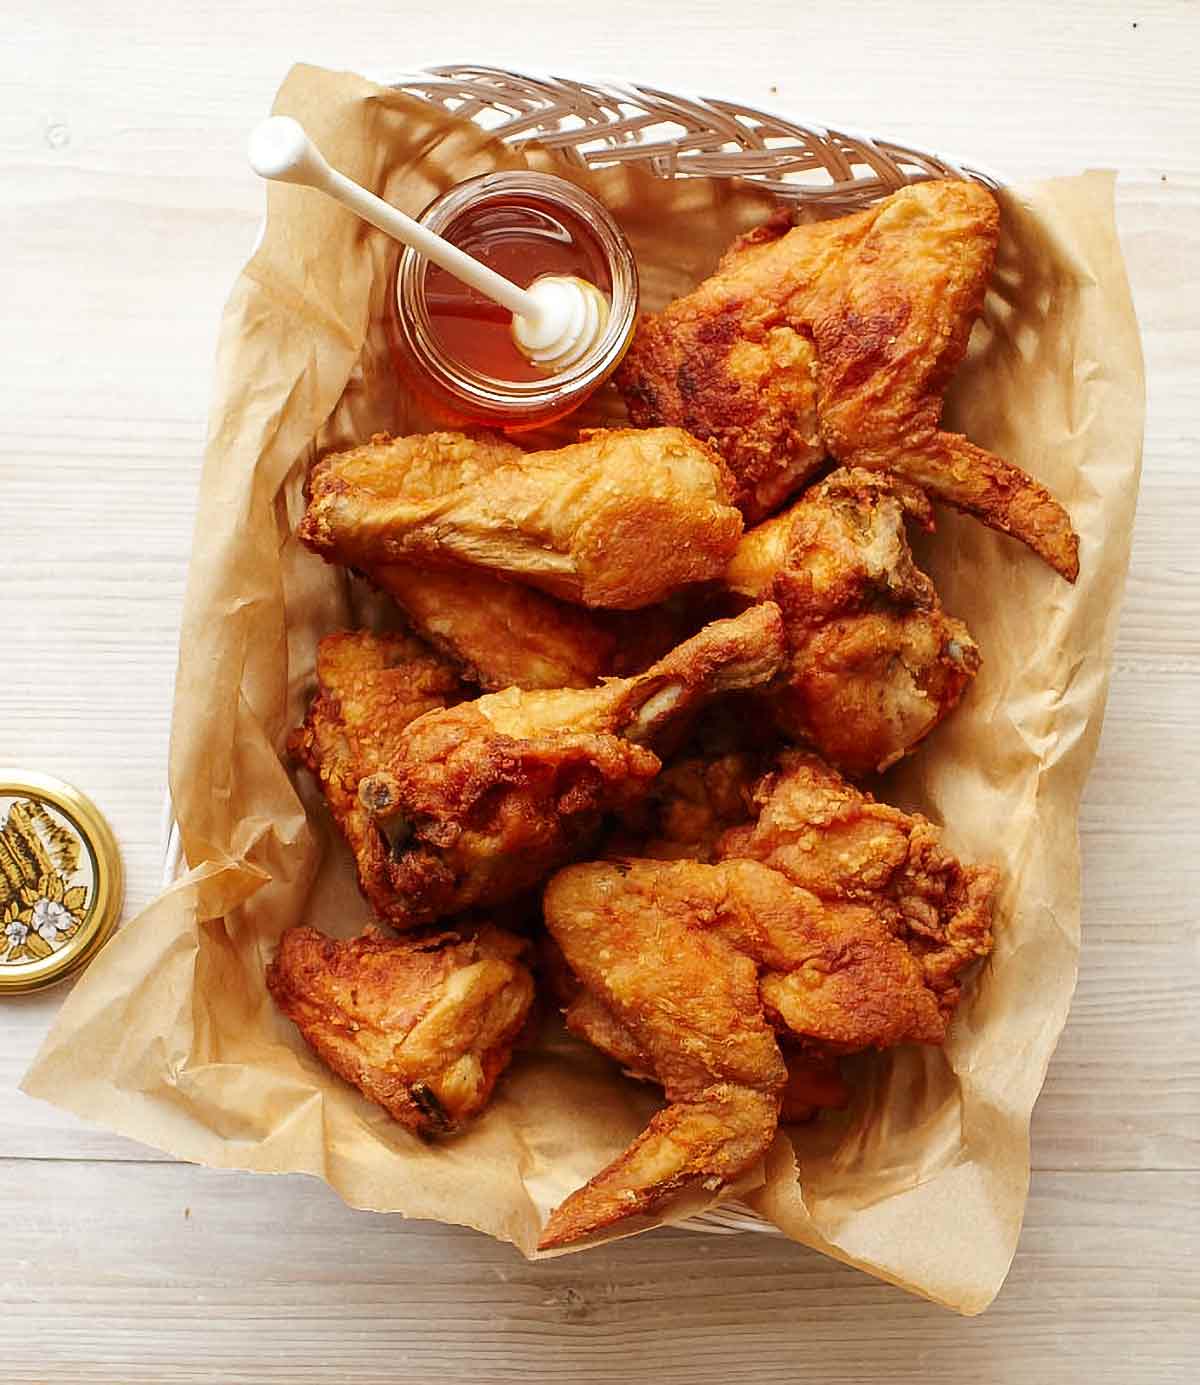
I’m a big fryer of chicken, and I’ve done it all kinds of ways. I’ve soaked the chicken in buttermilk, I’ve flavored it with garlic powder and cayenne pepper, I’ve pan-fried it, I’ve oven-fried it. You name it, I’ve done it.
In this recipe, a quick dip in the water is the most unexpected and unusual step, but it’s one of those mysterious recipe things you just trust once you do it.–Adam Roberts

Why Our Testers Loved This
Our testers all loved the simple, straightforward cooking method used here, and were delighted to find a recipe that uses only a handful of pantry staples, yet produces the “best fried chicken.”
Notes on Ingredients
- Whole chickens–If you don’t want to cut up the chickens yourself, you can ask your butcher to do this, or buy chicken pieces of equivalent weight.
- Kosher salt and freshly ground black pepper–Season generously as some of the seasoning will get washed away by the water.
- Oil, for frying–Use a neutral oil with a high smoke point, such as peanut, vegetable, or sunflower oil.
Step-by-Step Instructions
- Pat the chicken pieces dry and season well with salt and pepper. Transfer to the fridge and chill for 2 hours. Let sit at room temperature for 30 to 60 minutes before frying.
- Prepare separate bowls of flour and water. Fill a pot or Dutch oven 1/3 full of oil and heat to 370°F.
- Dip each piece of chicken in the water, then thoroughly coat in flour. Working with a few pieces at a time, lower the chicken into the oil and cook until the skin is golden and crispy and the internal temperature reaches 165°F.
- Drain chicken on paper towel or paper bags. Serve warm or at room temperature.
Recipe FAQs
We’re sure that you’re familiar with dipping chicken in other things—milk, buttermilk, eggs, hot sauce—before breading but you’ve likely never used water. And if you’ve ever managed to spill any water into simmering oil, you know why.
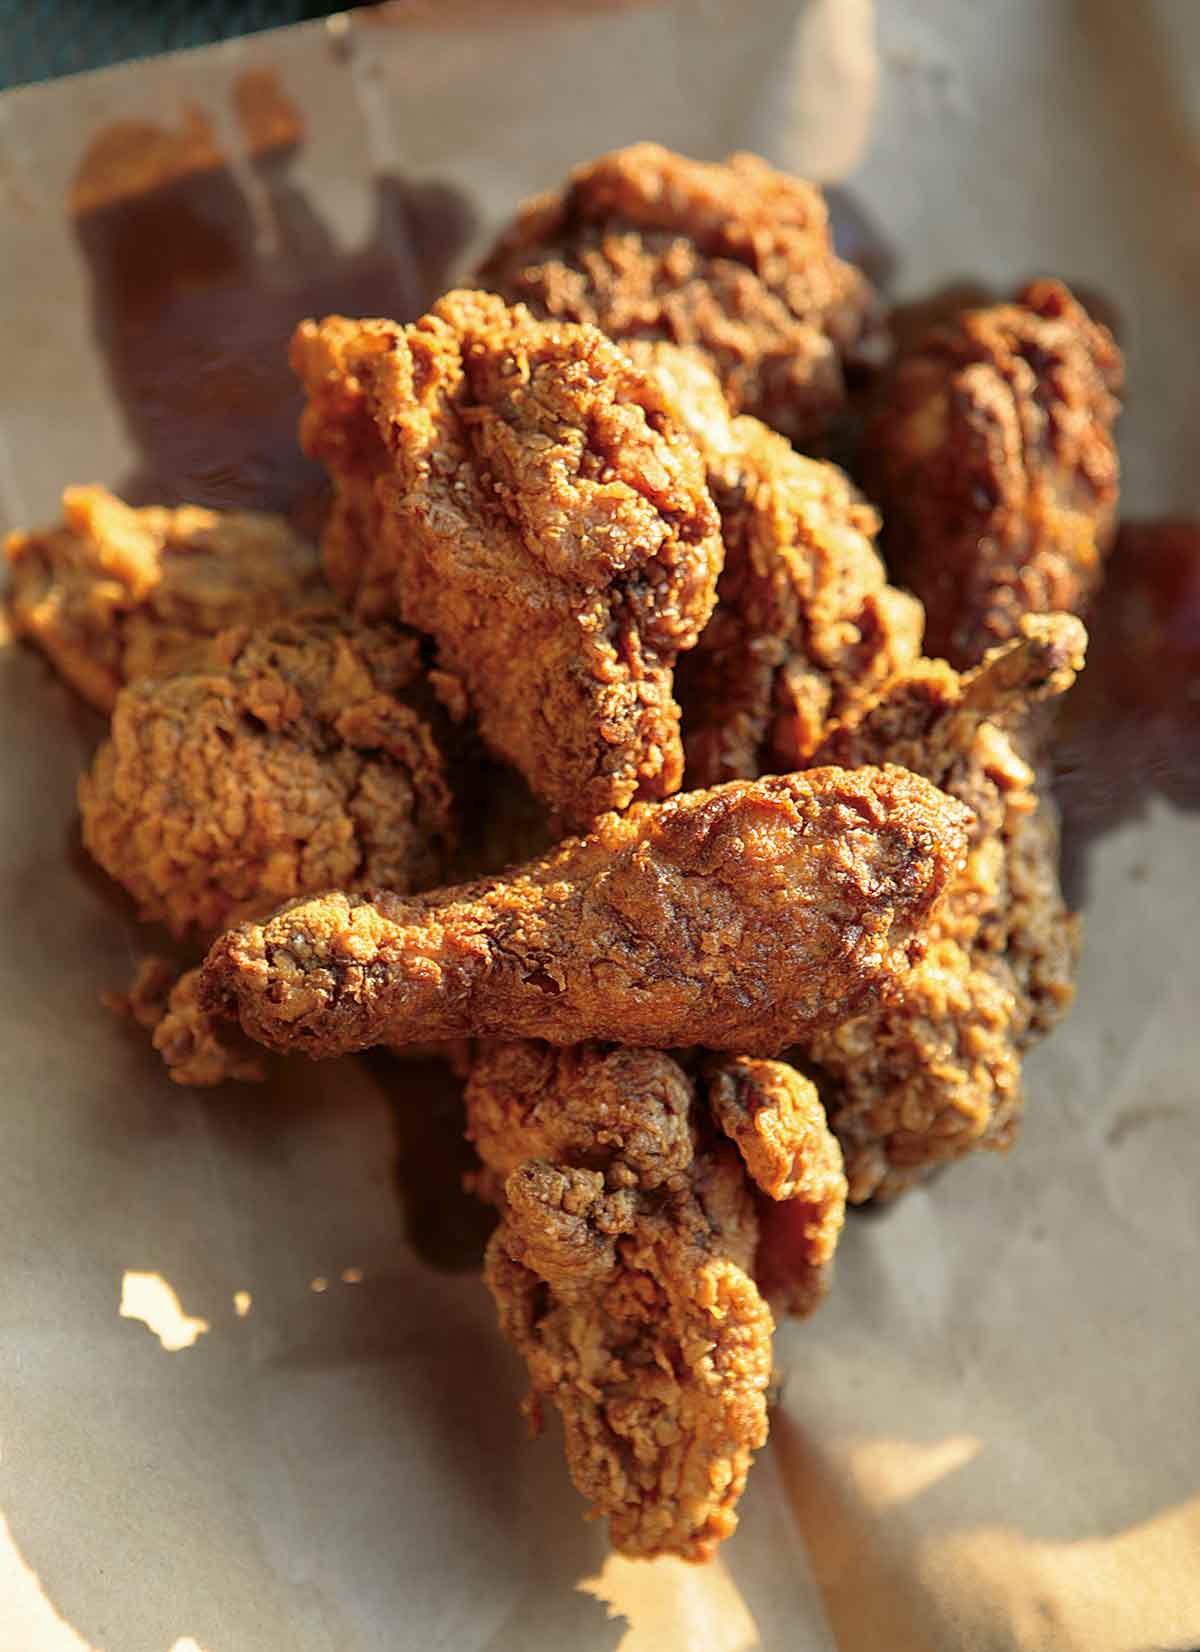
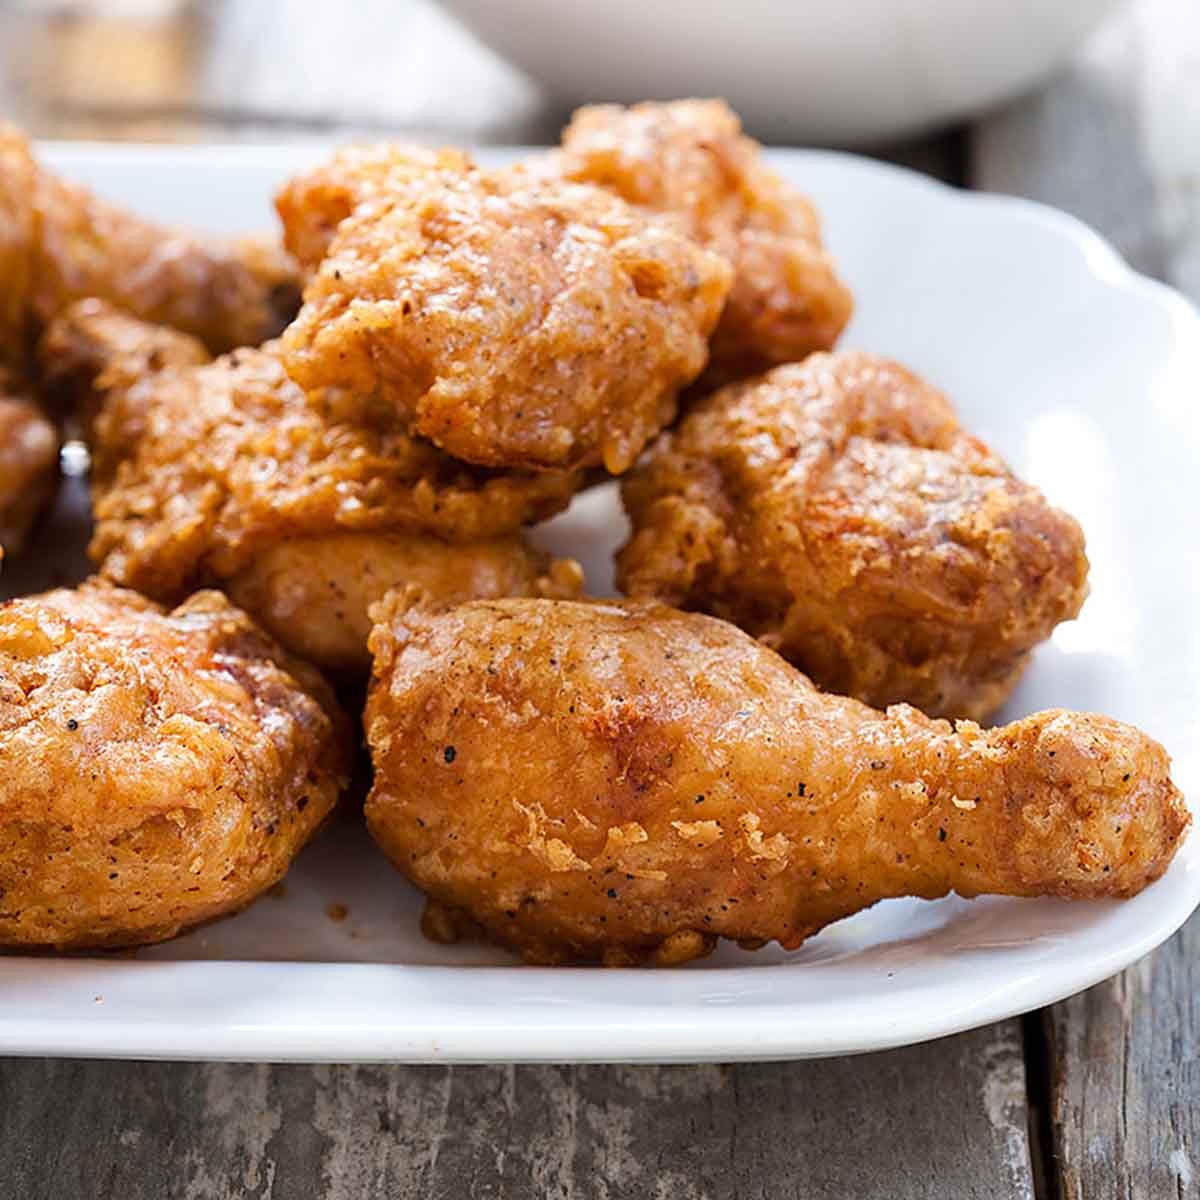
But in this technique, using water gives you an incredibly crispy, light crust. The water vaporizes, leaving just that delicate coating, whereas other liquids leave behind sugars or proteins that make the batter brown too quickly. Genius, right? Just be certain that you’ve dredged your chicken pieces really well—get into all those nooks.
To achieve shatteringly crispy chicken skin, you need to keep your oil very hot; ideally around 370°F. If the temperature drops too much you can end up with greasy, soft chicken skin.
The best way to keep the temperature in the optimum range is to avoid crowding your pan. Fry 3 to 5 pieces at a time, depending on the size of your pot.
Use a neutral oil with a high smoke point. Canola, vegetable, sunflower, or peanut oil are all good choices. Avoid lower smoke point oils, such as olive oil.
The chicken takes 15 to 20 minutes to fry, assuming that your oil is maintained around 370°F. If your oil temperature drops, it can take longer for the chicken to cook. Breasts will take longer to cook than thighs or drumsticks, and if you have very small pieces of chicken they may be ready in as little as 12 minutes.
Pro Tips
- Make sure your chicken is very well coated in flour so that no water is exposed to the hot oil. Really dredge the chicken in the flour when coating.
- Don’t crowd the pot when frying the chicken or the oil temperature may drop. Fry 3 to 5 pieces at a time, depending on the size of your pot.
- Store leftover chicken in the refrigerator for up to 3 days. Cold or room temperature fried chicken is pretty tasty, but it can also be reheated in a 250°F oven until warmed through.
- This simple fried chicken recipe is suitable for a dairy-free diet.
Write a Review
If you make this recipe, or any dish on LC, consider leaving a review, a star rating, and your best photo in the comments below. I love hearing from you.–David
Simple Fried Chicken
Equipment
- Deep-fry or candy or instant-read thermometer
Ingredients
- One to two whole (4-pound) chickens, cut into drumsticks, breasts, thighs, and wings
- Kosher salt and freshly ground black pepper, to taste
- 1 to 2 cups all-purpose flour
- 6 to 8 cups vegetable oil, for frying
Instructions
- Three hours before you want to fry, clean the chicken. Get rid of any feather remnants (you’d be surprised, they’re there) and organs (including the heart and liver). Pat the chicken very dry with paper towels and then season it all over with salt and pepper. Cover and refrigerate for 2 hours. Remove from the refrigerator and let it rest at room temperature for 30 to 60 minutes.
- Arrange 2 bowls, 1 with room-temperature water, the other with the flour, next to the stove. In a large stockpot or Dutch oven, pour in the oil until it reaches 1/3 of the way up, ideally, and definitely no more than halfway, as you don't want the hot oil to bubble over. Heat the oil until it reaches 370°F (188°C).
- Now, working piece by piece, dip the chicken in the water and then in the flour. (The water helps the flour stick.) Make sure the chicken is thoroughly coated in flour; you don’t want water to come in contact with the oil.
- Carefully lower the floured chicken into the oil, working in small batches so as not to crowd the pieces, and cook for 15 to 20 minutes, turning the chicken every so often. The chicken is done when you cut into a piece and the meat is white throughout with no trace of pink. (The breasts will cook faster than the legs or thighs.) Use the thermometer to maintain the oil temperature between 365°F (185°C) and 370°F (188°C).
- Use tongs or a slotted spoon to lift the chicken to a plate lined with paper towels or to a brown paper bag. Serve very hot or, if desired, let cool and serve tepid or at room temperature.
Notes
- Storage–Store leftover chicken in the refrigerator for up to 3 days.
- Reheating–Cold or room temperature fried chicken is pretty tasty, but this can be reheated in a 250°F oven until warmed through.
- Dietary–This simple fried chicken recipe is suitable for a dairy-free diet.

Nutrition
Nutrition information is automatically calculated, so should only be used as an approximation.
Recipe Testers’ Reviews
Have you, like me, been searching for the secret to the BEST Fried Chicken? Simply put, this recipe with the most common ingredients is IT.
I love this simple fried chicken recipe. Let me tell you why. It’s the simple, straightforward way of cooking, and that makes for the best recipes. The resulting chicken was crispy and mostly (see below) juicy.
You may be thinking, “Hey, if I dunk the seasoned chicken into water, won’t all my seasonings wash away?” The answer is that some of the salt and pepper do release into the water. However, I assure you, the finished chicken didn’t need additional seasoning. I tested this by salting a few pieces fresh from the oil, and those pieces were too salty. As long as you generously season the chicken, to begin with, you’re good without any post-cooking seasoning.
Even in my 4 1/4 -quart Dutch oven I could only cook 4 pieces of chicken at a time. I used a fryer thermometer and was pretty good at keeping the temp at 370°F degrees. With that, I’d have to recommend lessening the cooking time to around 12 minutes instead of 15.
My first batch, while crunchy, was also slightly dry inside from overcooking. For my second batch, I reduced the cooking time to 12 minutes. This worked better, as that batch was crispy while also juicy and moist.
I’m not a fan of cutting meat open to test it for doneness so I’d recommend using a meat thermometer instead. Remember the chicken will continue to cook after you pull it out of the oil.
I rested the chicken for about 10 minutes. Believe me, it was still steaming hot on the first bite. I’d say this recipe is a keeper!
I was intrigued by the water dunk for the chicken before flouring and frying. I followed the steps as outlined. The water really helped the flour stick and therefore gave it a nice crust.
I used this simple fried chicken recipe to fry some wings, which took a long time to brown. I’ll admit that I decided to fry them in a new, deeper pan, not my old, faithful, well-loved frying pan. That could be the issue with the frying time. I actually took them out when they were a light brown, then decided to put them back in the oil and brown them some more, which worked.
The advanced seasoning (for several hours) is something I generally don’t do, but will definitely do again in the future as I think it does “marinate” the meat well. I’ll try this recipe again using my old faithful frying pan.


Hello, I’d like to know if this chicken recipe can be made in an air fryer? Thank you.
Rosalind, we didn’t test it that way so I can’t speak with confidence. I see that fried chicken can be made in an air fryer, so if you make it, please let us know how it turns out.
Seriously? Season with salt and pepper? What sort of white people ridiculousness is this? We season chicken with garlic powder, paprika, seasoning salt, thyme, onion powder and pepper. Try adding flavor to your food.
I Broadus, setting aside what some would consider an offensive white-folk trope that we’re all vanilla bland, check out all our fried chicken recipes that go from black chef Edna Lewis’s mild to Northern spicy fried chicken to downright bitchin’ hot!