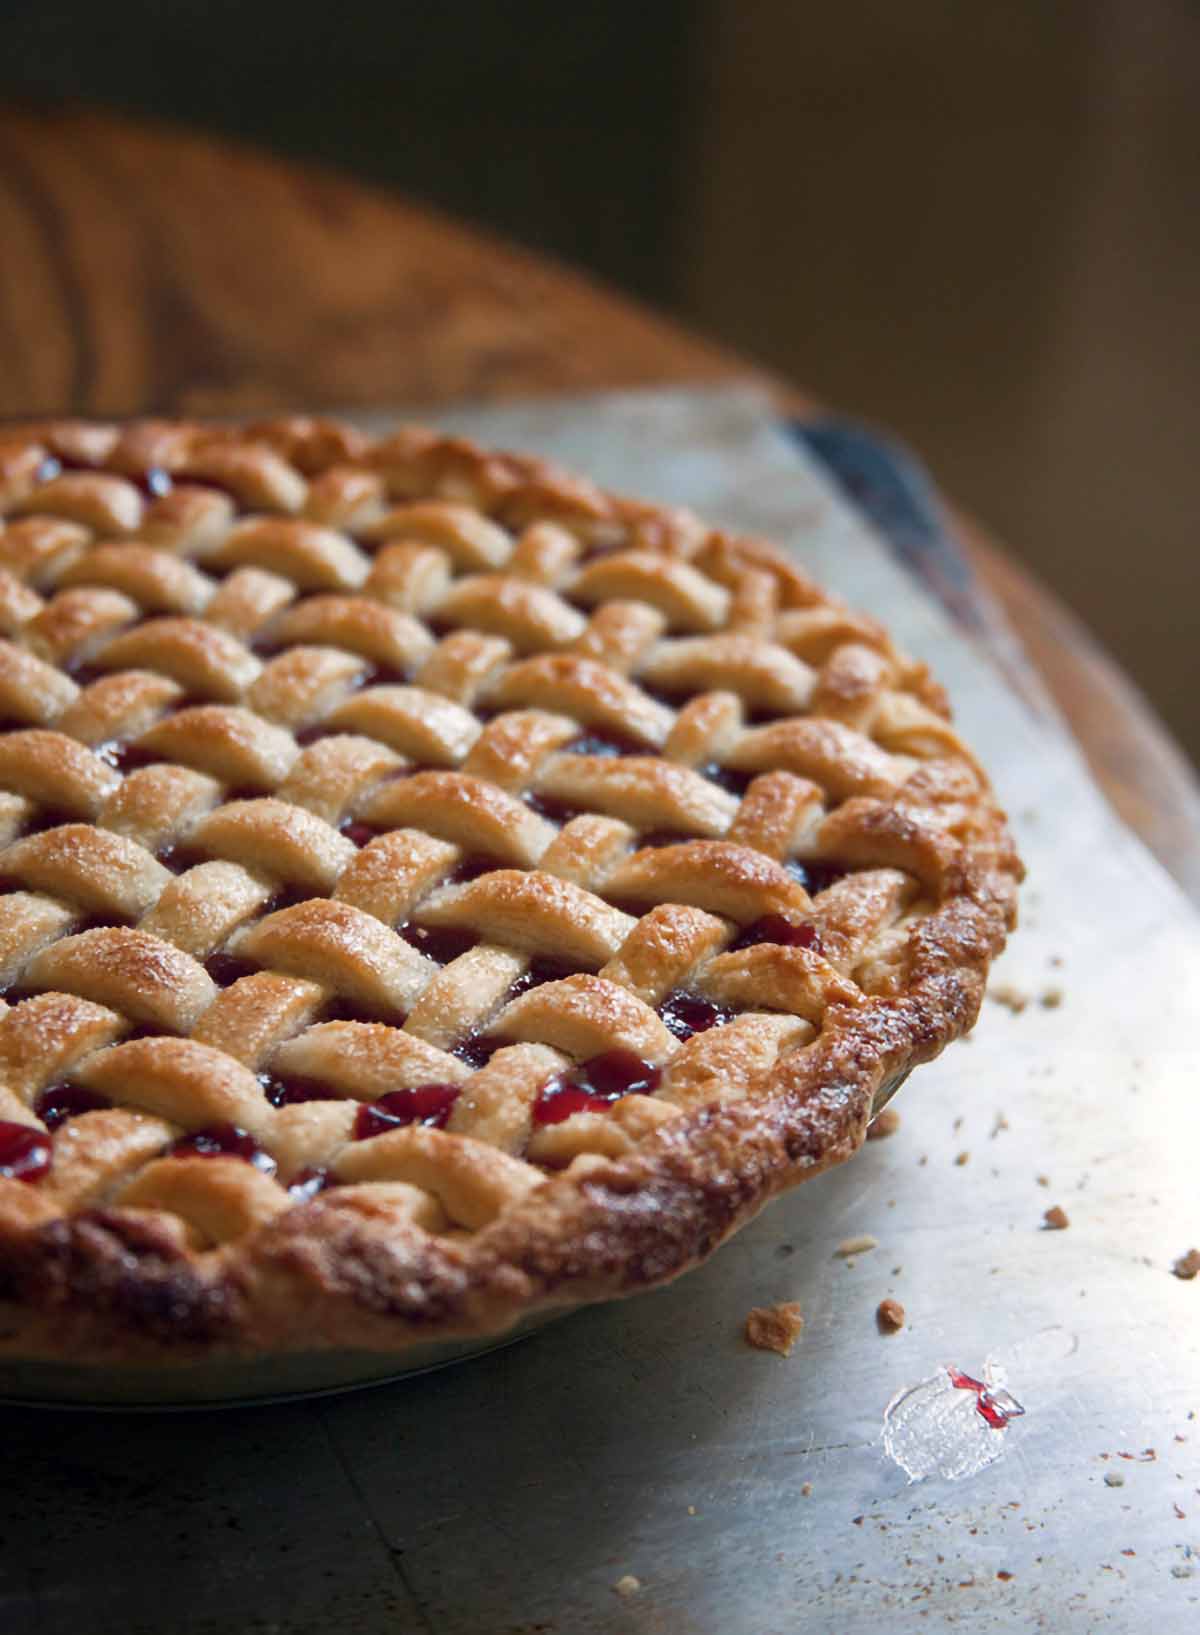
Spoiler Alert: This sweet cherry pie recipe tends to elicit a lot of resoundingly laudatory comments. As in, A LOT. But our favorite has to be, “This pie tastes simple. Like cherries.” Because that’s exactly what we seek in a cherry pie. Save your almond extract for another recipe. You won’t need it here. This tastes like just cherries. Nothing else.–Beth M. Howard
Sweet Cherry Pie FAQs
If you can find Bing cherries, they will give you the most flavorful filling. Other varieties, such as Rainier will work just fine, but the flavor will be a bit milder.
Pitting cherries can be time consuming and messy. There are tools designed specifically for this, but if you don’t have a cherry pitter on hand, poking a chopstick, pastry tip, or straw through the cherry will easily pop the pit out.
☞ Like cherry recipes? Consider our massive popular fresh cherry tart with cream cheese filling and the marvelous homemade cherry liqueur.
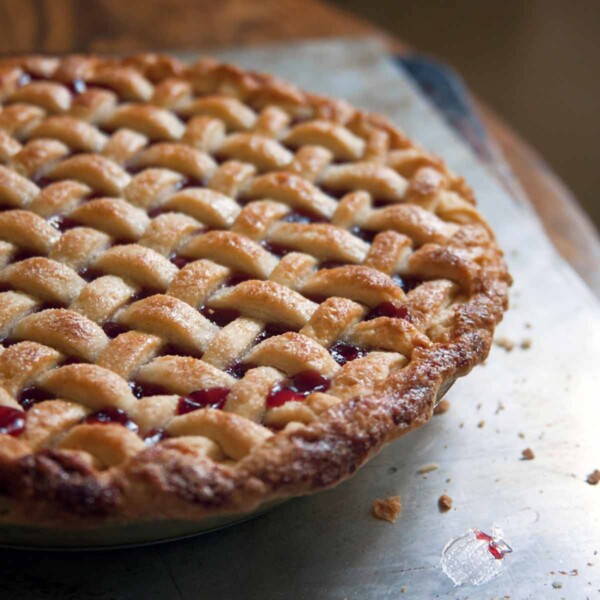
Sweet Cherry Pie
Ingredients
For the crust
For the cherry pie filling
- 5 to 6 cups pitted cherries, (any variety, fresh or thawed frozen)
- 1/2 to 1 cup granulated sugar
- 3 tablespoons instant tapioca or 4 tablespoons cornstarch
- Pinch salt
- 1 tablespoon (1/2 oz) unsalted butter, cut into small pieces
- 1 large egg, lightly beaten
Instructions
Make the crust
- Prepare the pie dough and carefully fit it into a 9-inch pie plate.
Make the cherry pie filling
- In a large bowl, toss together the cherries, sugar, tapioca or cornstarch, and salt. (If your cherries are quite sweet, use 1/2 cup sugar; if your cherries are quite tart, use 1 cup sugar; if your cherries are just right, use 3/4 cup sugar, and if in doubt, use 3/4 cup sugar.)
- If using fresh cherries, let the pie filling sit for about 20 minutes. If using thawed frozen cherries, let the cherry pie filling sit for about 60 minutes.
- If your cherries released a lot of juices, dump the pie filling into a saucepan and gently simmer, stirring almost constantly, until the juices have thickened considerably, about 7 minutes.
Assemble the cherry pie
- Dump the cherry filling into the crust-lined pie plate. Sprinkle the butter evenly over the filling.
- Carefully drape the top crust over the top or make a lattice pie crust* (see Leite's Culinaria Note). Trim and crimp the pastry edges.
- Lightly brush the entire surface of the crust with beaten egg. If not using a lattice crust, poke several vent holes in the top crust. Place the pie on a rimmed baking sheet lined with foil or parchment paper.
- Bake the cherry pie at 425°F (220°C) for 15 minutes. Turn the oven down to 375°F (190°C) and bake until bubbling, at least another 30 minutes (and perhaps a little longer if you’re using frozen cherries). If the crust appears to be turning dark before the filling is done, loosely cover the pie with foil.
- Let the pie cool slightly before slicing and serving.

Nutrition
Nutrition information is automatically calculated, so should only be used as an approximation.
Recipe Testers’ Reviews
This is a lovely, simple sweet cherry pie recipe. I love that it has no frills or fancy ingredients. The filling is just cherries and sugar—not even a vanilla seed in sight, let alone stuff like almond extract, lemon juice, or zest.
We took this to a barbecue at a neighbor’s house and everyone loved it, as did I. A mildly sweet pie crust worked perfectly with the full-flavored cherry filling.
I used frozen black cherries and followed the instructions to let them sit longer and to bake the pie longer. The frozen cherries weren’t tart, so I used 3/4 cup sugar and the end result was perfect. (I got several compliments regarding how not cloyingly sweet the pie tasted.) The frozen cherries worked great in the filling and retained a firm texture that popped and contrasted with the flaky, buttery crust.
I used a 9-inch regular (not deep dish) pie plate. It worked well, even though I got a bit of boil over from the filling. Somehow that made the pie even more attractive, if messy. It’s really important to put the pie on a rimmed baking sheet so that it catches any juices. I can almost guarantee that you would make a mess in the oven if you don’t.
I’ve always suffered from a soggy bottom and a loose middle. My pies, that is, not my figure. (Well, on second thought, maybe both.) Until now. This simple pie has changed my cherry pie baking.
I used two 16-ounce bags of frozen cherries. I brought them to room temperature so that I could gauge their sweetness. They were quite lovely as they were, so I only added 1/2 cup sugar along with the cornstarch and salt.
I baked the pie longer than the time specified as I wanted to make sure that the filling was bubbly and the cornstarch was working its thickening magic. Due to the increased time in the oven, the edges of my pie were getting a tad brown, so I took a square of aluminum foil, cut a circle out of the center, and wrapped the frame of foil around the edges of the pie to serve as a pie shield.
Voilà! Cool, cut, and feel victorious. Then head for the gym.
The summer’s stone fruit bounty is a favorite in our household, and the next best thing to eating them out of hand is eating them in homemade cherry pie. This amazingly simple and delicious recipe allows you to indulge, even on short notice.
My cherries were very tart so I used 1 cup of sugar. Since the fruit was very juicy, I opted to cook the filling to thicken it as I didn’t want a mess in the oven. This took about 7 minutes until it was thickened and bubbly.
I used a 9-inch deep-dish pie pan and made a lattice topping for the top layer. I then placed the assembled pie on a rimmed, foil-lined baking sheet. The oven rack was in the middle position. I baked it and took it out of the oven and let it cool for about 2 hours.
The pie crust was nice and crisp, including the bottom. The sweetness of the pie filling was just right and the lattice crust made it look very appealing. I decided to skip dinner and treat myself to a piece of pie. This will be a family favorite.
This sweet cherry pie turned out really nice.
I used a regular 9-inch pie plate for the pie along with 5 cups of cherries (a mixture of Bing and Rainier). You could probably squeeze in an additional cup of cherries, even without using a deep-dish pan. The cherries took about 20 minutes of time to pit, which I did at a leisurely pace while watching TV.
They weren’t overly sweet, so I used a full cup of sugar. I used tapioca flour, which I thought worked nicely. I baked the pie at the higher setting for 18 minutes, and then at the lower temperature for 30 minutes and ended up with a golden-brown crust, with the edges being slightly darker.
The pie came out just a touch sweet for my taste, and I most likely wouldn’t use the full cup of sugar in the future unless I’m using the full 6 cups of fruit.
This is a basic sweet cherry pie recipe that’s easy to make, and the taste is good. Because the recipe is so basic, your cherries need to be as good as they can be. I used organic frozen cherries because I didn’t want to deal with pitting the stone fruits. I used between 5 and 6 cups of cherries and everything fit in a 9-inch pie pan.
I used a little less sugar than the recipe specified and it was just fine. My cherries were fairly thawed by the time I got home, but I let them sit in the tapioca mixture for 45 minutes, and they were ready by that time.
There are many recipes like this one that calls for a pat of butter. I usually forgo it to save the calories and put more butter in the crust, but you can definitely taste the butter, and it does add something to the filling.
For me, I think the flavor could be amped up. I prefer to add almond extract rather than a pat of butter. I will often have a crumb topping that includes cinnamon or almonds. This is a good basic recipe, though, and I could see using it as a jumping-off point to make your own with other flavorings and add-ins.
This recipe received rave reviews from my family. My husband said this was the best cherry pie he’s ever tasted!
Sour cherries weren’t available but organic red Rainier cherries were available at my local Costco and I almost felt guilty using the first of the season’s perfectly sweet cherries to make a cherry pie, but I am sure glad that I did. This was my first attempt at making a cherry pie with fresh cherries.
The pitting process of removing the stem and gently squeezing the pit out didn’t work so great for me, I guess it may work better with cherries that are softer or closer to overripe. My cherries were just at the firm but ripe stage. I used a plastic protective cover from a thermometer probe, removed the stem, and poked the pointy tip of the plastic into the bottom of the cherry through the stem area and out popped the pit. This technique was a bit quicker than the first attempt to remove the pits and no need for the purchase of an extra cherry pitting gadget if you don’t mind a little cherry juice on your hands.
Onto the pie. The filling was a cinch to put together once the cherries were pitted. I barely had any cherry juice at the bottom of the bowl. Since my cherries were of a sweet variety and not sour, I reduced the amount of sugar to 1/2 cup but kept the amount of flour the same.
I mounded the sugar and flour-coated cherries into the crust-lined pie dish and dotted them with 2 tablespoons of butter before putting on the top crust and placing it in the oven. My pie started to bubble and was finished at the 1 hour and 15-minute mark.
With my adjustments using sweet cherries and less sugar, the pie was sweet enough and happily devoured. We served the pie a la mode with some nice vanilla ice cream.
If you don’t have a good base cherry pie, this would definitely do. The flavor is fine and the recipe works as written.
For our family, I would use a crumb crust instead because we like it better. I’d probably also add some flavoring like almond extract. Cinnamon and a splash of lemon juice also work well.


I know this should be obvious but where does the pinch of salt go Is it in with the cherries or on top of the pie crust for a sparkling look?
Susan, if you look at the instructions for the filling, you’ll see that the pinch of salt is added along with everything else. Sometimes a little salty helps to bring out the sweet! As for that sparkling look, please don’t use salt sprinkled on top of the pie. I think you and everyone else will be much more pleased if you sprinkle a touch of granulated sugar over the crust instead.
Add a few dried cherries and this pie ROCKS. They take up some extra juice.
Excellent idea, ice man.
I have been doing this when making pies from frozen fruit or most berries. Really wet pies are a pet peeve of mine, and the dried fruits complement the flavors.
I have pie crust envy. That is the most perfect lattice I think I’ve ever seen.
Why, thank you, Jessica. Much appreciated.