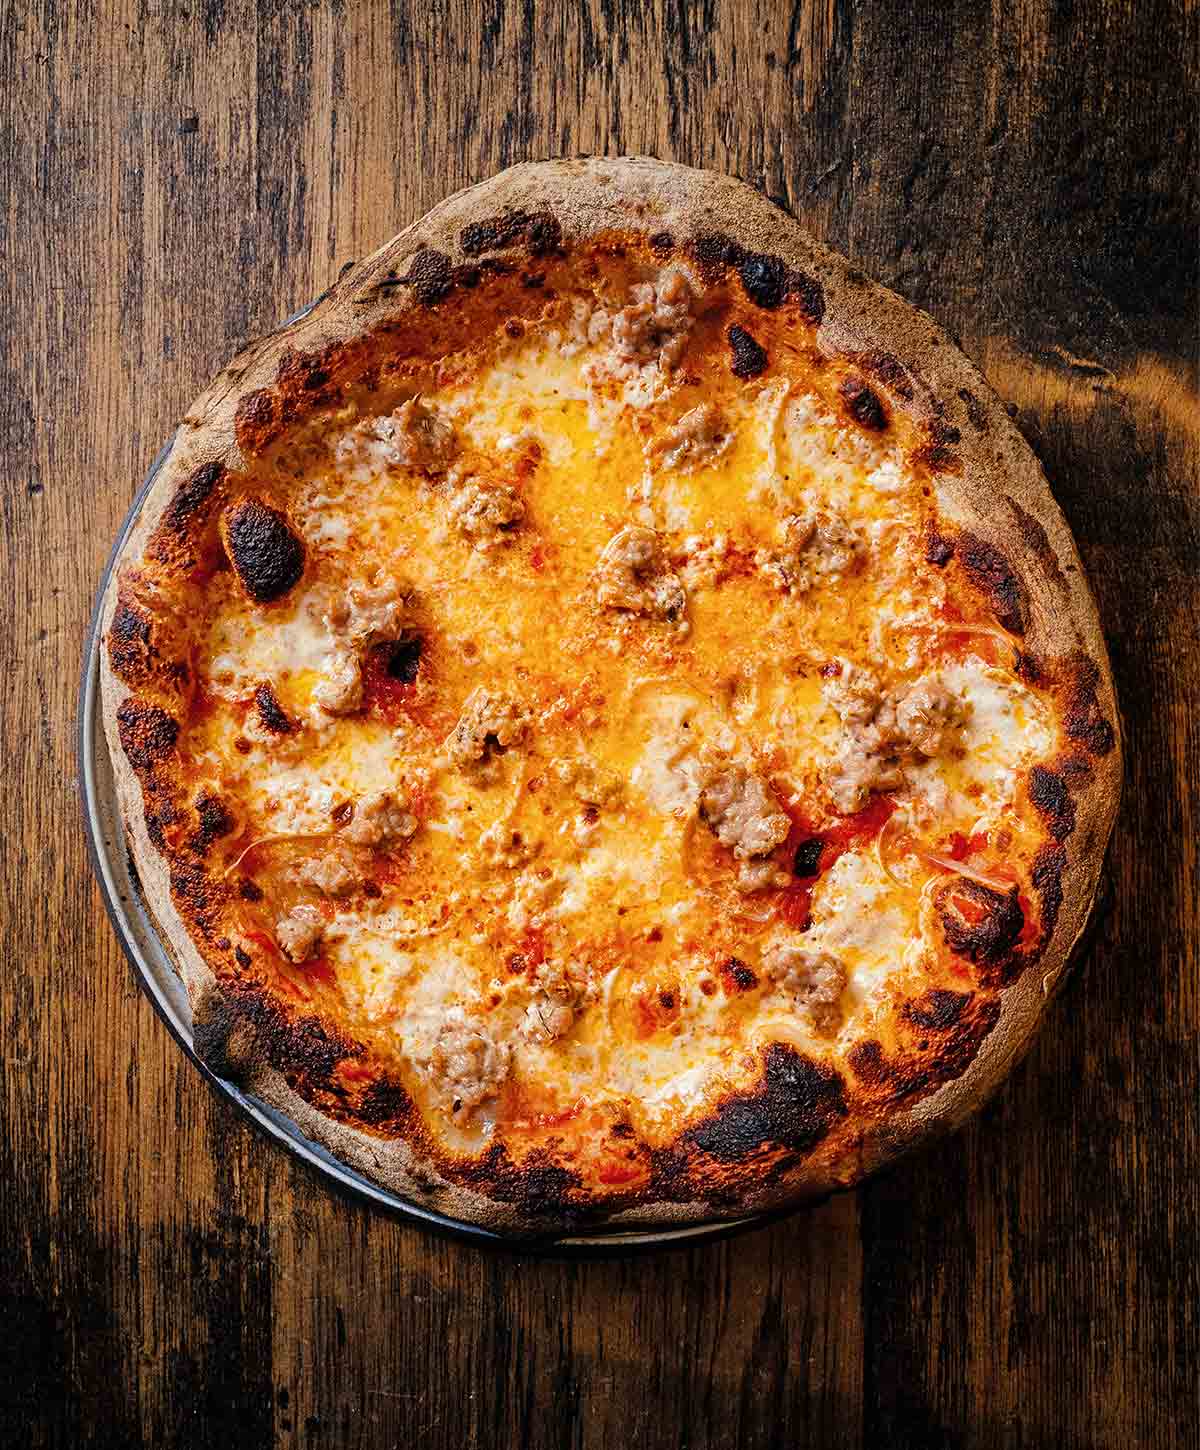
It may be a good idea to make this elemental tomato pizza first, before moving on to anything else like my white pizza. I know that at first blush it seems too simple to be good, mostly just sauce and bread. But even if you doubt me now, I don’t think you will later.
This pie is great practice for preparing my no-knead pizza dough and learning my cooking method. If I start thinking about this unadorned tomato version, for instance, I know that with a simple addition of flavorings, it can easily be transformed. It’s all a matter of imagination, something like architecture; you build a base and go from there.–Jim Lahey

Why Our Testers Loved This
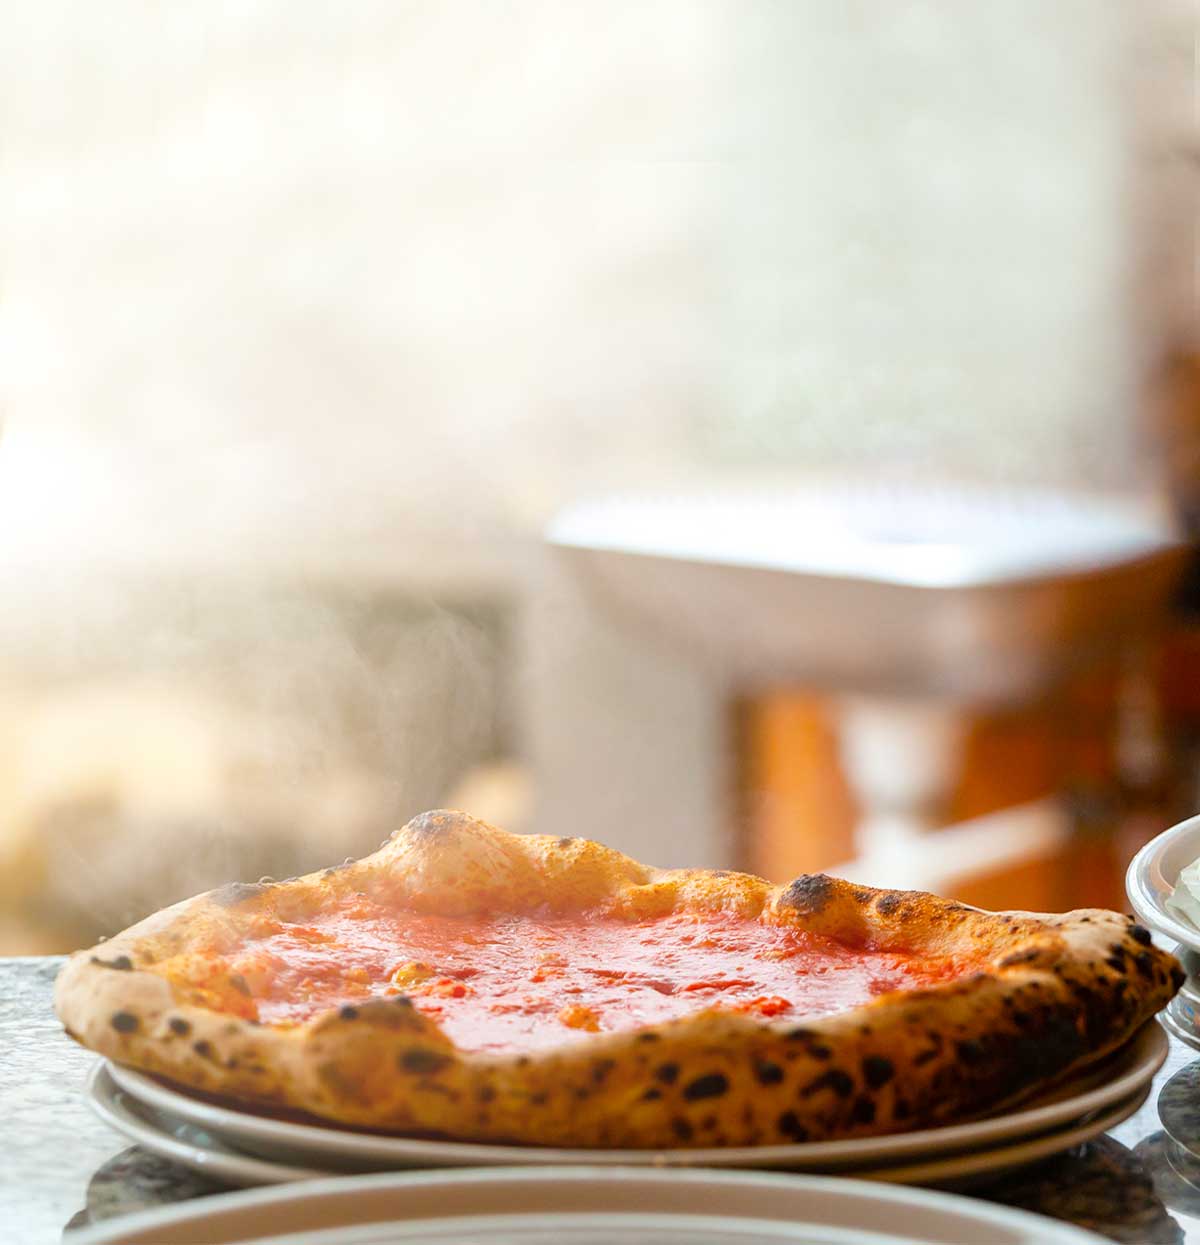
Our testers are gushing about this simple pizza marinara. They loved the “fresh taste” and the simplicity of the toppings in this classic pizza. Thanks to the detailed instructions, they found this recipe easy to make.
Ilda Costa-Sarnicki summed it up with her comment, “The flavours were fresh, the texture was crispy and chewy, the look said Italian pizza oven.”
Notes on ingredients
- Tomatoes–If fresh tomatoes aren’t in season, use the best quality canned tomatoes you can get. I suggest San Marzano.
- Pizza dough--This recipe provides an excellent dough recipe from Jim Lahey, but you can substitute your favorite store-bought, homemade, or our quick pizza dough, if you prefer.
Step-by-step instructions
- Heat the oven to 500°F for 30 minutes with a pizza stone inside. Switch to broil for 10 minutes.
- Blanch and peel the tomatoes, if using fresh. Process through a food mill, or crush with your hands. Add the oil and salt to the tomatoes.
- Top the pizza dough with sauce, oregano, garlic, and drizzle with oil. Transfer to the oven and broil until the crust is bubbling and lightly charred. Transfer to a platter and serve immediately.
Common Questions
Oh, the places you’ll go with this tomato pizza! Mind you, there’s rapture to be had with this plain pizza simply as-is. But there’s no need to stop there.
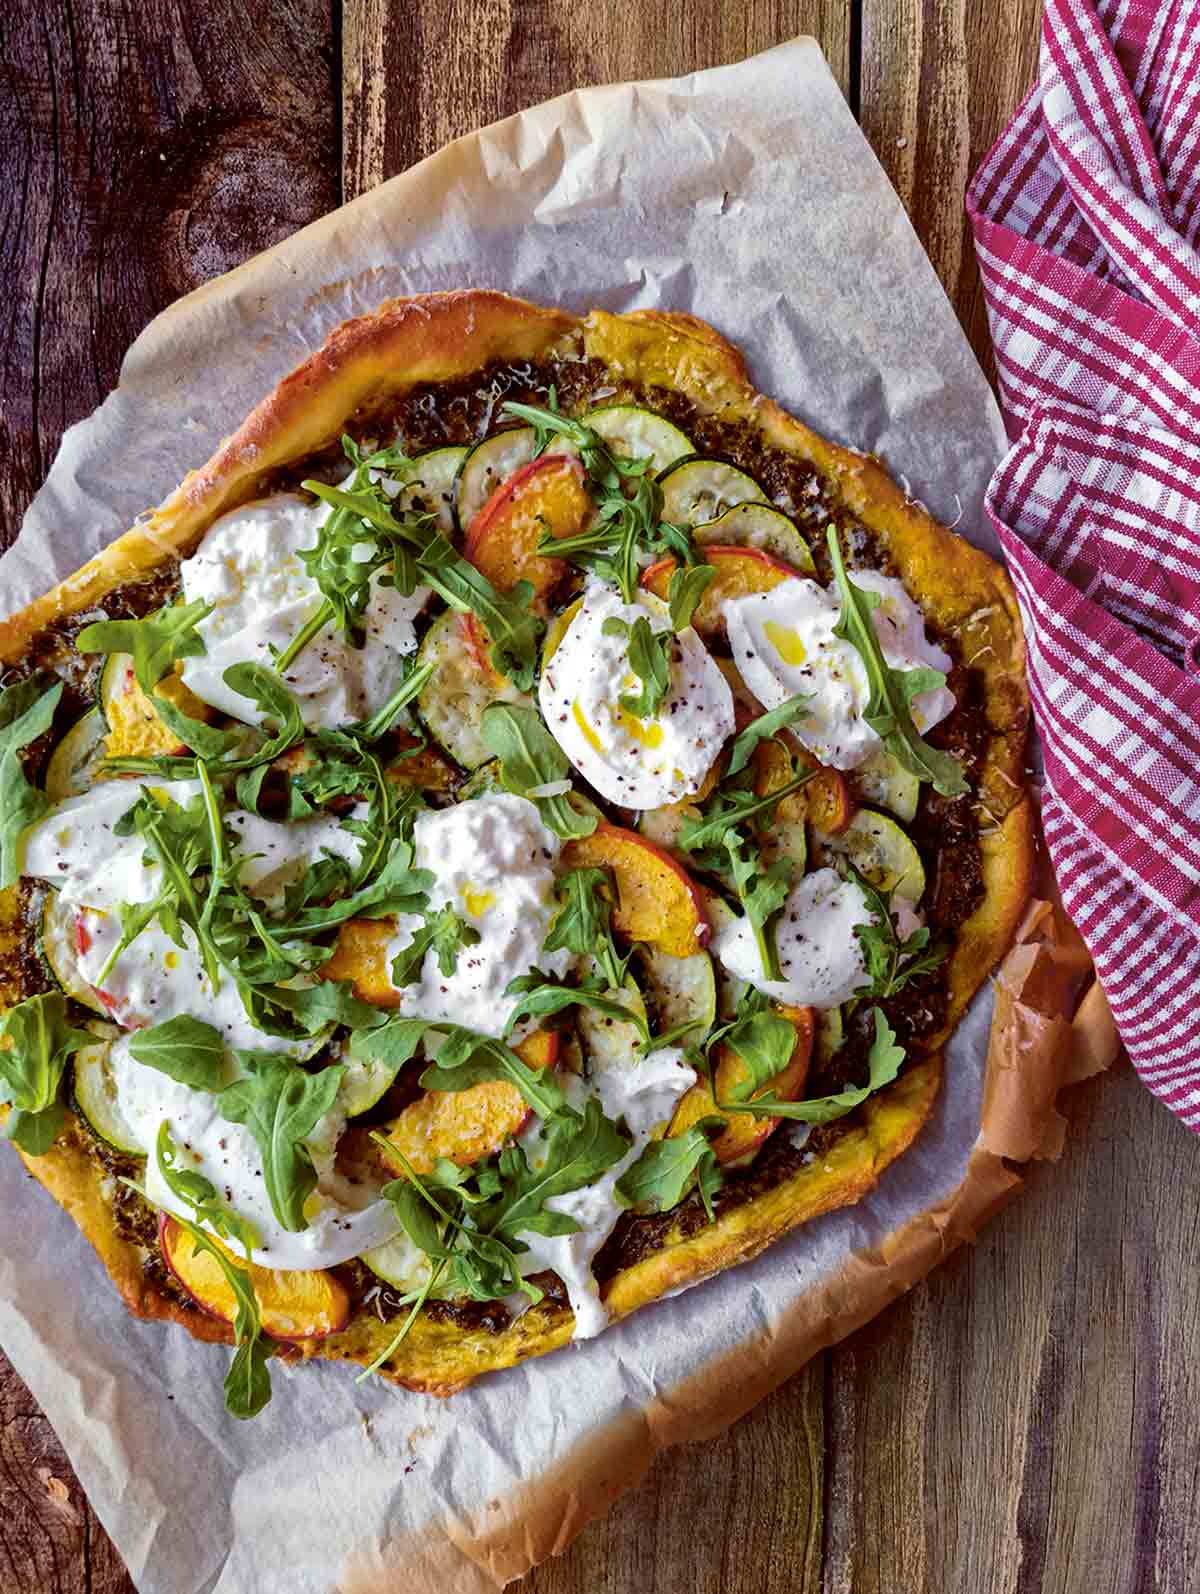
Here are just a few suggestions for a topping triple threat:
– Fresh mushrooms, spinach, sundried tomatoes, and provolone
– Caramelized onions, balsamic drizzle, and goat cheese
– Pancetta, onions, and fontina cheese.
– Fresh garlic, shaved asparagus, and Parmesan.
– Fresh, soft cheese and a pile of basil.
Lahey’s personal recommendation is charred Thai eggplant and bonito flakes. We’re going to stop there, not because we can’t think of countless more options, but because we really need to go make ourselves one of these pizzas.
According to Jim Lahey, the elements of the electric ovens are generally designed to turn off when the oven reaches 500°F (260°C) or 550°F (288°C) and the door is closed—even if it’s the broiler doing the heating and not the baking element. When you understand how I use my gas broiler continuously to force the stone to be hotter on the surface and also to cook the pizza (door closed) so the crust chars properly and the toppings cook quickly, the electric’s shutdown feature may strike you as a potential problem. It’s easily solved.
For electric ovens that have a broiler in the oven, turn it off at 500°F (260°C) or so, place the stone on a rack about 4 inches from the top heating element (not the 8 inches called for with gas) and preheat, on bake, at 500°F (260°C) for the usual 30 minutes.
Then, to boost the heat of the stone without the oven’s elements shutting down, open the oven door a few inches and leave it ajar for about 30 seconds. Some of the ambient heat will escape, but the stone will stay just as hot. Now close the oven door and switch to broil for 10 minutes to heat the surface to the maximum.
Open the door and slide the pizza in to broil. Because the stone is so close to the element, you may need to pull the rack out a few inches to get the pie centered on the stone; do it quickly and don’t worry about losing too much heat. With the door closed, broil for roughly 2 minutes longer than specified for gas—until the crust is adequately charred but not burnt and the toppings are bubbling.
Remember, it’s the visual cues that count most. Check a couple of times; the pizza will cook quickly.
For electric ovens that have a gas broiler in a bottom drawer of the oven, start with the stone in the broiler at the lowest level or on the floor of the oven. Preheat on low broil for about 20 minutes, and then switch to high for another 5 minutes, or if you just have one setting preheat for 25 minutes.
Slide in the pizza, close the drawer, and broil as instructed by the recipe (often 3 1/2 to 4 minutes), until bubbling and properly charred, checking to be sure it’s not burning.
You can roll pizza with a rolling pin or stretch it with your hands, or let your knuckles and gravity do the work for you. If you want to be able to stretch it and toss it into the air like a pro, check out Jim Lahey’s tips on how to stretch pizza dough. It takes some practice, but it’s a lot of fun.
Pro tips & troubleshooting
- The pizza sauce can be prepared up to a week in advance. Store it in a covered container in the refrigerator.
- A pizza peel works best for transferring your dough to the pizza stone. To make it easier to slide the pizza off the peel, you can place a sheet of parchment under the dough and it should slide right off when you transfer it to the oven.
- If you don’t have a pizza peel, use an overturned baking sheet lined with parchment or dusted with cornmeal.
- This recipe is suitable for vegan, vegetarian, and dairy-free diets. To make it gluten-free, use gluten-free pizza dough.
More Great Pizza Recipes
Write a review
If you make this recipe, or any dish on LC, consider leaving a review, a star rating, and your best photo in the comments below. I love hearing from you.–David

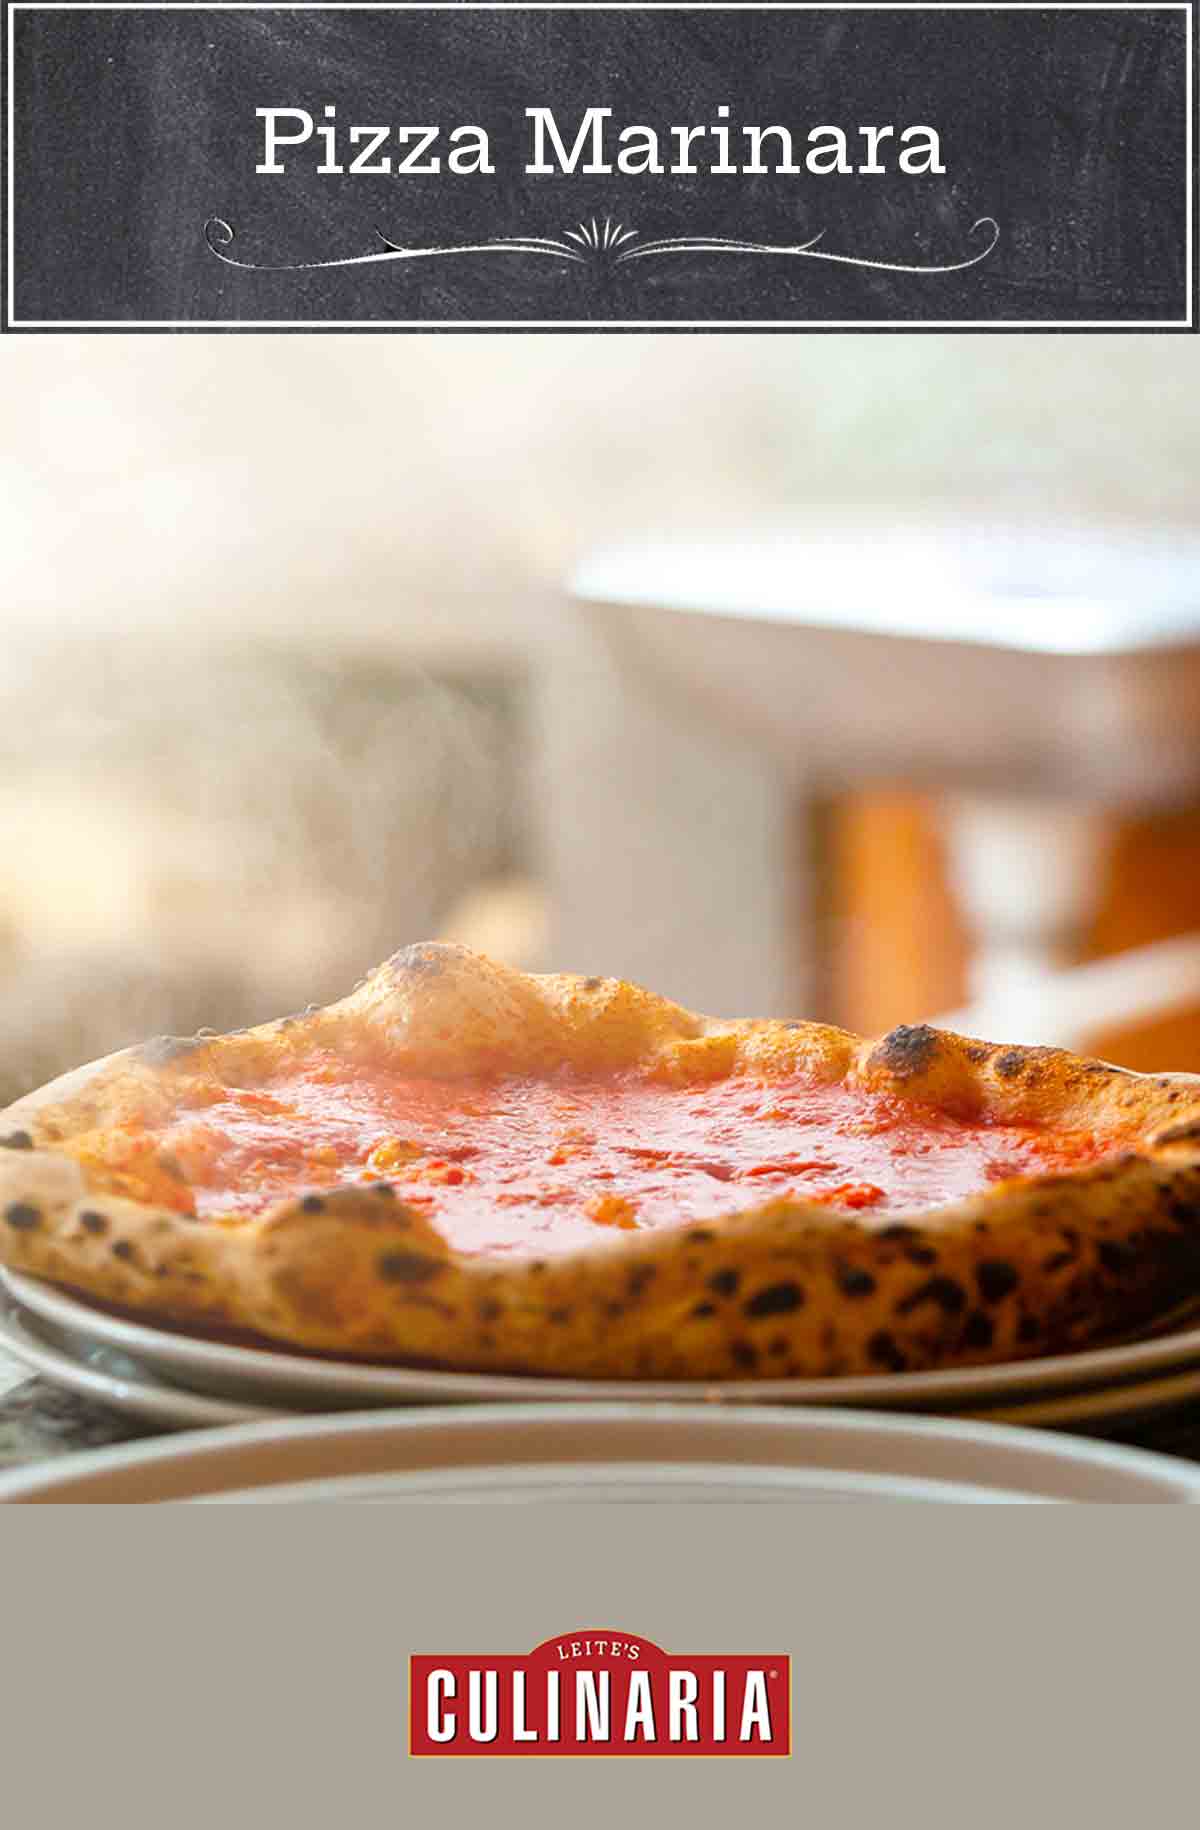
Jim Lahey’s Tomato Pizza ~ Pizza Marinara
Equipment
- Pizza Stone
Ingredients
- 1 1/2 pounds ripe plum tomatoes, or a 28-ounce (795 g) can peeled Italian plum tomatoes
- About 2 tablespoons extra-virgin olive oil, plus more for drizzling
- Dried oregano and thinly sliced garlic (optional)
- 1/4 teaspoon fine sea salt, plus more for sprinkling
- 1 ball Pizza Dough, shaped and waiting on a floured peel
Instructions
- Place the pizza stone in a gas oven on a rack about 8 inches from the broiler. Preheat the oven on bake at 500°F (260°C) for 30 minutes. Switch to broil for 10 minutes. If using an electric oven, see the FAQ section above for instructions.
- If using fresh tomatoes, bring 4 quarts water to a boil in a 5- to 6-quart pot. Cut away the dry stem area of the tomatoes, leaving the core intact. Place 2 or 3 tomatoes at a time in the boiling water for 5 to 10 seconds. Remove with a slotted spoon and put on a rack to cool. Peel the tomatoes with a paring knife. If using canned tomatoes, go directly to step 3.
- If you have a food mill, cut each tomato into several wedges and run them through the food mill set over a medium bowl to create a chunky pulp (not a fine purée; you want to retain some texture). If you don’t have a food mill, just squish the tomatoes with your hands—it’s messy but sorta fun.
- Stir the olive oil and salt into the tomatoes. (The tomato sauce will keep, covered, in the refrigerator for up to 1 week. This is a good thing seeing as you'll have enough tomato sauce to sling about 8 pizzas.)
- With the dough on the peel, spoon about 1/4 to 1/2 cup tomato sauce over the surface and spread it evenly, leaving the outer inch or so of the dough untouched. Sprinkle the pie with the oregano and garlic, if using, and a pinch salt and drizzle the pie with oil to your heart's content.
- Using quick, jerking motions, slide the pie from the peel onto the hot, hot, hot pizza stone. Broil for about 3 minutes if you have a gas oven, somewhat longer if you have an electric oven. The ingredients should be bubbling and the crust nicely charred but not burnt.
- Using the peel, slide the pizza onto a platter before slicing it into wedges. Serve immediately.
Notes
- Transferring your pizza–A pizza peel works best for transferring your dough to the pizza stone. To make it easier to slide the pizza off the peel, you can place a sheet of parchment under the dough and it should slide right off when you transfer it to the oven.
- Pizza peel substitute–If you don’t have a pizza peel, use an overturned baking sheet lined with parchment or dusted with cornmeal.
- Dietary–This recipe is suitable for vegan, vegetarian, and dairy-free diets. To make it gluten-free, use gluten-free pizza dough.

Explore More with AI
Nutrition
Nutrition information is automatically calculated, so should only be used as an approximation.
Recipe Testers’ Reviews
Did you know only 68% of the recipes we test make it onto the site? This recipe survived our rigorous blind testing process by multiple home cooks. It earned the Leite’s Culinaria stamp of approval—and the testers’ reviews below prove it.

I confess that when I first read this recipe, I cringed…absolutely too many instructions for a homemade pizza night. The second time I read it, I thought, “Maybe one day I’ll give it a try…”
As luck would have it, I had a sourdough pizza crust ready for the grill, but it was pouring rain outside. My toppings of arugula and smoked salmon were prepped, as were my fresh garlic knots and pepperoni my daughter had requested. I’ve never made pizza marinara, and I’ve never even been interested in making marinara sauce, as Costco has a pretty great one I enjoy as a fast food option. As they say, the third time is a charm.
Once I started making the pizza, this long recipe suddenly made much more sense. Thirty minutes later, we were enjoying our first oven-broiled marinara pizza specimen. Oh. It. Was. Glorious. (Ten minutes…I just can’t believe I baked a pizza crust under my electric oven broiler on a pizza stone for over 6 minutes.)
I used parchment paper on the pizza peel, and it didn’t even require the usual shimmy onto the pizza stone. The raw pizza-crust transfer worked superbly, despite the closeness of the pizza stone to the broiling element.
The flavours were fresh, the texture was crispy and chewy, the look said Italian pizza oven, and my previously planned toppings also worked broiled using the same method, although because of the weight of the topping, the crust wasn’t as crispy.
Knowing this, I moved my rack and pizza stone to my usual position for baking and baked my last pizza. This was easy and safe, making a pizza party with different toppings a less daunting possibility.
Amen to homemade oven-broiler pizza!
This had a really fresh taste even with canned tomatoes; I used Glen Muir fire-roasted. The herbs are just the perfect combination. And the vinegar took it up a notch, so don’t leave it out.
I do think you could use less oil in the garlic. I used 1/4 teaspoon of salt and a full two tablespoons of vinegar. It was very good on the pizza for a base, light but flavorful; you can really taste the herbs.


If I use canned tomatoes, should I drain them BEFORE I squish them with my hands?
Hello, Kathleen, if you’re using canned tomatoes, check out step 3, which instructs you to use a food mill or, barring that, to squish them with your hands!