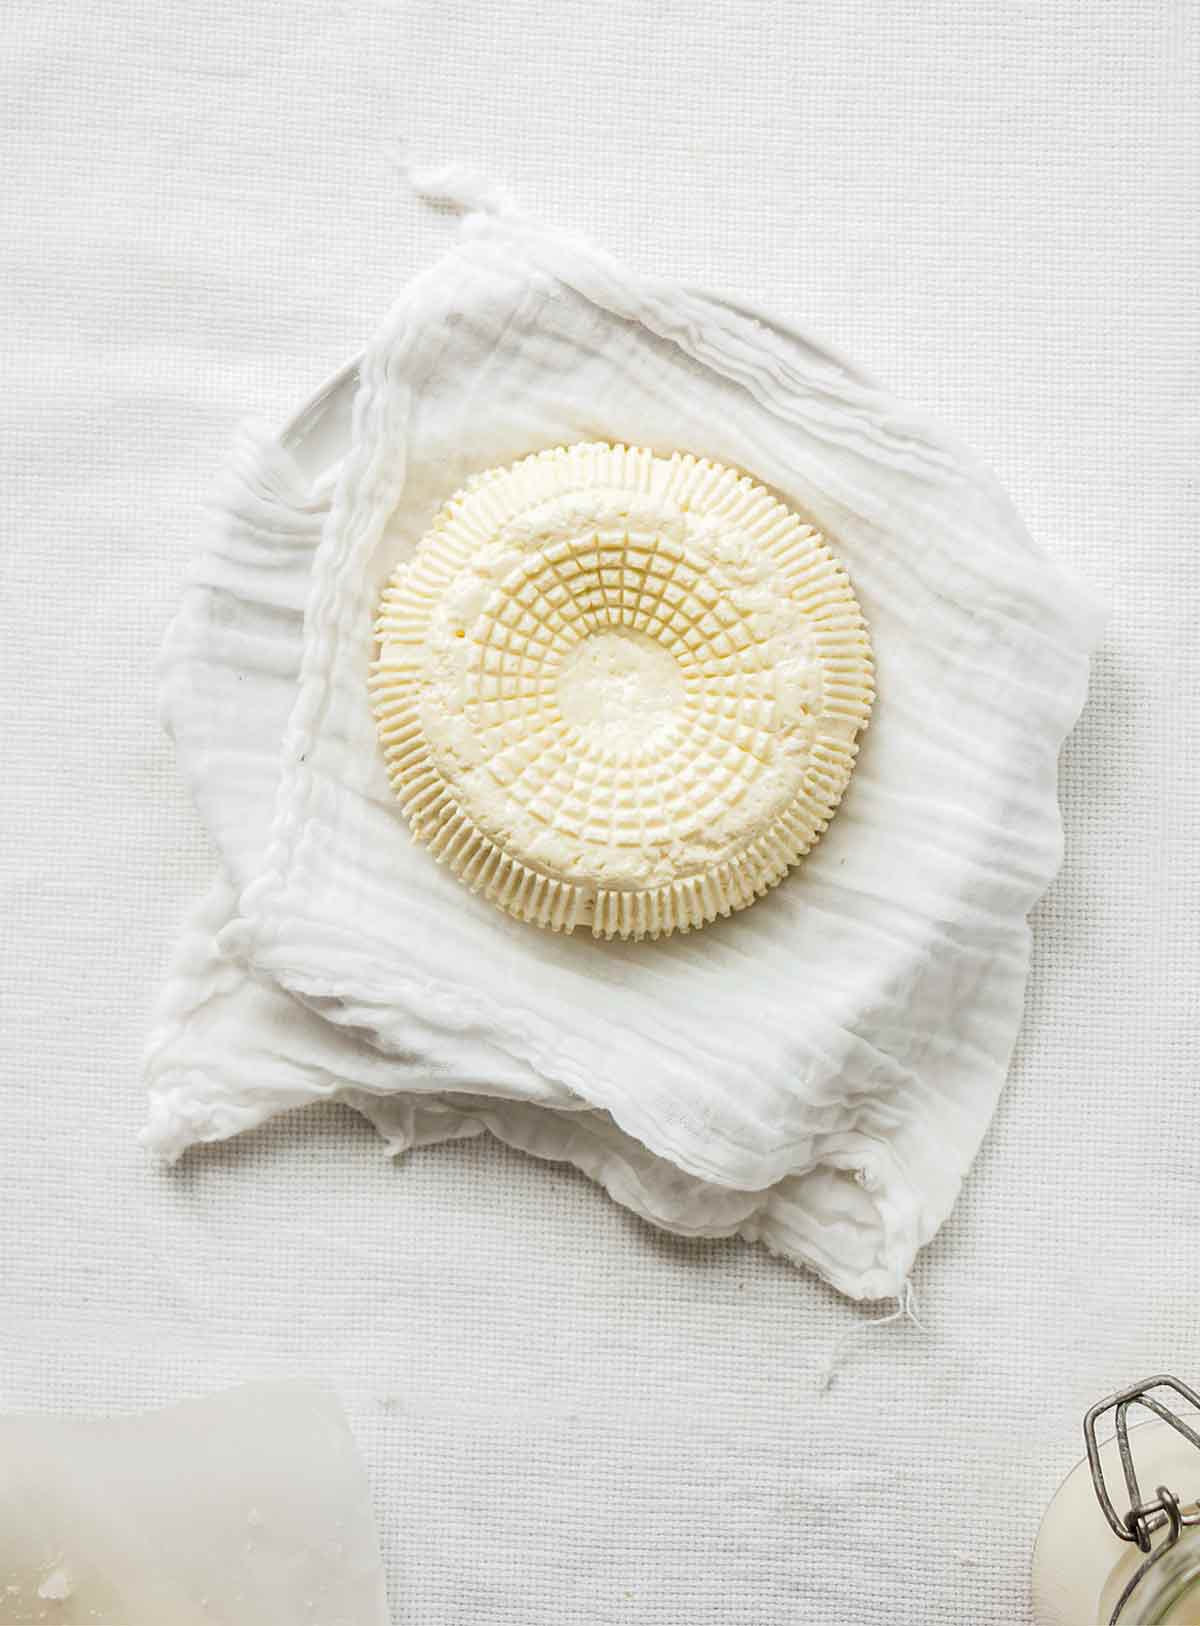
This farmer cheese recipe requires very little effort or expertise and relies on everyday ingredients you probably already have on hand. And it creates a soft, light, creamy cheese with just a hint of lemon. It’s sorta like a poor man’s ricotta although it works equally well in place of cream cheese.
Rely on it to stuff pasta shells, lend oomph to salads, dollop on a white pizza, spread on pancakes, fill cheese blintz, or any other manner in which you’d use a lusciously soft, fresh, subtly flavored cheese. Try your best to source local fresh milk for the best flavor and longevity.–Renee Schettler Rossi

Farmer Cheese
Ingredients
- 3 cups whole milk
- 1 cup heavy cream
- 1/2 teaspoon coarse sea salt
- 3 tablespoons fresh lemon juice
Instructions
- Pour the milk, cream, and salt into a 3-quart (2.8-liter) stainless steel saucepan, place it over medium-low heat, and warm the milk to 190°F (88°C), stirring occasionally to keep it from scorching on the bottom. This could take up to 15 minutes or so. Watch the temperature carefully because you’ll be waiting, waiting, waiting and then all of a sudden towards the very end it will increase dramatically.
- Remove the pan from the heat and add the lemon juice, slowly stirring once or twice. Let the pot sit for 5 minutes. Do not stir the mixture during this time. It will separate into very small curds and some watery whey. That’s okay. In fact, that’s desired.
- Line a sieve with cheesecloth and place it over a large bowl. Pour the curds and whey into the sieve and let it strain at room temperature for at least 1 hour.
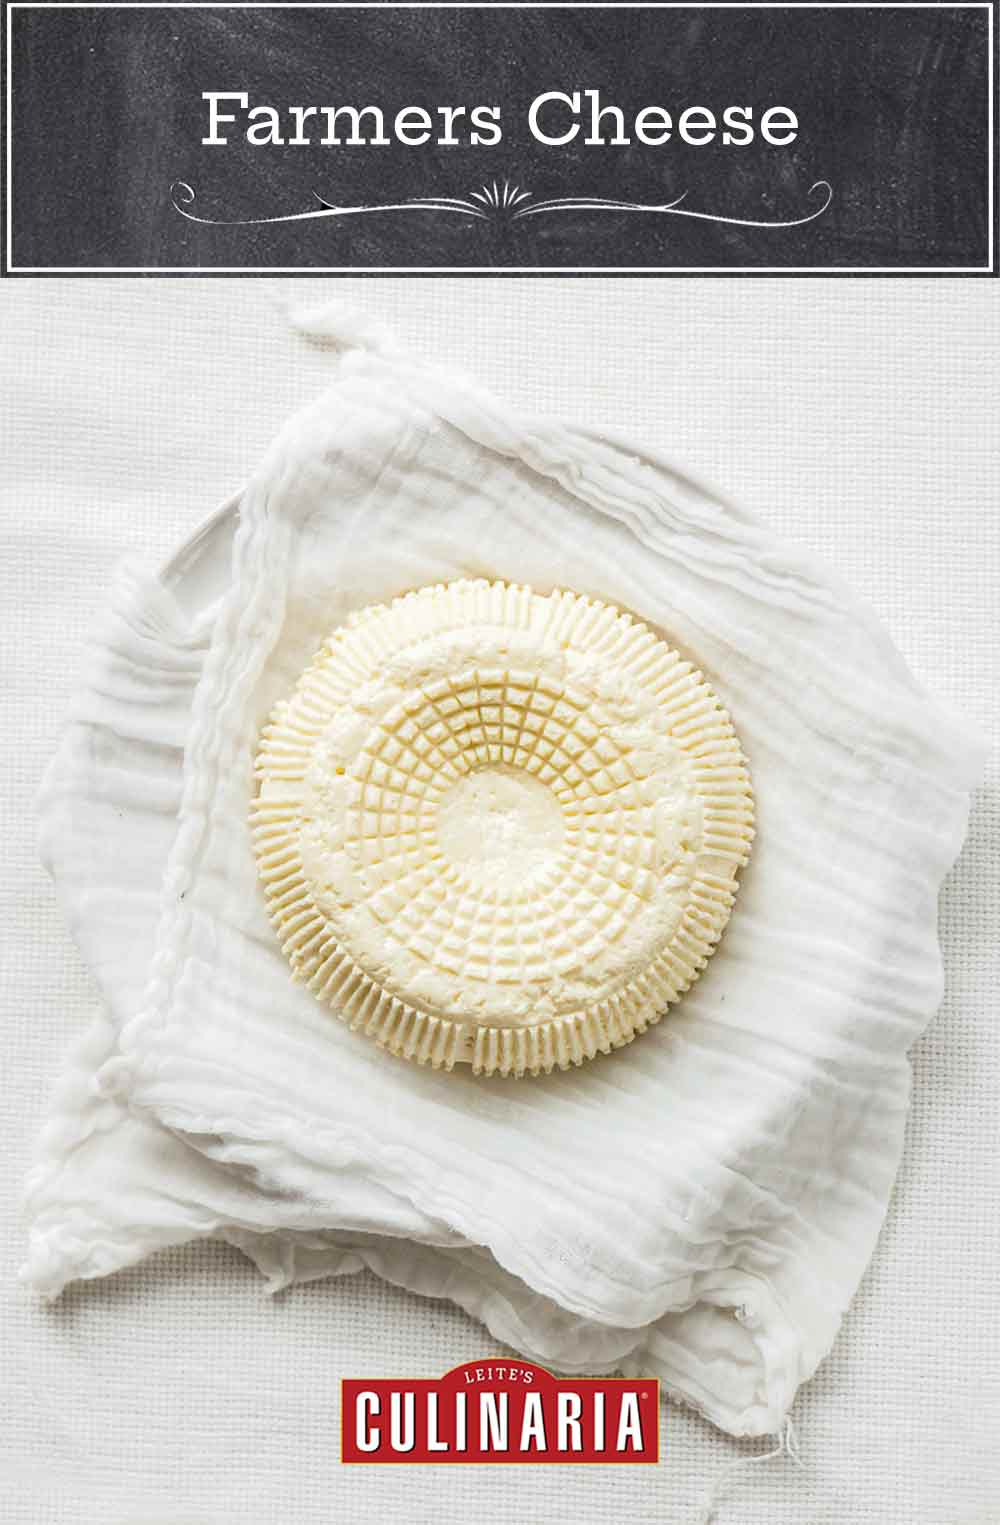
- Discard the drained liquid or reserve it for another use. Remove the farmer cheese from the strainer and, if desired, gently press it into a decorative mold (as you see in the stunning photo at the top of this page) or simply mound it on a plate or in a bowl. Cover and refrigerate for at least 1 hour to help the cheese firm slightly. Eat the farmer cheese right away or transfer it to an airtight container and stash it in the fridge for up to 1 week.

Nutrition
Nutrition information is automatically calculated, so should only be used as an approximation.
Recipe Testers’ Reviews
Love this farmer cheese recipe! I’ve always wanted to make my own ricotta and this was easier and more delicious than I ever imagined. It’s so creamy and satisfying. I spread it on my morning toast, scooped a spoonful onto a bowl of pasta with marinara sauce, and dolloped it on white pizza.
I started out with the heat on medium because I didn’t want to scorch the milk but then turned it up to high because it was taking so long. I didn’t realize the milk would be boiling before it got up to temp. It took about 15 minutes to reach 190°F. After 5 minutes, I had lots of curds. They don’t really look like curds; they look more like the egg in egg drop soup.
This made just over 1 cup cheese. I kept the whey for a few days but never really figured out what to do with it and tossed it. (Of course I talked to my friend just after that, and he uses whey to make pizza or bread.) I ate some of the cheese right away, and I think that was when it was at its creamiest. And it was luscious on the pizza, so I’d say it was best at room temperature or a little warmer. My farmer cheese lasted for 5 days.
This farmer cheese is delicious—creamy with a hint of lemon in the background. We ate most of the farmer cheese for lunch as part of a composed salad.
It should be refrigerated for awhile in order for it to set properly. If you use it right away, it won’t have much structure. The leftover portion kept well for the few days that we stored it in the refrigerator.
Making cheese at home was always one of those things that I thought was too much effort for a casual (read: lazy) home cook. But how wrong I was! This was easy, fun, fast, and made me feel like a kitchen wizard. You can MAKE cheese, you guys, and it’s delicious.
I went for medium-low heat under the saucepan with frequent stirring because milk always scorches on my stove. It took 15 minutes to get it up to temperature. Now comes confession time—my only thermometer is one of those old-fashioned meat thermometers. I considered buying a more accurate one for this recipe but decided to just take a gamble and see what happened. Well, dear readers, it worked just fine. I may have been a hair off on the final temperature, but the end result was still great, so don’t let not having a digital thermometer dissuade you from trying this recipe!
I pulled the milk from the stove, added the lemon juice, and gave it 2 slow stirs. After 5 minutes, there were definitely curds, but they were pretty small. I pressed on. After draining for an hour, it still looked wet, but it was definitely cheese. I weighed it and had 374 grams, which is 149 grams more than the yield the recipe suggested. I put half of it in the fridge, and left the other half to drain for another 30 minutes before refrigerating. They both set nicely in the fridge, and we actually preferred the one that drained for just an hour. I’m not sure how my weight was so wildly different from the recipe, but the method worked.
When we tasted it right after it was finished draining, you could really taste the lemon, but that almost completely disappeared once it cooled down in the fridge. The texture was slightly creamier than store-bought ricotta, like a cross between ricotta and cream cheese (but much lighter than cream cheese). I used it casually throughout the week—dolloped onto some pasta with a sun-dried tomato pesto, on toast with pear slices, honey, and fresh thyme (DO THIS), and with some shredded pickled beets. It’s hard to go wrong. And 5 days in, it’s holding up well in the fridge—not sure I’ll be able to make it last the full week!
I loved making this farmer cheese recipe so much that I made it twice. It’s simple to put together and takes almost no time at all. After 5 minutes, the curds were quite small, but it made for a very creamy end result. The end result is a nice, soft, lightly lemon-flavored cheese that you will find so many ways to serve.
The first batch I used to make bruschetta for a friend’s party. A toasted bread round topped with the cheese, prosciutto-wrapped fig, and a drizzle of honey. The light lemon taste of the farmer cheese along with the salty and sweet flavors of the other ingredients were fantastic. With the second round of farmer cheese, I made zeppole. I had to make sure to save the last batch for me because they disappeared as soon as they came out of the fryer and were dusted with confectioners’ sugar.
This recipe is for a very simple cheese that could be made by a novice. I’ve had some lessons and experience in cheesemaking and this is a great starter recipe.
I used milk and cream from a farmers’ market instead of ultra-pasteurized “grocery store” milk. After straining the curds and whey for 1 hour, I was left with slightly over 1 cup cheese. I ate some of the cheese right away on a sweet potato and corn cake. It has a good “farmer cheese” texture and pleasant mild flavor. I discarded the whey.
I plan to use the rest of the cheese in some pierogies later in the week.
How cool is it to make cheese at home! And to make it with minimal effort and time investment is even better. In just a couple of hours (extended draining time while we went on a family hike), I made the creamiest, richest, best-way-to-showcase-the-milk ricotta-like cheese that I have ever eaten.
I ate a bit plain to get the pure, unadulterated taste. Then I ate some on a cracker. Then I used the rest to make the best cheese lasagna I have ever made. I was only sad that it was gone so quickly.
I will be making the farmer cheese again to whip up into a lemon cheese dip for a weekend party. I might make a double batch to have enough to mix with a bit of honey to spread on homemade crêpes. And maybe I’ll eat some of it plain just because.
Don’t discard the whey! This is pure gold liquid for bread, pancakes, muffins, or any other baked good. It makes anything you bake with it tender and luscious.
I saw immediate curdling after I stirred in the lemon juice. After 5 minutes, the whole mixture was curdled and separated. The curds were very fine, which is a good thing. The cheesecloth is definitely necessary to keep the curds in the sieve. Don’t skip it.
I know from other cheesemaking experiences that it’s important to leave the mixture alone during the curdling step. If you stir it during this time, you won’t get as much cheese. It was deliciously creamy.
Oh, cheese! I’ve been having a little love affair with fresh cheesemaking for the better part of a decade, and this cheese recipe is a great place to start. Be forewarned! The magic of cheesemaking can be habit-forming—before you impress your friends and family, you’ll likely impress yourself! There is simply nothing like homemade cheese! Once you have experienced how easy this is, it’s hard to go back to a store-bought cheese, and you may find yourself exploring other easy fresh homemade cheeses.
Walking through this recipe, here are a few notes. Fresh milk is imperative. I also suggest the best-quality, least-processed milk available. The cream, which adds lovely richness, is actually optional, though highly recommended. While this recipe calls for lemon juice, vinegar will also work as an acidifier. Another alternative is buttermilk. I have found that lemon has a cleaner, brighter flavor, so I prefer it.
Even with keeping the closest of close eyes on it, it’s very hard to avoid scorching. Don’t walk away or attempt to do something else while the milk is heating.
If you add the lemon and don’t get nice curds, it’s possible to repeat the process and most likely have success with additional acid. I feel T-shirt material is better than cheesecloth. If you prefer to use cheesecloth, use more than 1 layer, especially if your cheesecloth is of poor quality, with large spaces between the threads. Using just a single layer will likely cause too much whey to strain out too quickly.
This cheese could be more like ricotta or more like farmer cheese, depending on how long you strain it. It’s very likely you won’t want to strain it for a full hour, as this tends to produce a dense cheese, more like farmer cheese than ricotta. You may have a nice soft traditional ricotta texture in as little as 15 to 20 minutes. As for the whey, I have not yet made whey ricotta, but I have made a Scandinavian “mesost” from whey, and it, too, is surprisingly easy, though quite time-consuming. If you want to use the whey for cheesemaking, this needs to be done right away. If you want to use the whey for other purposes, there is a little more flexibility. Whey’s great for smoothies, it’s good for your pets or your plants, and you can use it in baking.
But back to the homemade ricotta. I suggest making it and using it right away or in very short order. I don’t think there’s a weeklong shelf life for this fresh cheese. Although it absolutely can be used as a pasta filling, it’s splashier and showier (and why not show off your beautiful homemade cheese?) in something like the Herbed Ricotta Dip with Vegetables, https://leitesculinaria.com/73244/recipes-herbed-ricotta-dip-vegetables.html, where you can immediately see the splendor of your cheese without having to uncover it first, though it is impressive either way.
The total time, with straining, was 1 hour and 20 minutes. It took about 25 minutes for the milk to come to 190°F. I let it stand for 10 minutes and then transferred the curds very slowly to a strainer. I added a little Baileys Irish Cream and used the cheese to stuff a chocolate stout cupcake. The filling was similar to that of a cannoli, so I made a hybrid cupnoli.


is this something like Portuguese cheese? at any rate, am going to try this!!! thanks!!!
angela, it is similar to queijo fresco, yes. Not identical, though. Queijo fresco uses rennet, this doesn’t. Tell me what you think!
Great! Looks very easy and inexpensive compared with the price of ricotta at the supermarket. here in Spain. Thanks a lot!
You’re quite welcome, Ricardo! Thanks so much for taking the time to leave such a kind comment.
In Belize, where I live now, it is almost impossible to find lemons. Limes, however, are plentiful. Would lime juice work as a substitute?
Hi Wilma, we only tested the recipe with lemon juice. I have however, seen lime set cheeses. You might need to play around with the amount of lime juice. Please let us know how it turns out.