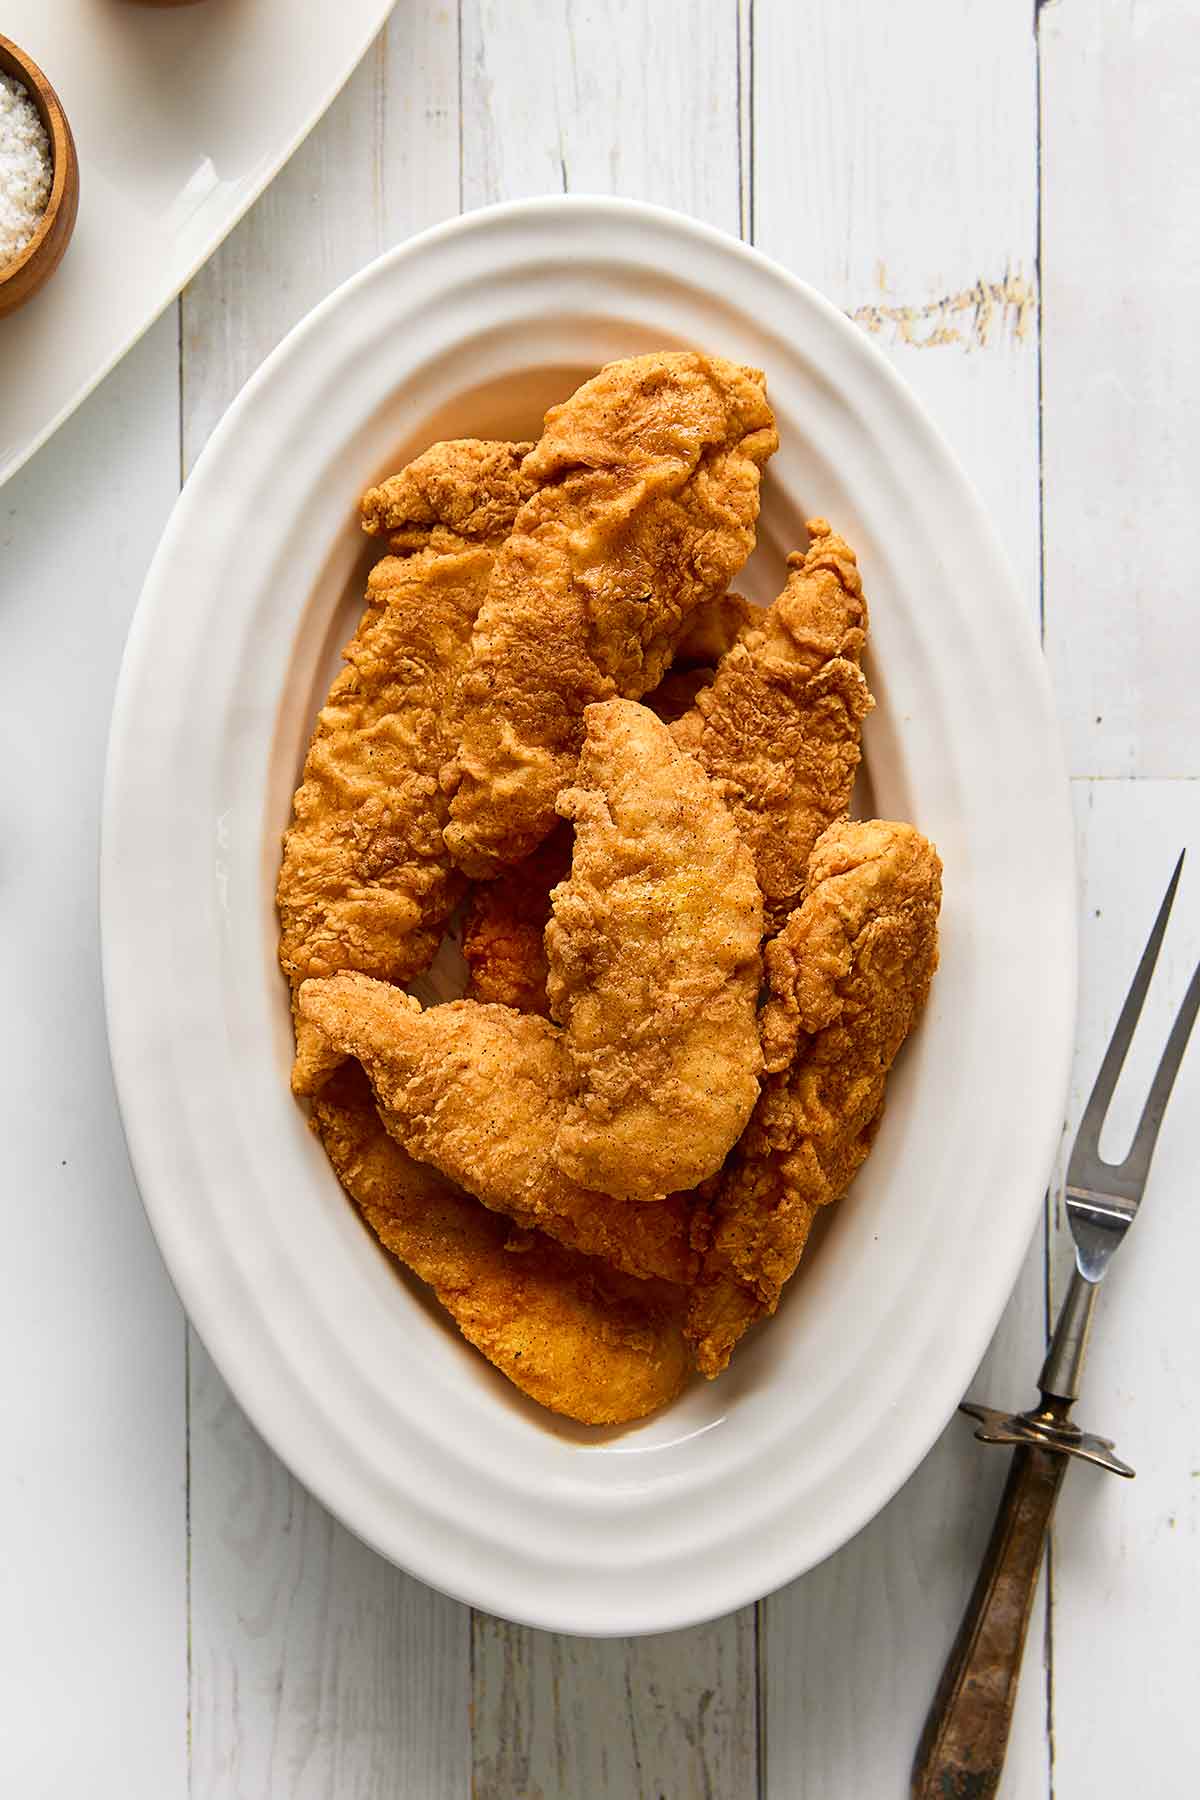
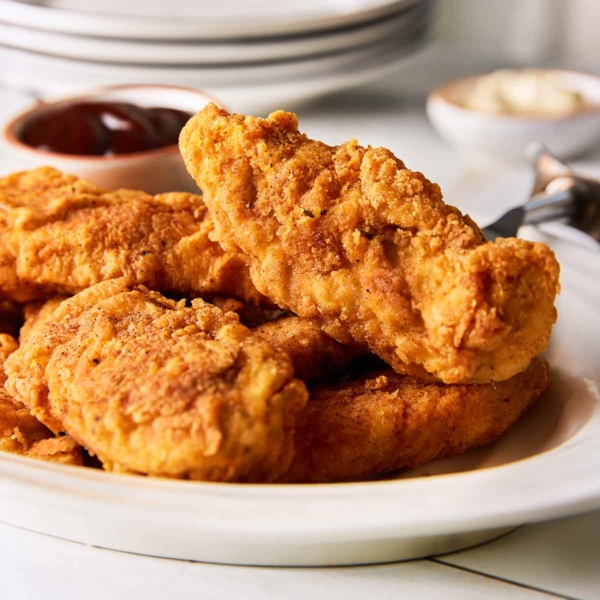
My mom has always made the best fried chicken in the whole world. It’s deliciously crispy on the outside, and juicy and tender on the inside. Everyone in my family loves it, and it gets requested often when my siblings come into town to visit, or when someone gets to choose their favorite dinner for their birthday. It’s a true family classic, and comfort food at its finest.
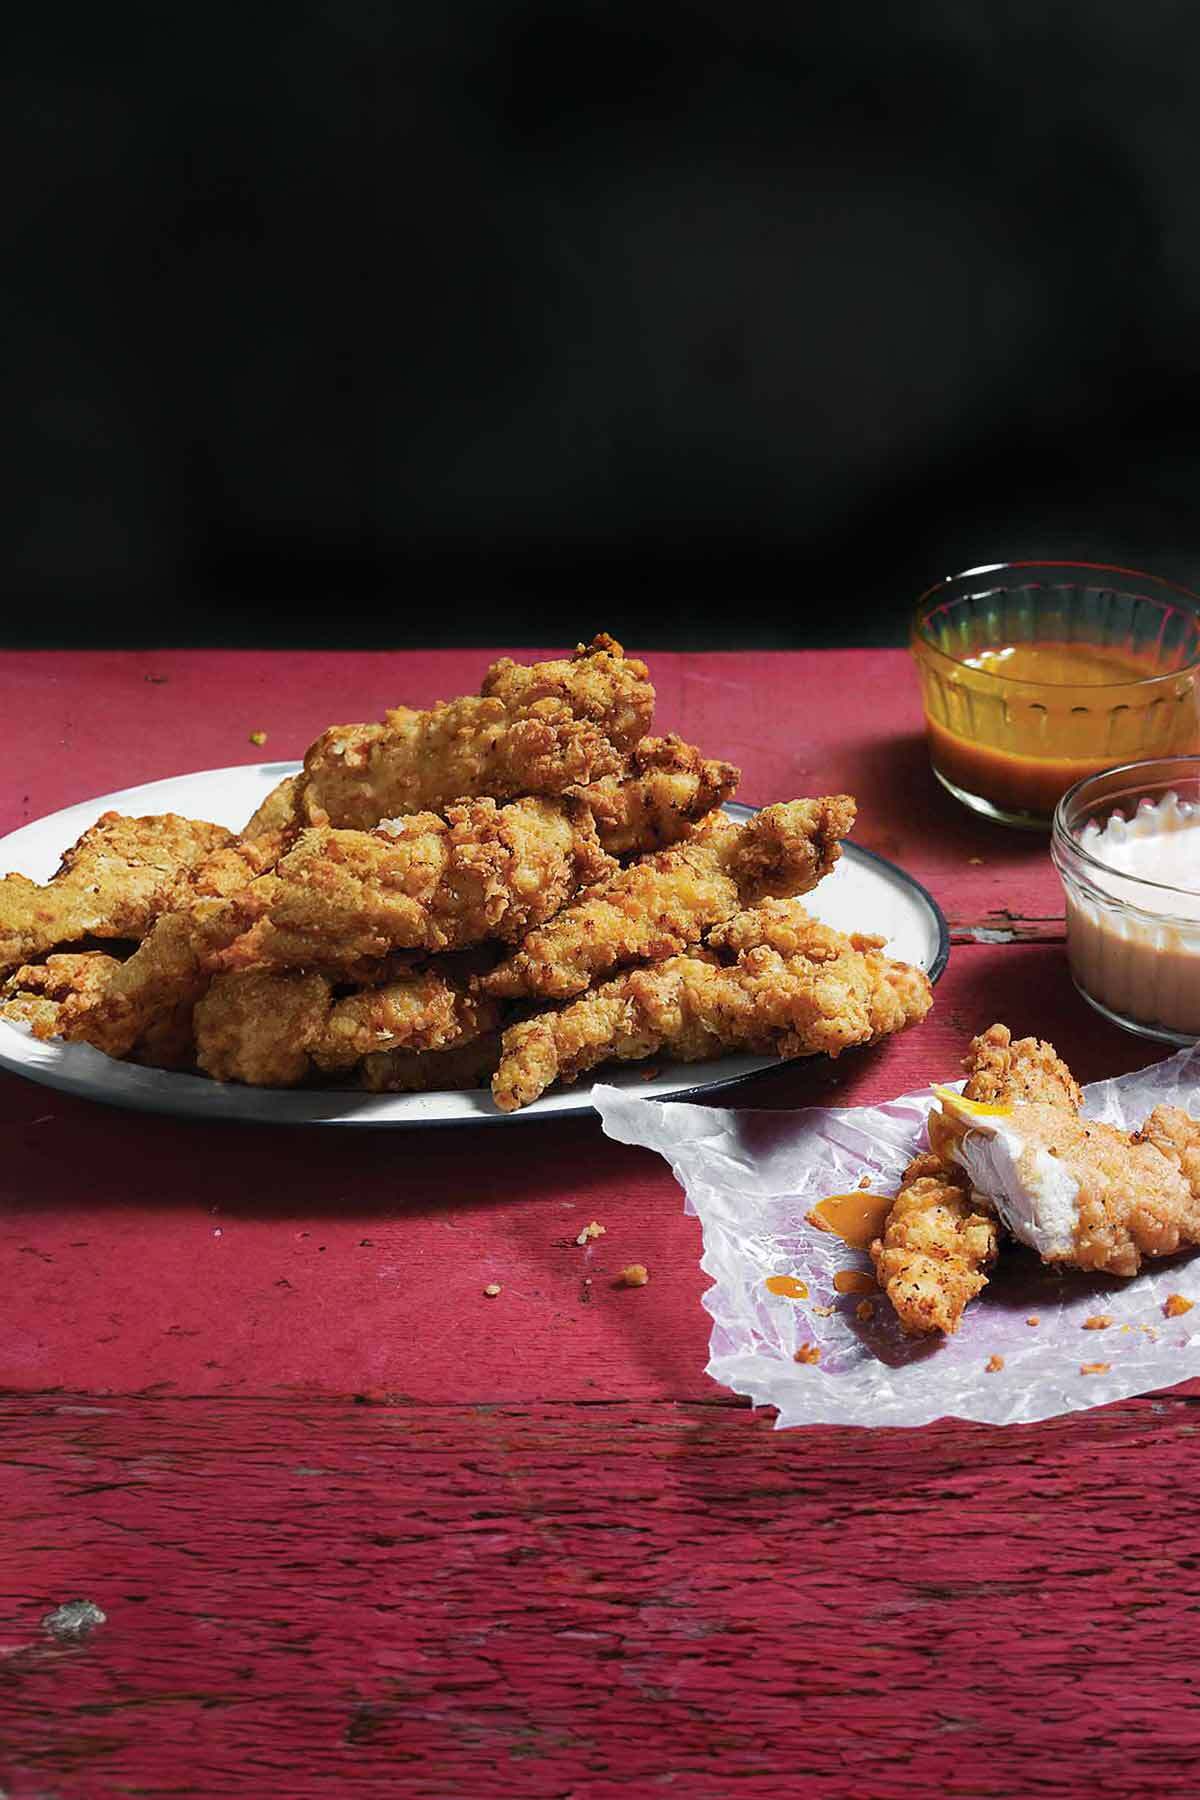
While most fried chicken tenders recipes seem like a huge undertaking, this pan-fried version is as simple and quick as they come—it’s ready in under 20 minutes! Like these breaded oven-fried chicken thighs, it’s perfect for those busy weeknights when you’re short on time, but still want to get something fresh, wholesome, and homemade on the table for your family.
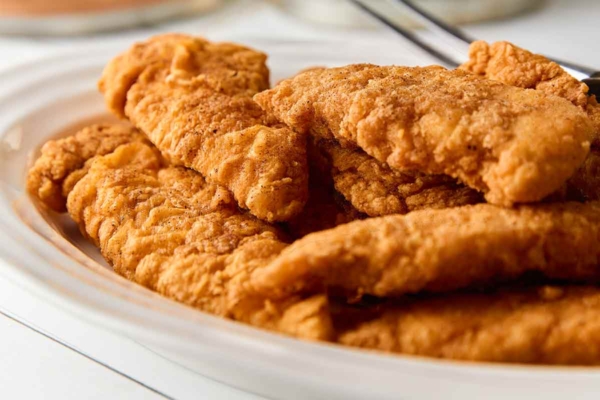
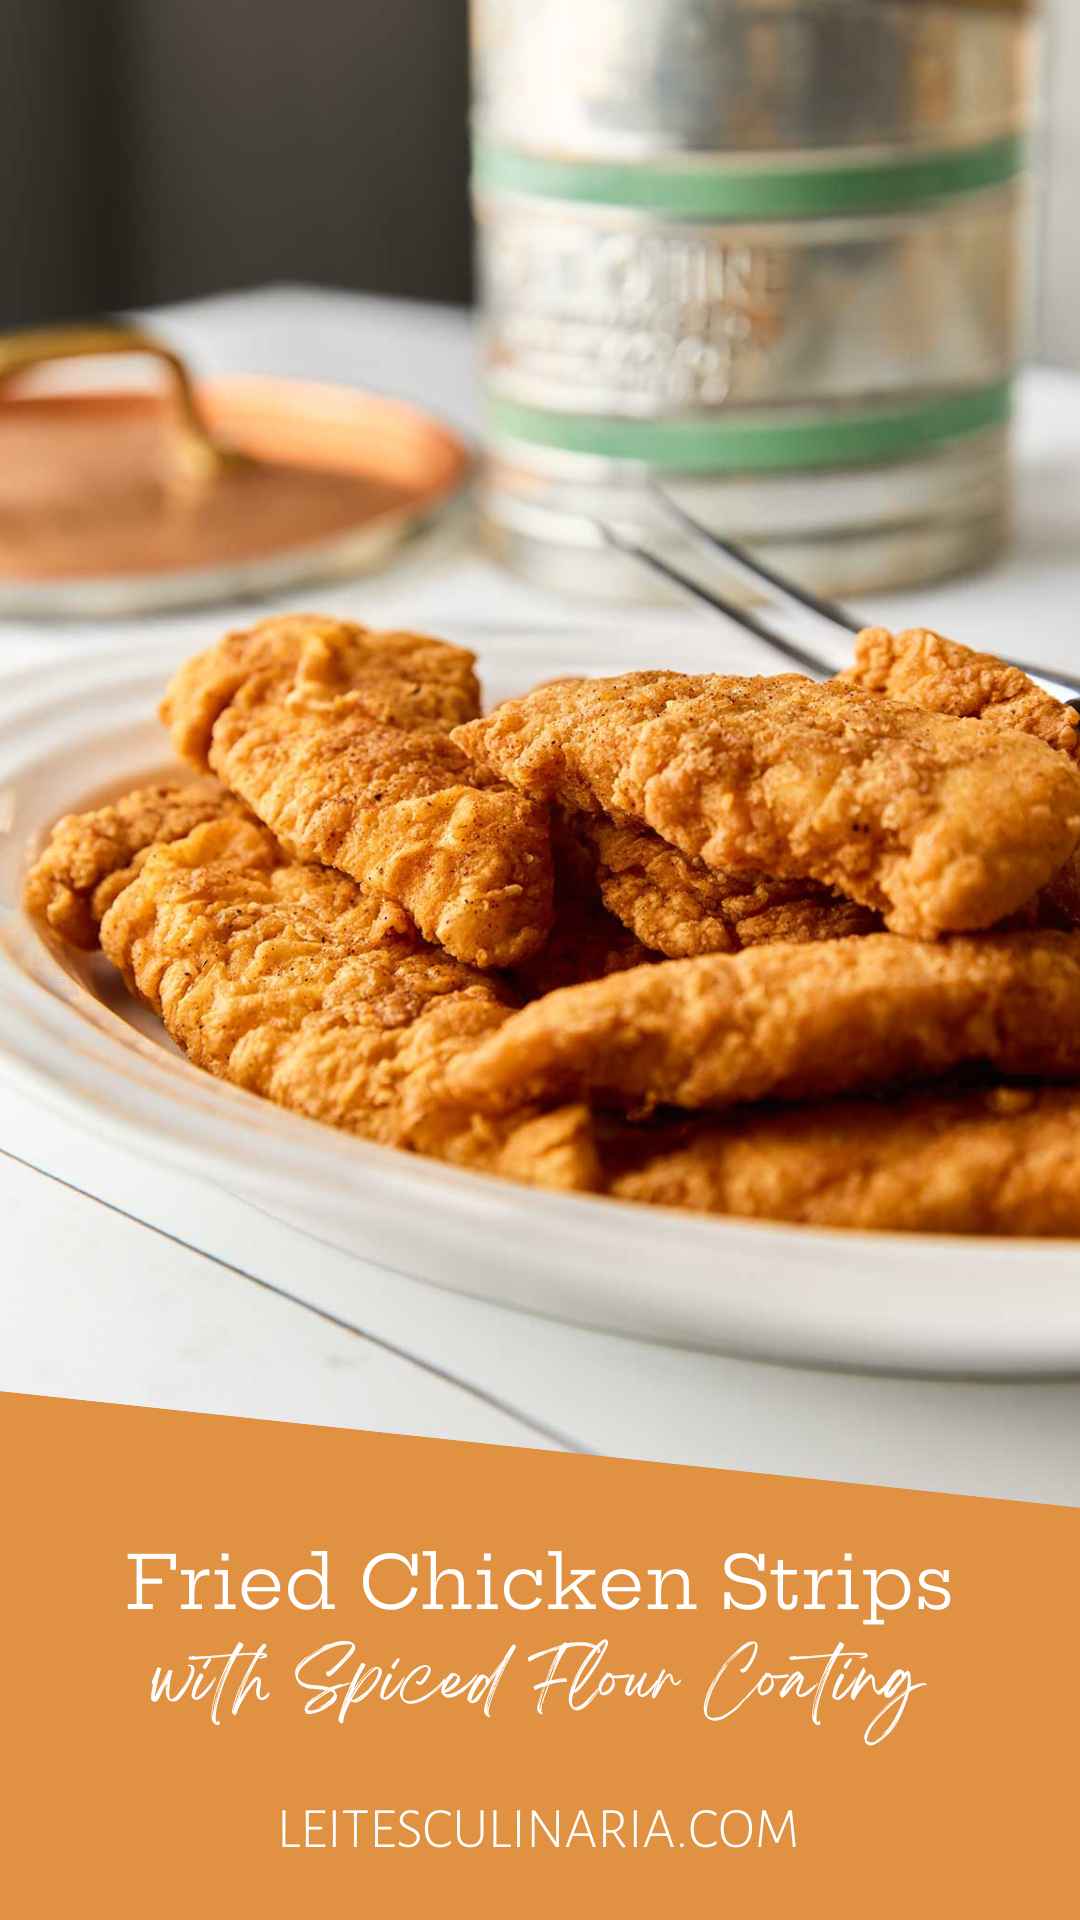
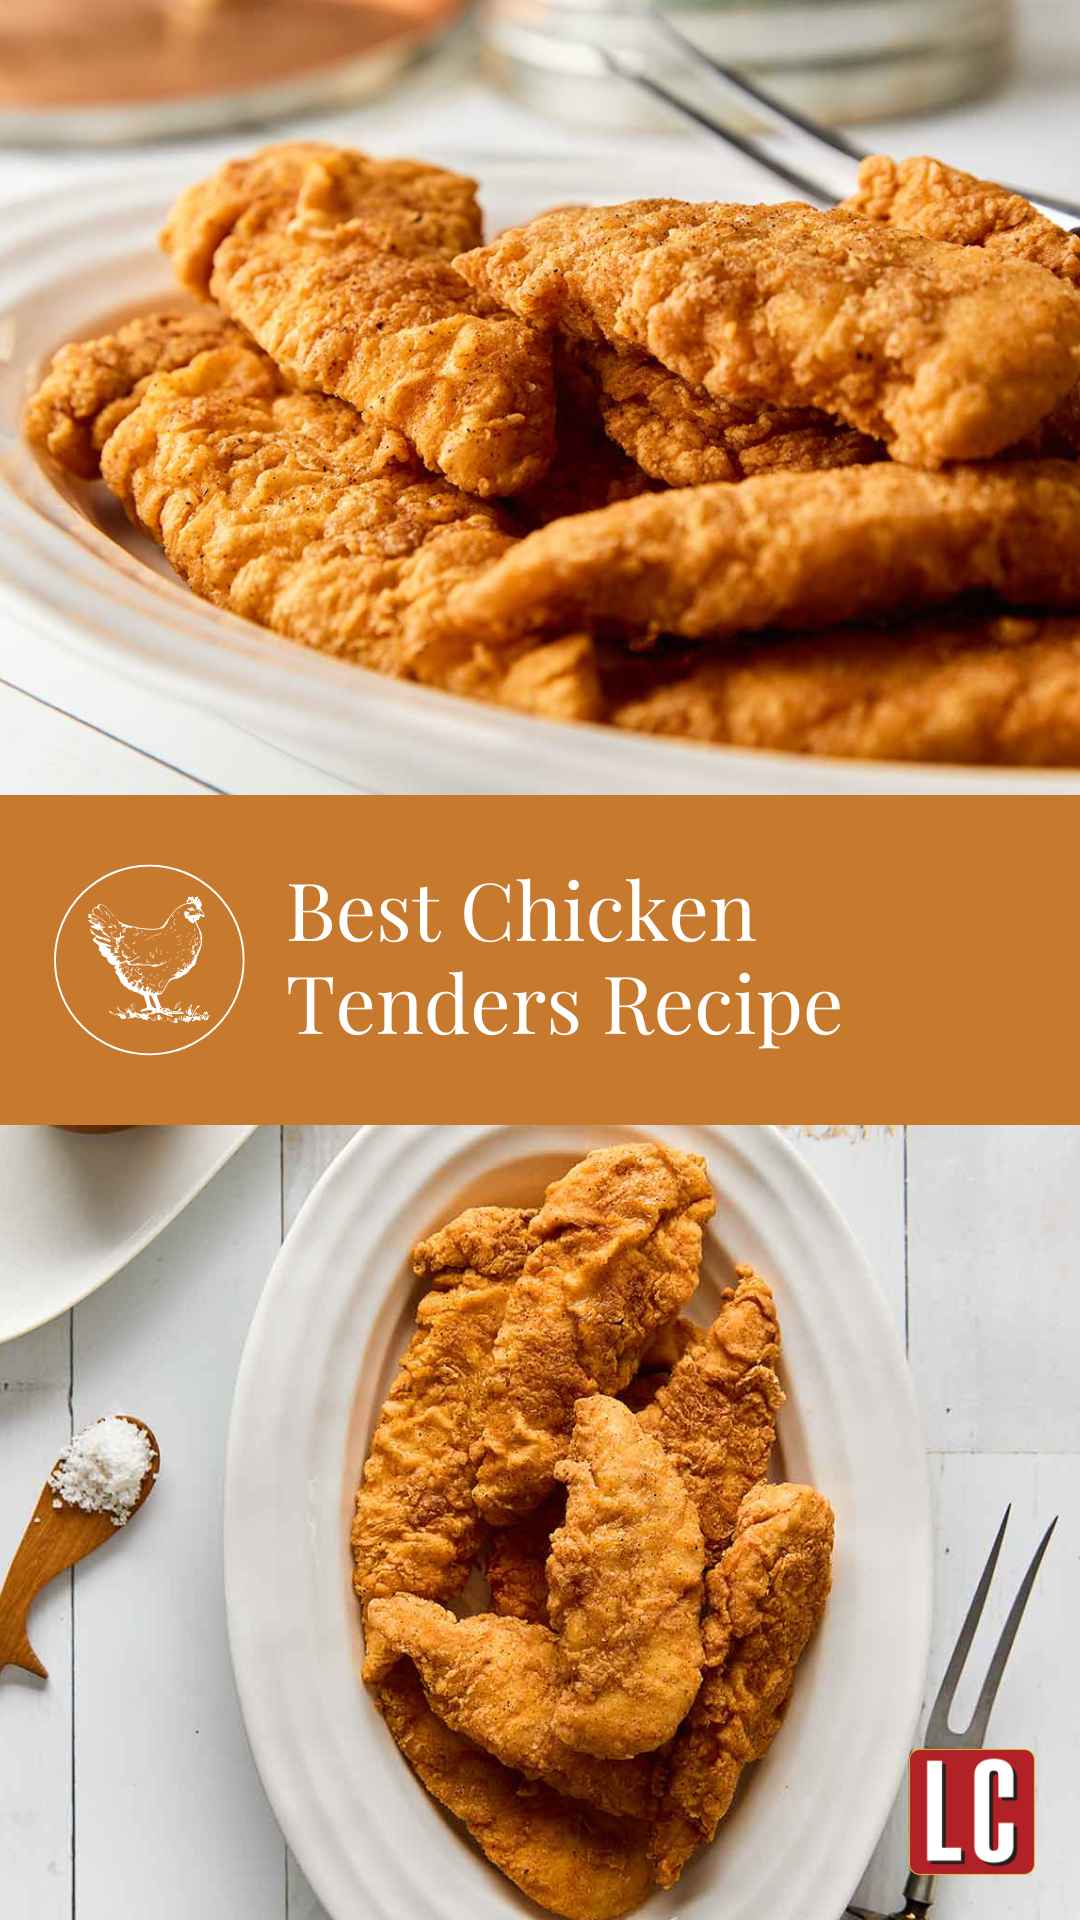
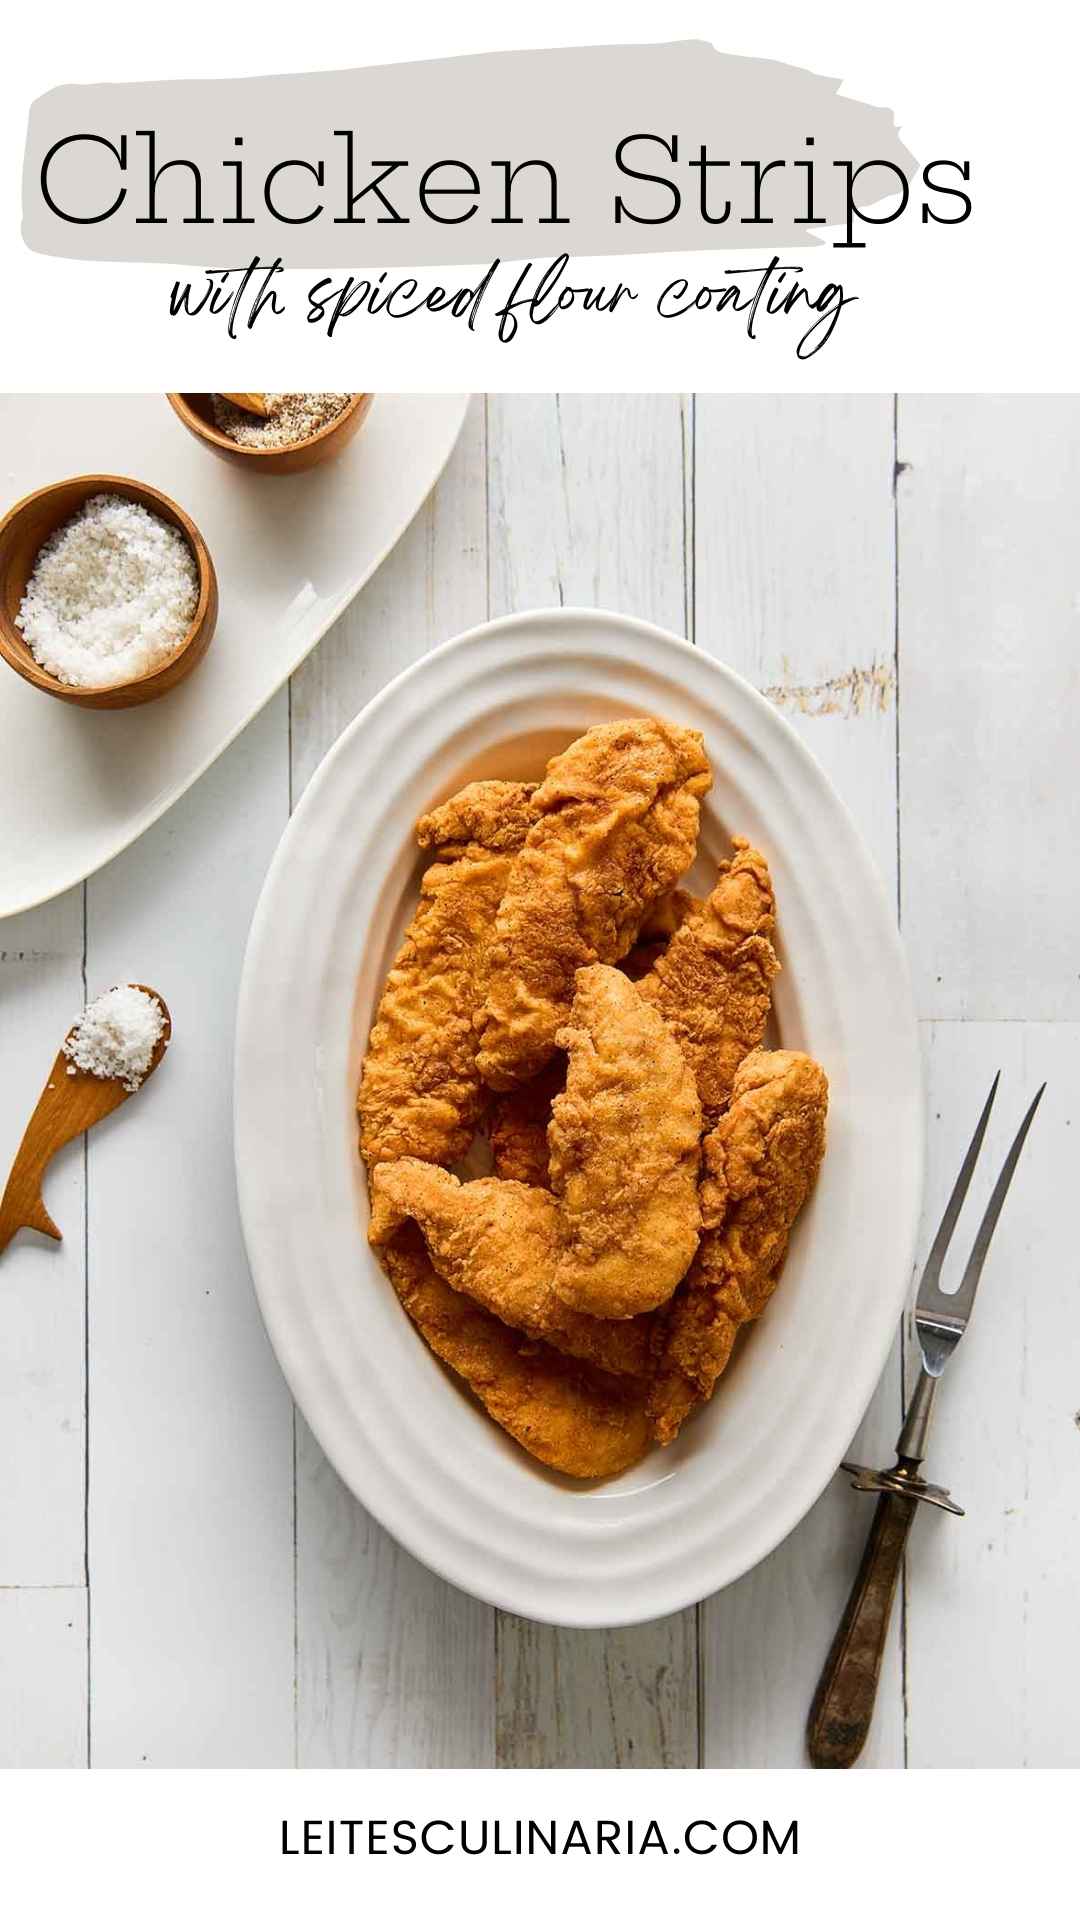
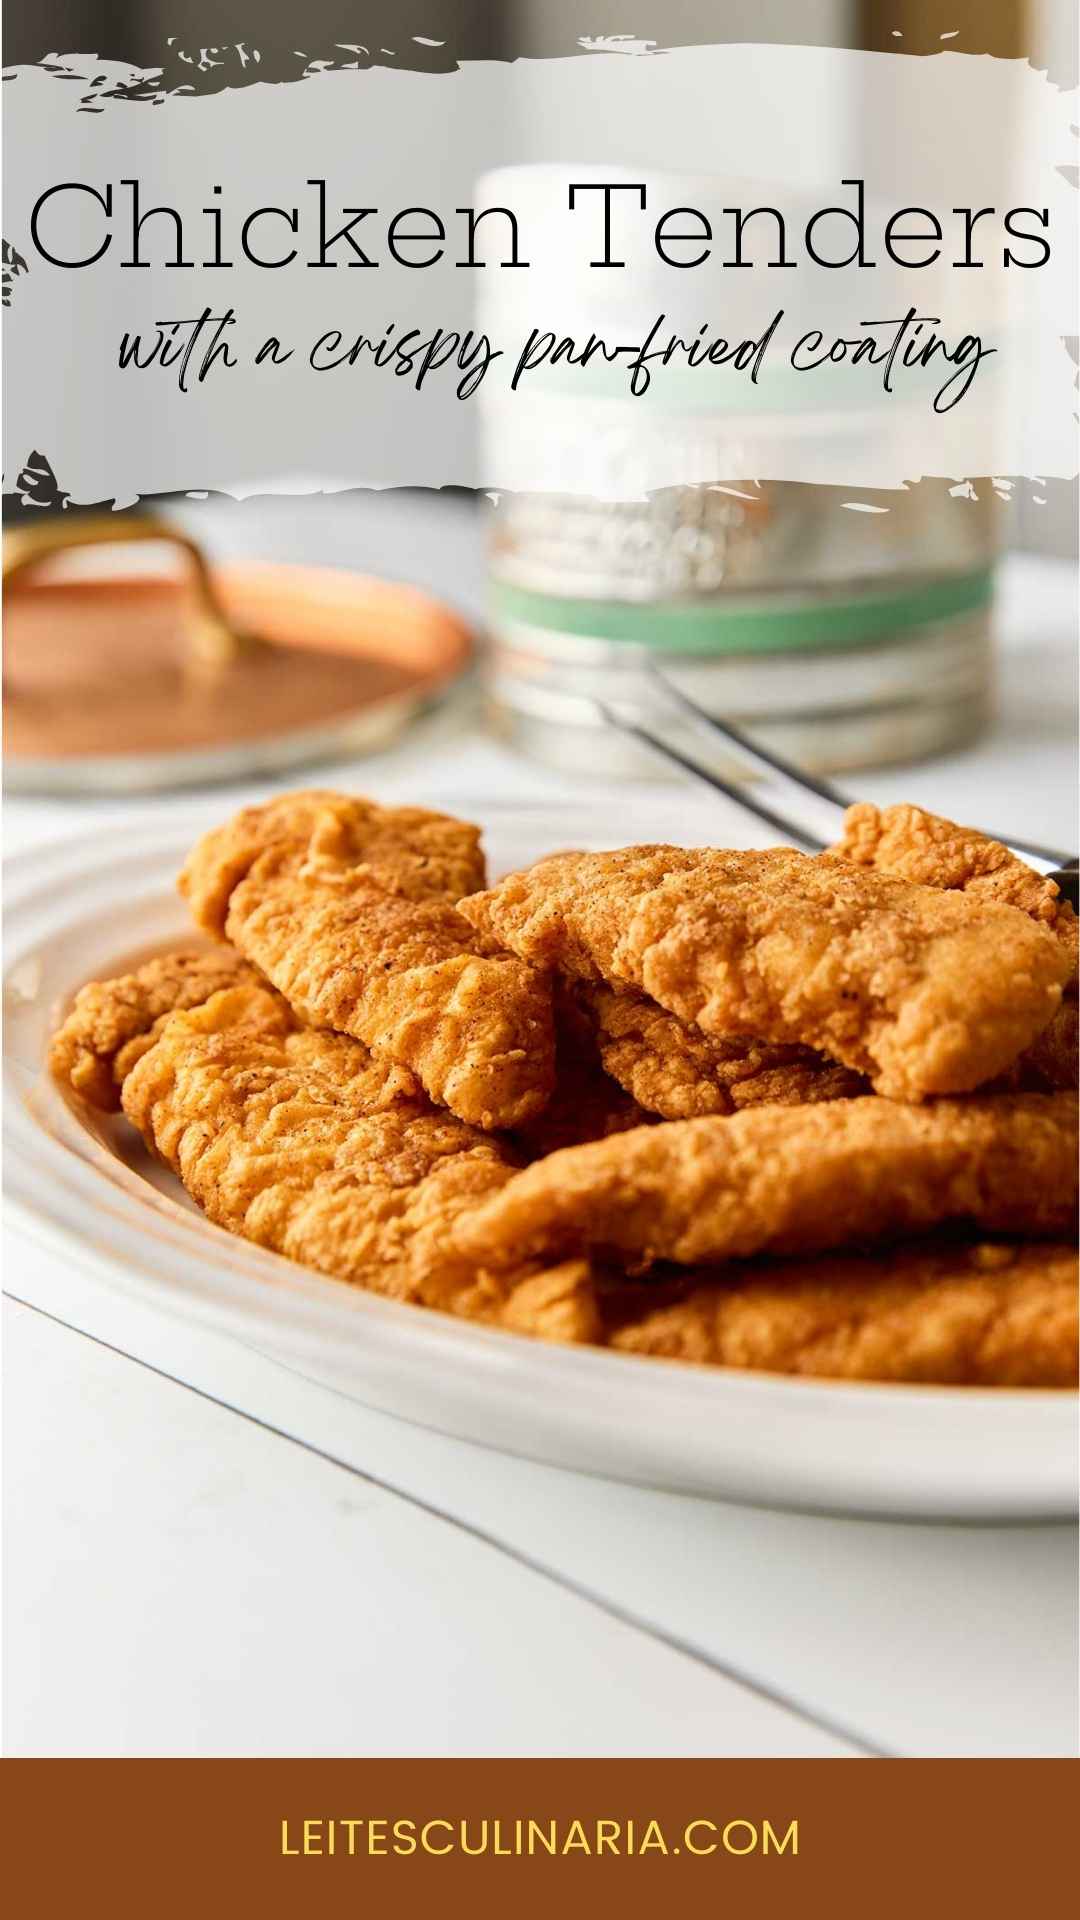
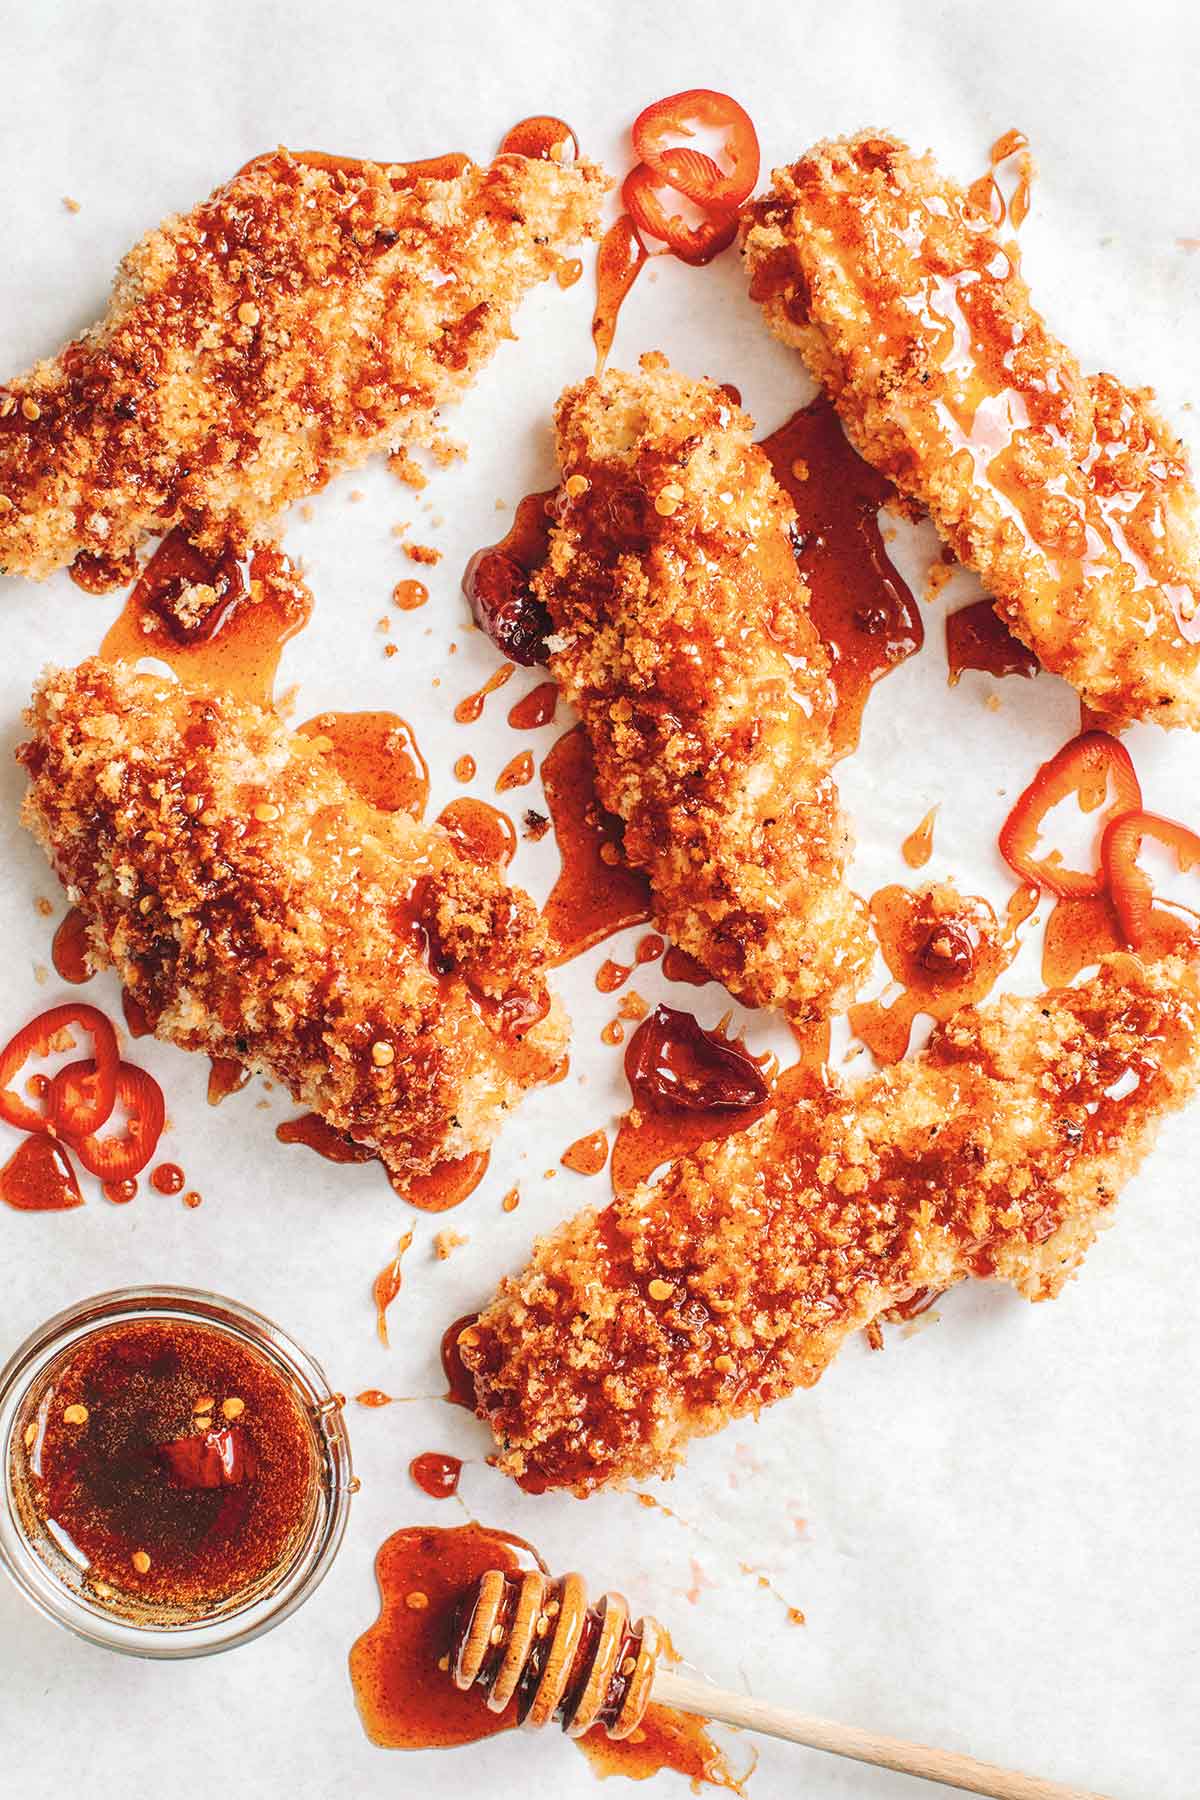
The chicken is coated in a light egg wash, dredged in a savory mixture of flour and spices, and pan-fried in olive oil, resulting in a quick, easy version of a comfort food classic. [Editor’s note: for a grown-up twist on this childhood classic, we suggest you whip up a batch of hot honey for your tenders.]–Melissa Bahen
Jump To

Why Our Testers Loved This
Given that my testers are calling this recipe “fool-proof”, “weeknight-friendly,” and “easy,” it’s no surprise that these “flavorful and crispy” chicken tenders were devoured by everyone who tried them.
Notes on ingredients
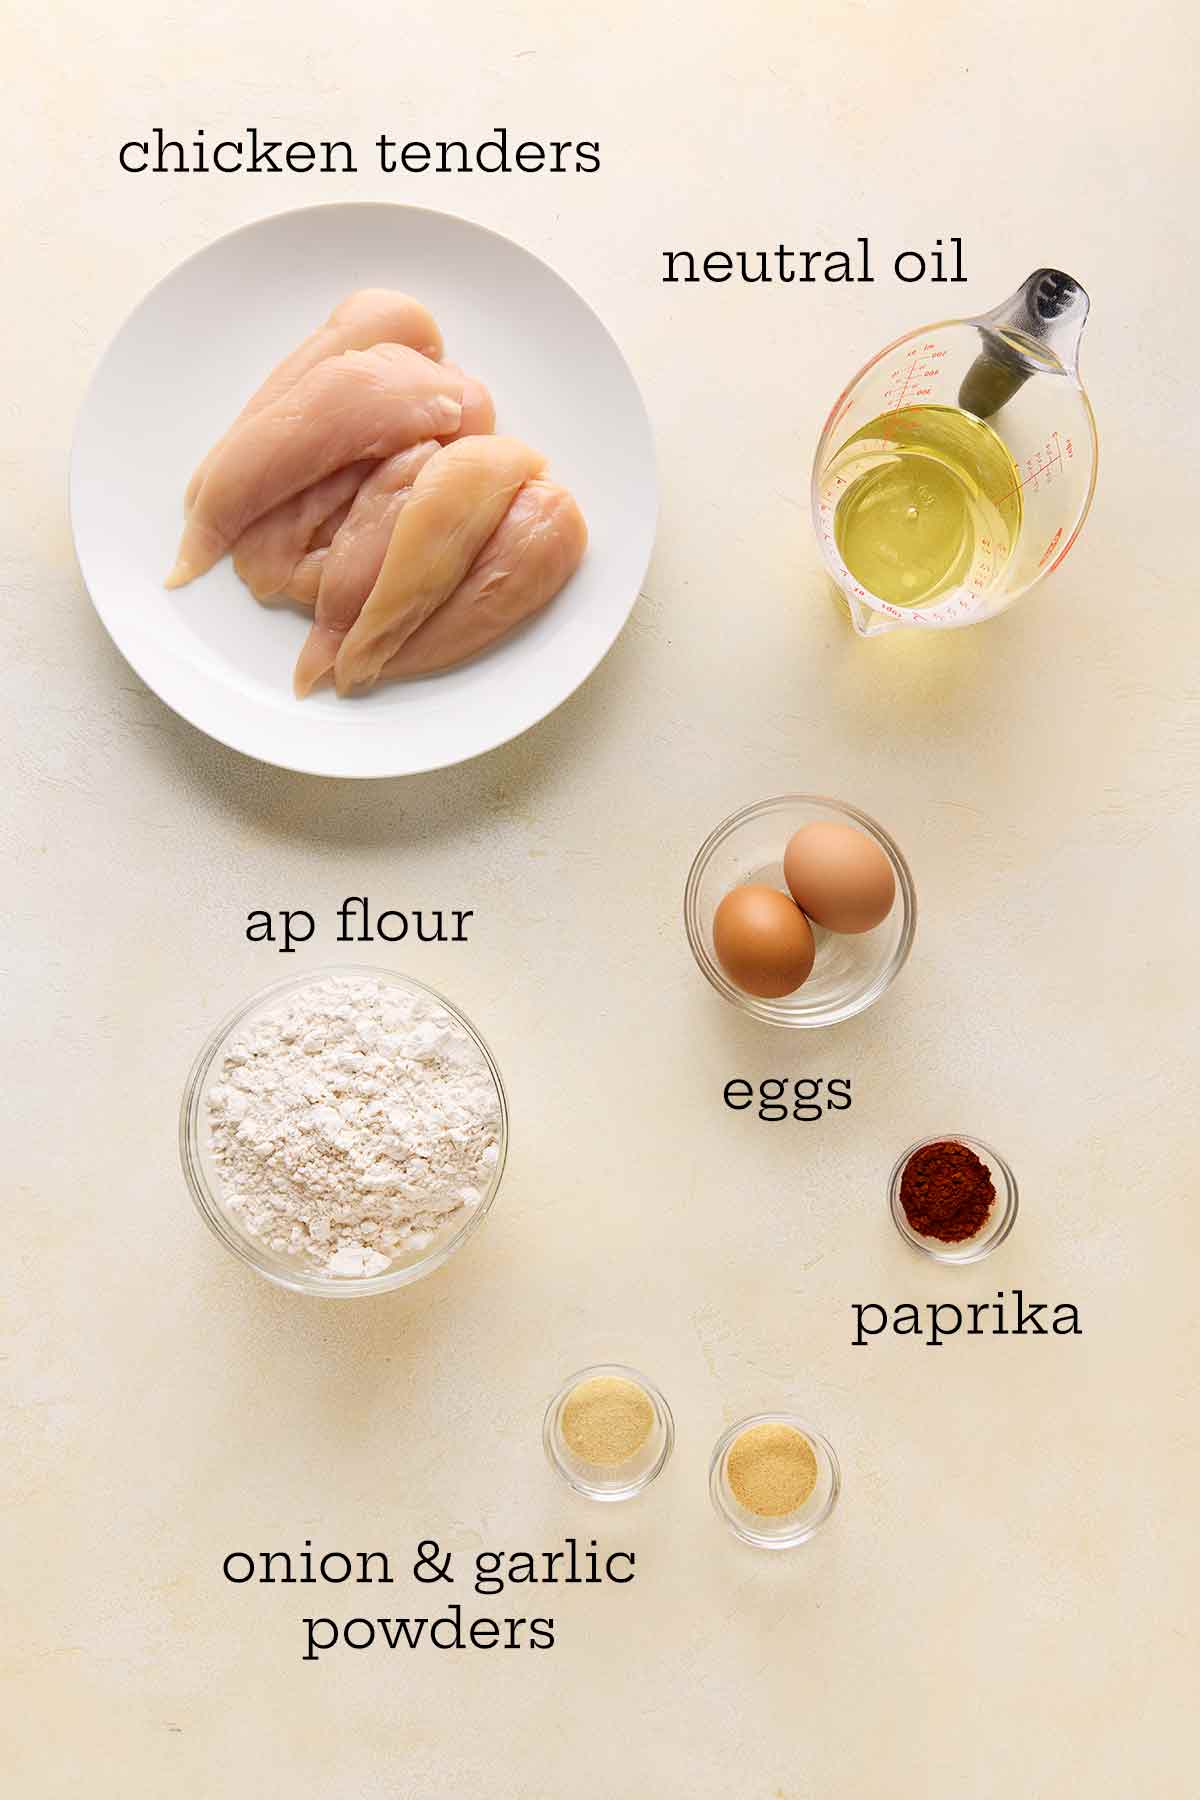
- Chicken tenders–You may see these labeled as chicken fillets or chicken tenderloins at your supermarket. If you can’t get them, you can slice several boneless chicken breasts into 1-inch-thick slices.
- Oil—Since you’re frying, use a high-smoke-point oil, such as vegetable, sunflower, or safflower.
- Seasoning—This combination of paprika, garlic powder, and onion powder will give your chicken a mild, pleasantly spiced coating. If you prefer spicier tenders, use hot paprika or add a pinch of cayenne to the seasoning.
How to Pan-Fry Chicken Tenders
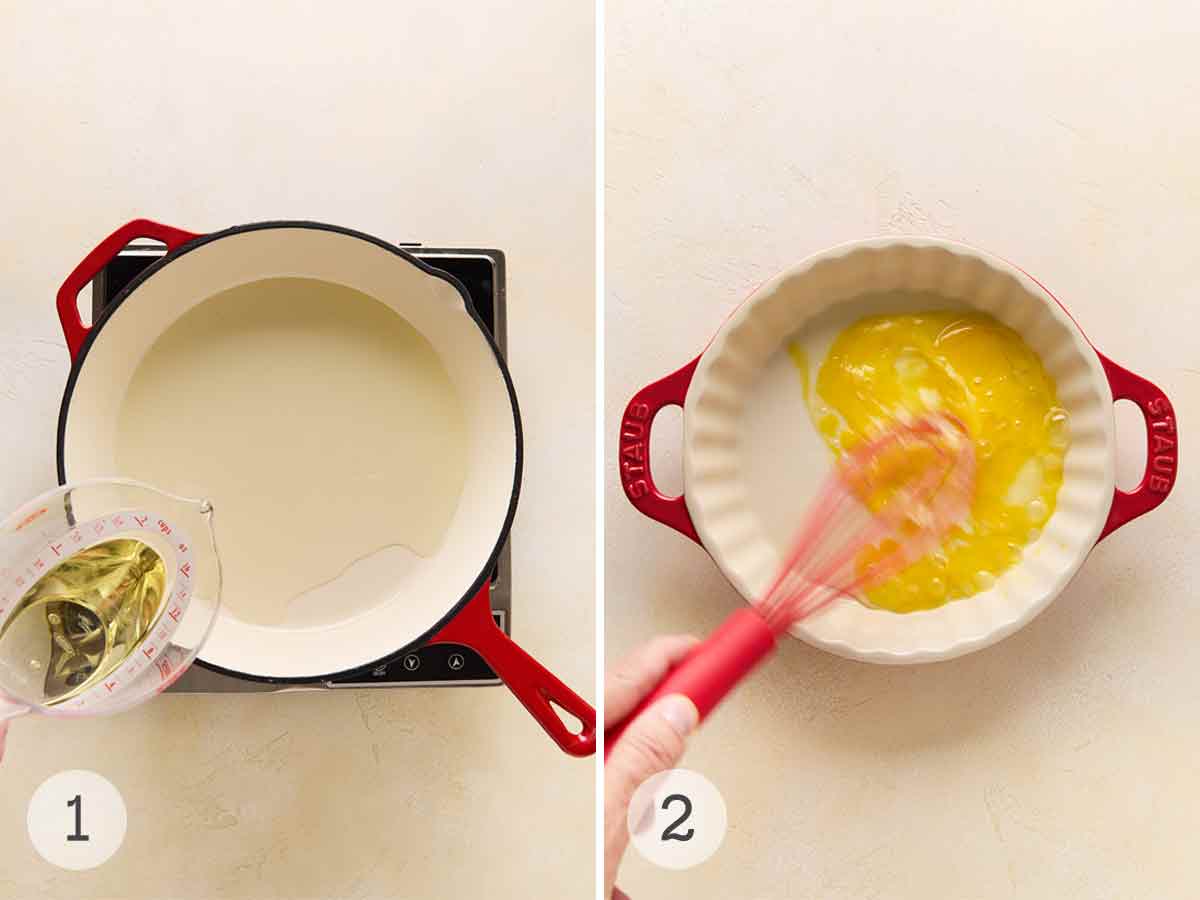
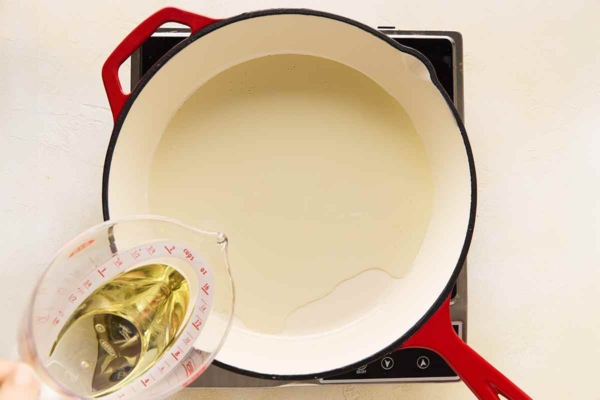
- Cover the bottom of a large skillet with oil and set it over medium heat.
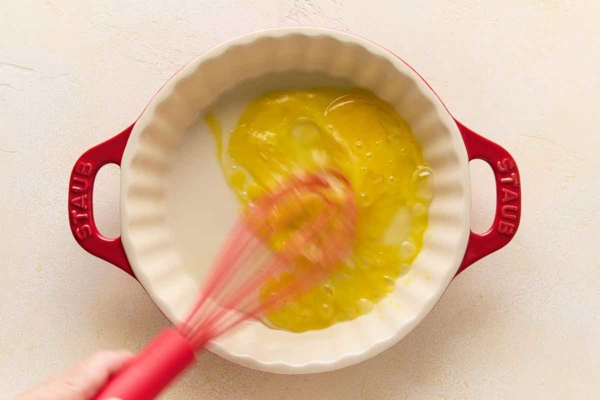
- Whisk the eggs and water together in a shallow bowl.
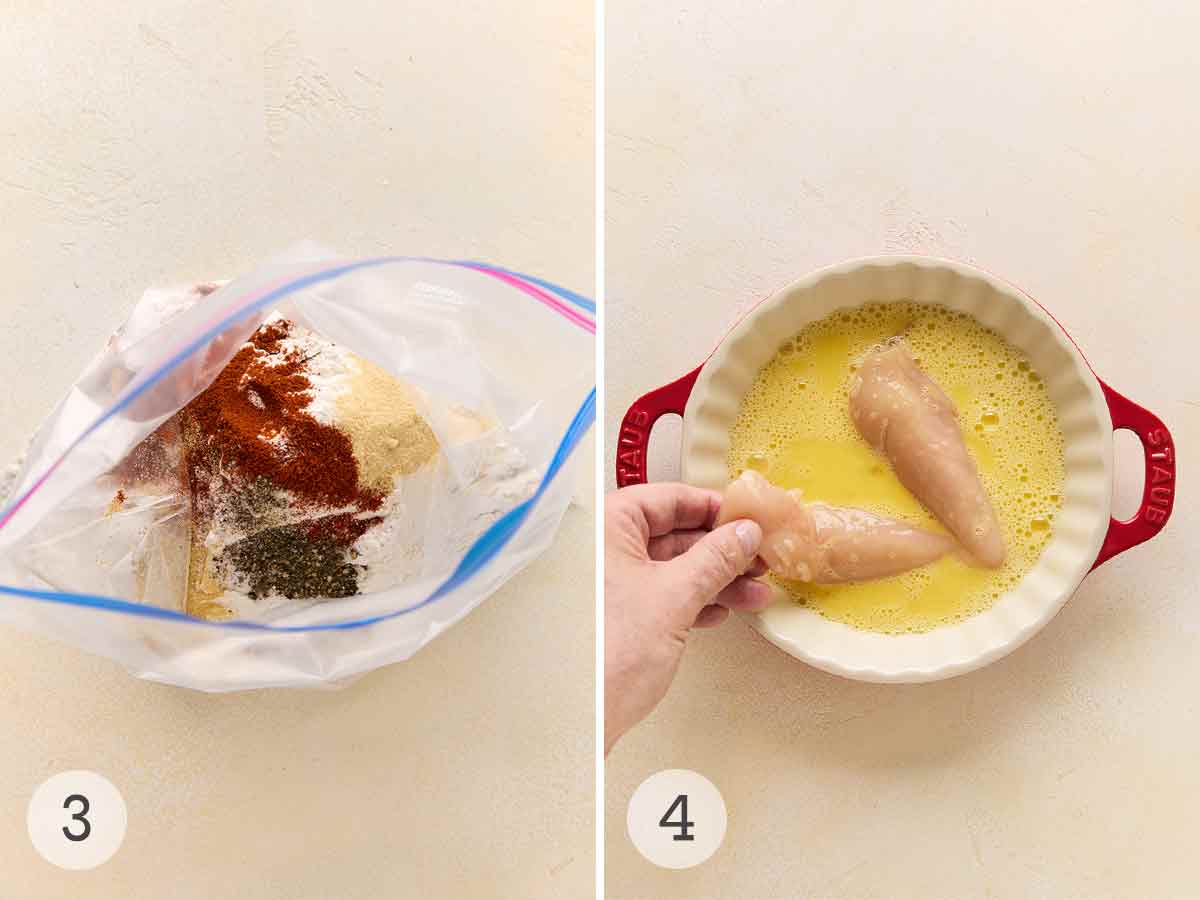
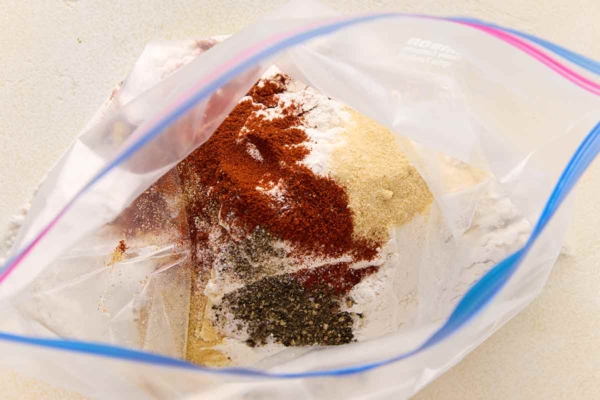
- Combine the flour and spices in a resealable bag or container.
- Working in batches, dip the chicken tenders in the egg, letting any excess drip off.
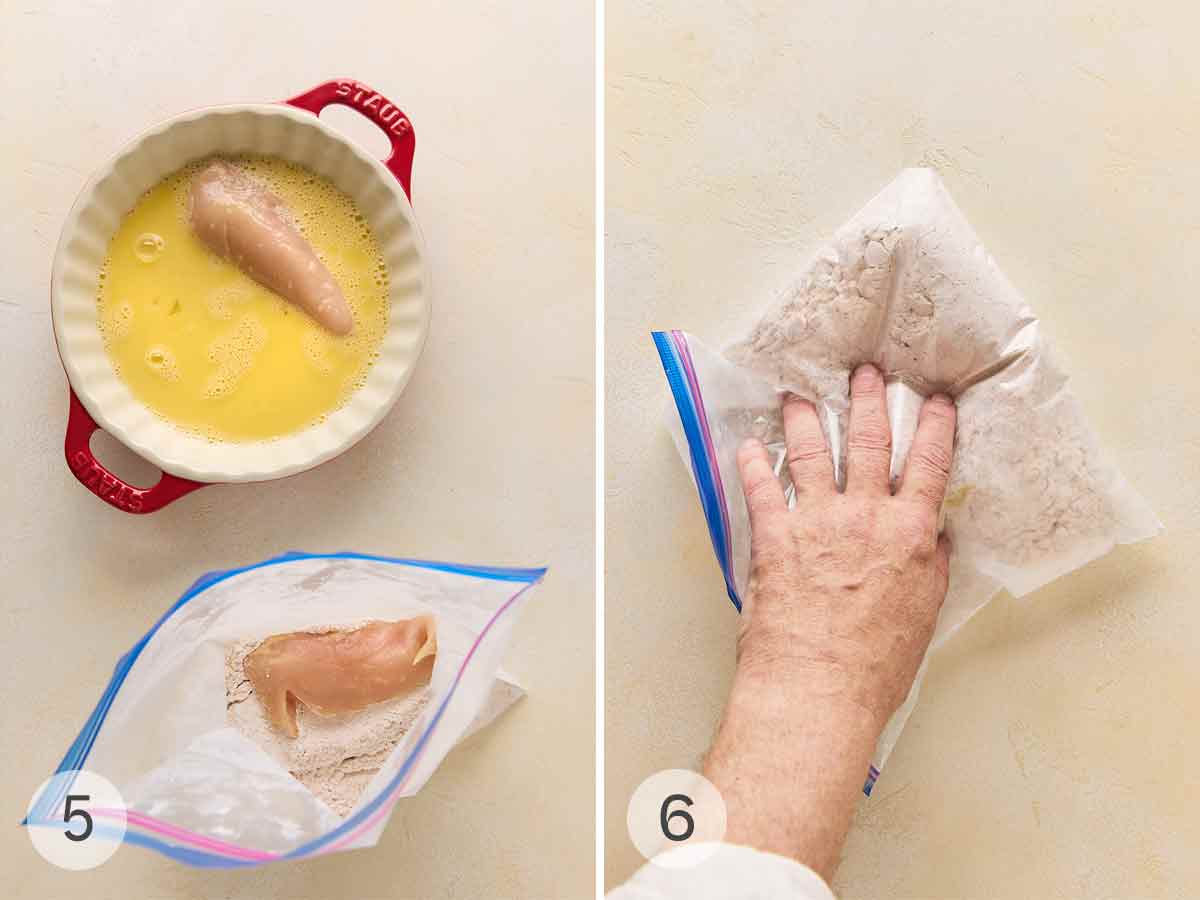
- Place the chicken strips in the spiced flour.
- Seal the bag and toss well to coat the chicken strips completely.
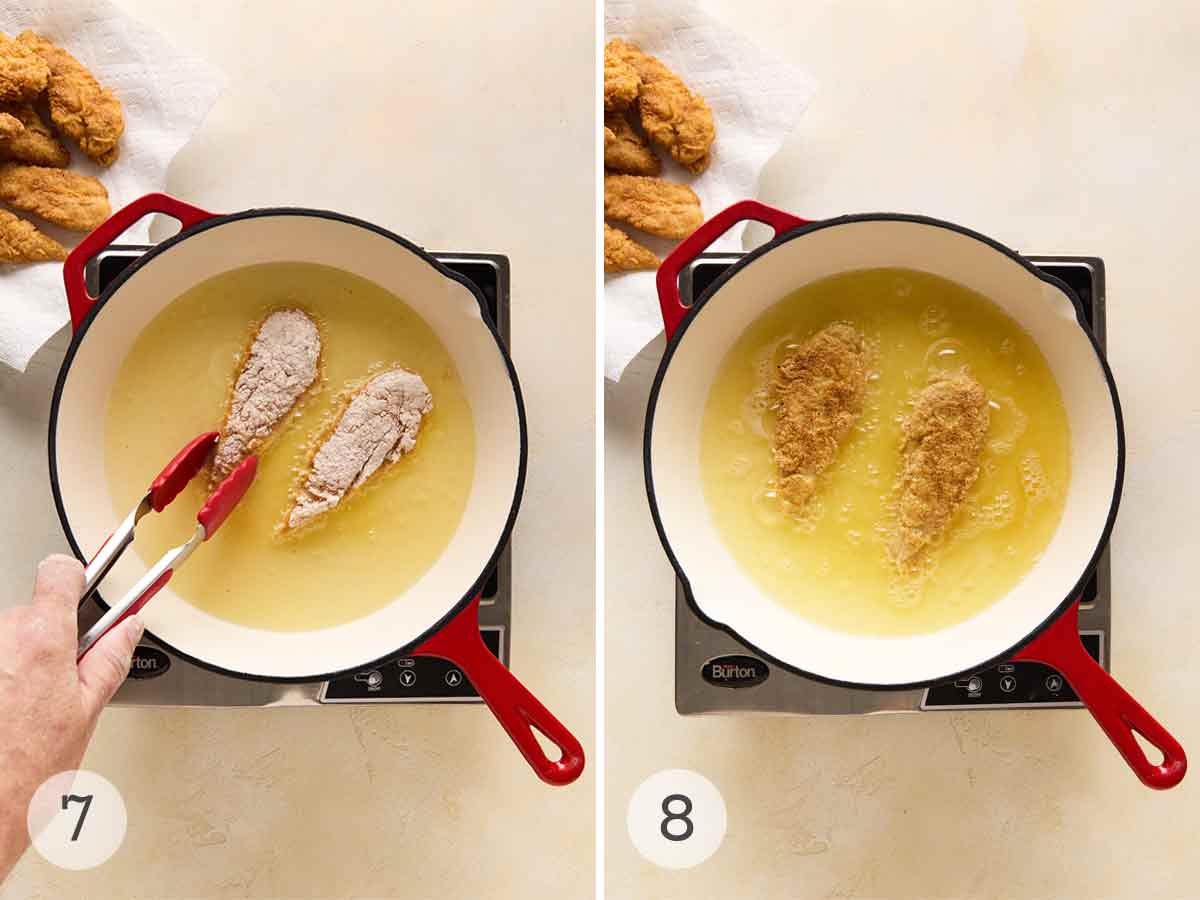
- Fry the chicken in the hot oil for 6 to 7 minutes.
- Flip the tenders and fry until cooked through and golden brown. Transfer to a plate lined with paper towel and serve hot.
Common Questions
Want to save this?
You could, obviously, take a couple of chicken breasts and thinly slice them. You know, so they look like chicken strips.
But if you’ve ever bought boneless breasts, then you’ve probably seen fillets. Also known as tenders, these are the strips of meat that connect the breast to the breastbone. They’re the perfect size for this recipe, as well as being, well…rather tender.
To ensure even cooking and to avoid burning the coating, I recommend thawing the chicken tenders in the refrigerator before frying them.
Storage & Reheating
Store leftover chicken tenders in a sealed container in the fridge for up to 3 days. Reheat them in a single layer in a 350°F toaster oven or air fryer until warmed through. Then, serve leftover tenders tucked inside a chicken sandwich or wrap or cut up into a salad.
Pro tips & troubleshooting
- Use a meat thermometer to ensure that you don’t overcook or undercook the chicken.
- This recipe is suitable for dairy-free diets.
What to Serve with This Recipe
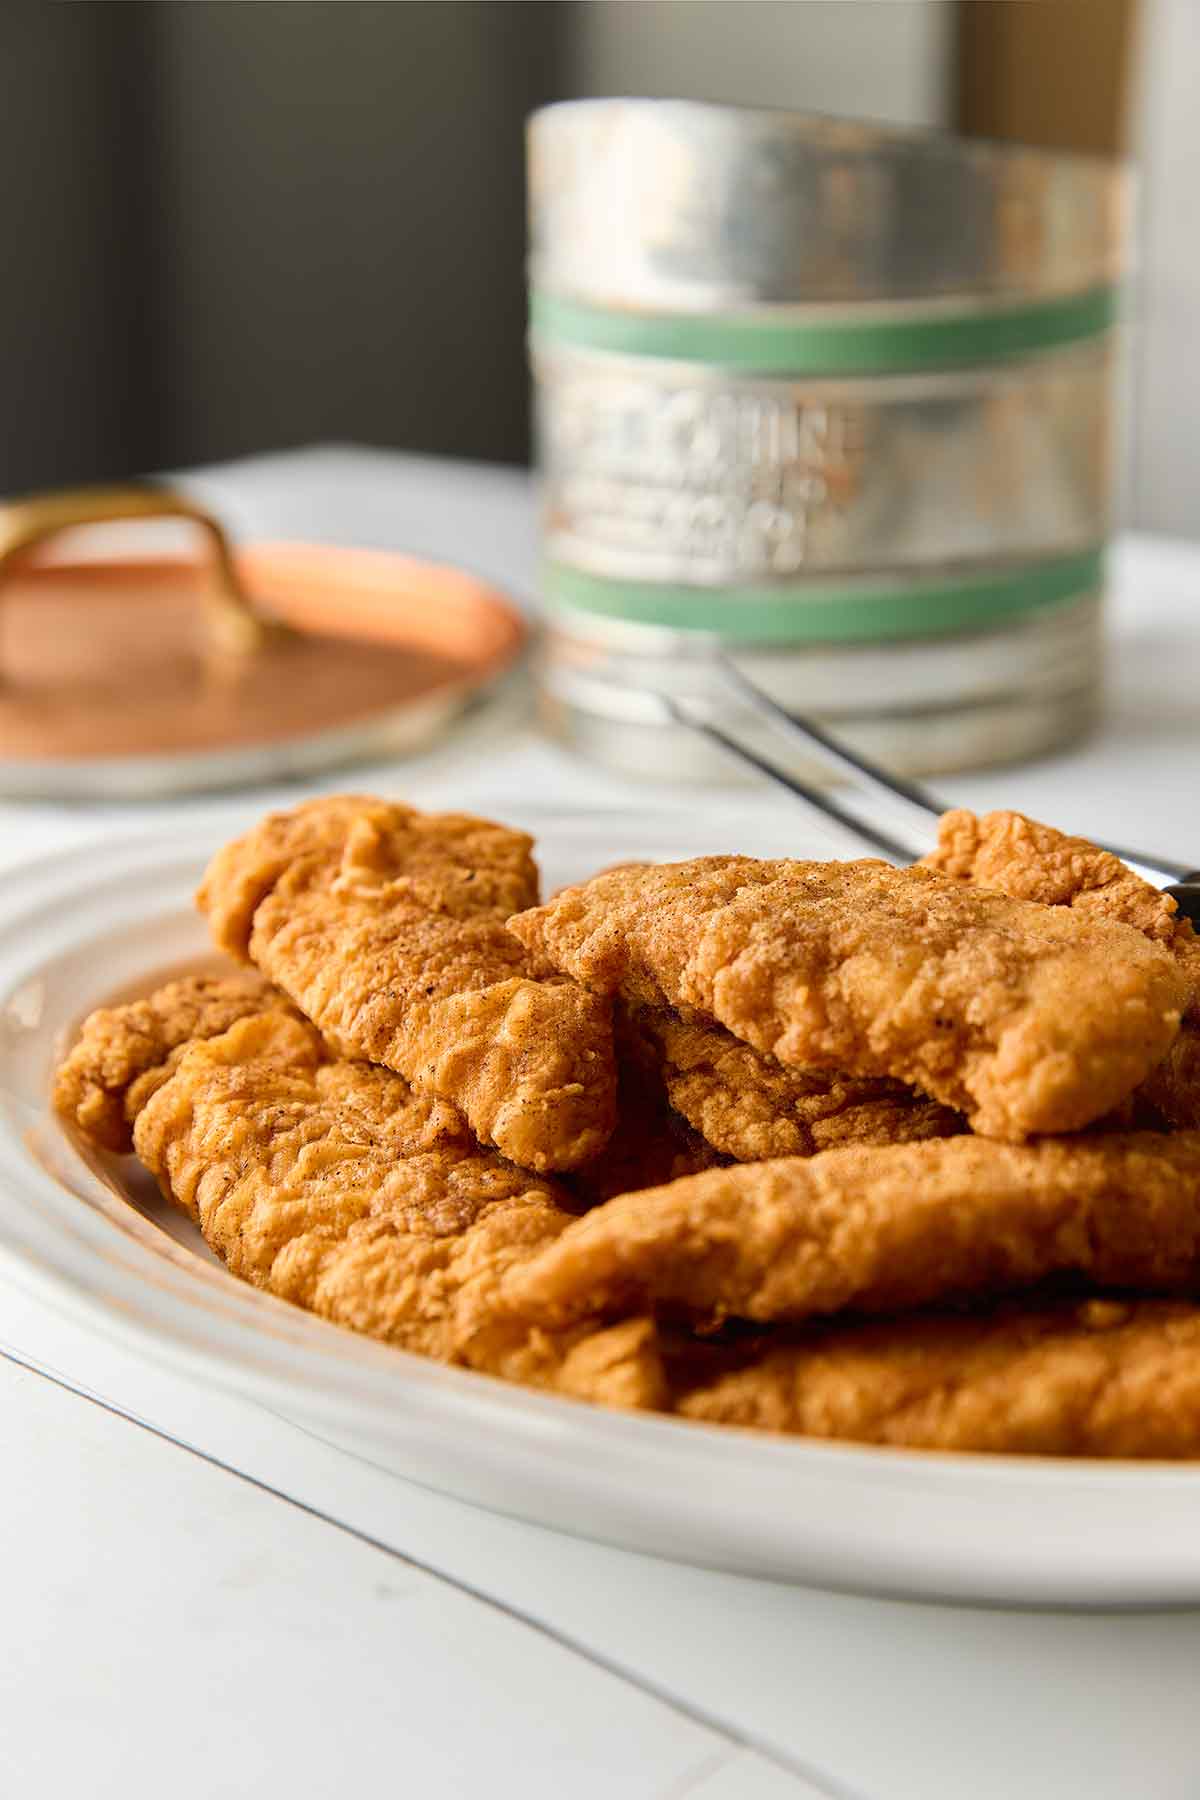
Definitely serve these crispy chicken strips with some potatoes on the side. I’m partial to piping hot French fries, but cheesy Parmesan-crusted roast potatoes, or fluffy twice-baked potatoes would be great here. (What can I say? I’m Portuguese. We’re genetically obsessed with batatas!)
Write a Review
If you make this recipe, or any dish on LC, consider leaving a review, a star rating, and your best photo in the comments below. I love hearing from you.–David
Wow! This was the best fried chicken I’ve ever made. With many other recipes I’ve tried, the batter did not cling to the chicken the way this batter did.
The chicken was crunchy on the outside and tender in the middle. The spice combo was simple but still stood out in flavor. I give this recipe two thumbs up!
April
Pan-Fried Chicken Tenders
Ingredients
- 1 cup mild vegetable oil, more or less depending on the size of your skillet
- 2 large eggs
- 2 tablespoons water
- 2 cups all-purpose flour
- 2 teaspoons paprika, hot, smoked, or regular
- 2 teaspoons onion powder
- 2 teaspoons garlic powder
- 2 1/2 teaspoons kosher salt
- 1/2 teaspoon freshly ground black pepper
- 2 1/2 to 3 pounds boneless skinless chicken breast tenders
- Dipping Sauces, such as ketchup, barbecue sauce, ranch dressing, spicy bourbon maple syrup, or other desired dip
Instructions
- Pour enough of the 1 cup mild vegetable oil into a nonstick skillet to cover the bottom of the pan by 1/4 inch. Crank the heat to medium.
- Whisk the 2 large eggs and 2 tablespoons water in a shallow dish or pie plate until well combined.
- Combine the 2 cups all-purpose flour, 2 teaspoons paprika, 2 teaspoons onion powder, 2 teaspoons garlic powder, 2 1/2 teaspoons kosher salt, and 1/2 teaspoon freshly ground black pepper In a large zip-top plastic bag.
- Working in batches, coat the 2 1/2 to 3 pounds boneless skinless chicken breast tenders in the egg mixture and let any excess drip off.
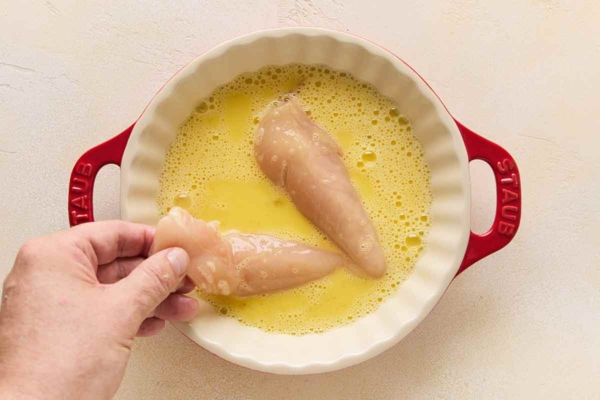
- Place the tenders in the bag of seasoned flour. Seal tightly and shake gently to coat the chicken tenders with flour thoroughly.
☞ TESTER TIP: For extra-crispy chicken, dip the coated tenders back into the egg and then once more into the seasoned flour.
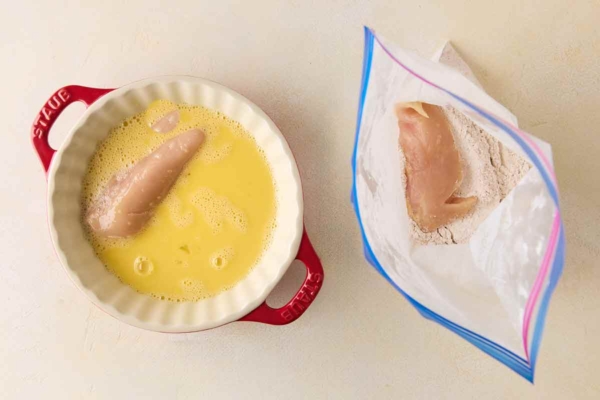
- Working in batches, if necessary, place the coated chicken tenders in the skillet, and cook until golden on the bottom, 4 to 6 minutes.
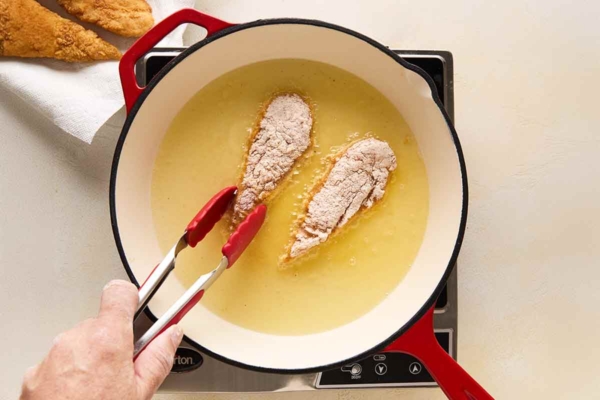
- Flip the chicken tenders over, and continue to fry until golden on the other side, 2 to 4 minutes more. If you have an instant-read thermometer, the chicken should be 165°F (74°C).
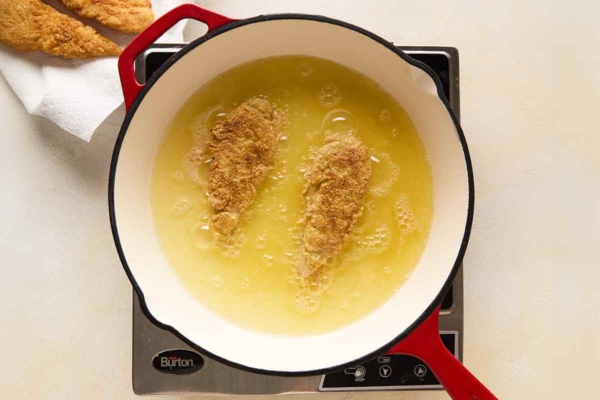
- Use tongs to carefully remove the fried chicken from the pan, transfer it to a platter lined with paper towels, and serve hot with your favorite dipping sauce.
Notes
- Avoid undercooking your chicken–Use a meat thermometer to ensure that you don’t overcook or undercook the chicken.
- Storage and reheating–Store leftover chicken tenders in a sealed container in the fridge for up to 3 days. Reheat them in a single layer in a 350°F toaster oven or air fryer until warmed through.
- Dietary–This recipe is suitable for dairy-free diets.

Explore More with AI
Nutrition
Nutrition information is automatically calculated, so should only be used as an approximation.
Recipe Testers’ Reviews
Did you know only 68% of the recipes we test make it onto the site? This recipe survived our rigorous blind testing process by multiple home cooks. It earned the Leite’s Culinaria stamp of approval—and the testers’ reviews below prove it.
These pan-fried chicken tenders are really flavorful and crispy–they didn’t have the dense greasiness that so many chicken tenders have. I was hugely impressed.
My kid? You’d have thought he won the lottery. He pronounced them a “Gabazillion out of 10” and was doing his happy bacon dance with a tender in each hand. These are terrific with ranch dressing and also ketchup/mayo magic sauce, as we call it in this house. High praise from everyone in the family makes these a winner!
When your better half says, “You better make these again,” you know it’s a good recipe. I used a few boneless chicken breasts that I cut into strips. As I fried them, I used my instant-read thermometer to keep an eye on the internal temp. I turned them over after 2 to 3 minutes per side, and removed them when they hit 160°F, as I knew they would continue cooking as they rested.
The result is wonderfully moist pan-fried chicken strips. We served them with some Dijon mustard and a bit of ranch dressing for dipping. A couple of baked potatoes and roasted Brussels rounded out the dish!
I love chicken tenders. Every time I buy breasts, I slice off that piece and freeze it until I have enough to make these tasty little babies.
While this pan-fried chicken tenders recipe isn’t ground-breaking, it’s very good. And I say that because it’s nearly identical to the recipe I’ve made for years and the same as my Mum did when I was a kid. Pretty much foolproof and delivers exactly what you expect.
I served them with a couple of dips—gochujang, mango chile, and buffalo sauce. The leftovers were used in wraps and reheated very well.
This pan-fried chicken tenders recipe is so weeknight-friendly and easy that even the most fry-phobic cook can love it.
This recipe can scale nicely. I made a half batch for two people so that we’d have leftovers to reheat the next day for lunch. (Can you say “fried chicken sandwich” any quicker than yes?).
The recipe’s timing works just about perfectly. The only thing I might try next time is once I have my seasoning set up, take a small piece of chicken, wet and dredge, and fry it up as a sample to test the seasoning level.


Is the sodium count accurate on these? I am dying to make them, but my husband and I try to keep our sodium intake low 🙁
Ellen, the sodium count is accurate if you use all of the flour mixture for coating the tenders. It also doesn’t include any sodium in your selected dipping sauce. If you want to cut the sodium, you could reduce the amount of salt in the coating, as that is the primary source.
Wow! This was the best fried chicken I’ve ever made. With many other recipes I’ve tried, the batter did not cling to the chicken the way this batter did. The chicken was crunchy on the outside and tender in the middle. the spice combo was simple but still stood out in flavor. I give this recipe two thumbs up!
Thanks, April. We’re delighted it was such a hit!
My mom used to fry the best chicken (and we aren’t from the south). We raised our own fryers. But for the life of me, I can’t figure out how her chicken was so good, when she didn’t do any brining or battering. After she washed it, she just rolled it in seasoned flour and fried it in lard or sometimes Crisco and butter. But mostly lard saved from the butchering of hogs etc. I have tried to do it that way and it doesn’t work well for me, not like hers did. LOL
Sometimes those memories are so cherished, it feels like we’ll never be able to recreate them, Holly. Perhaps this recipe will do the trick for you?