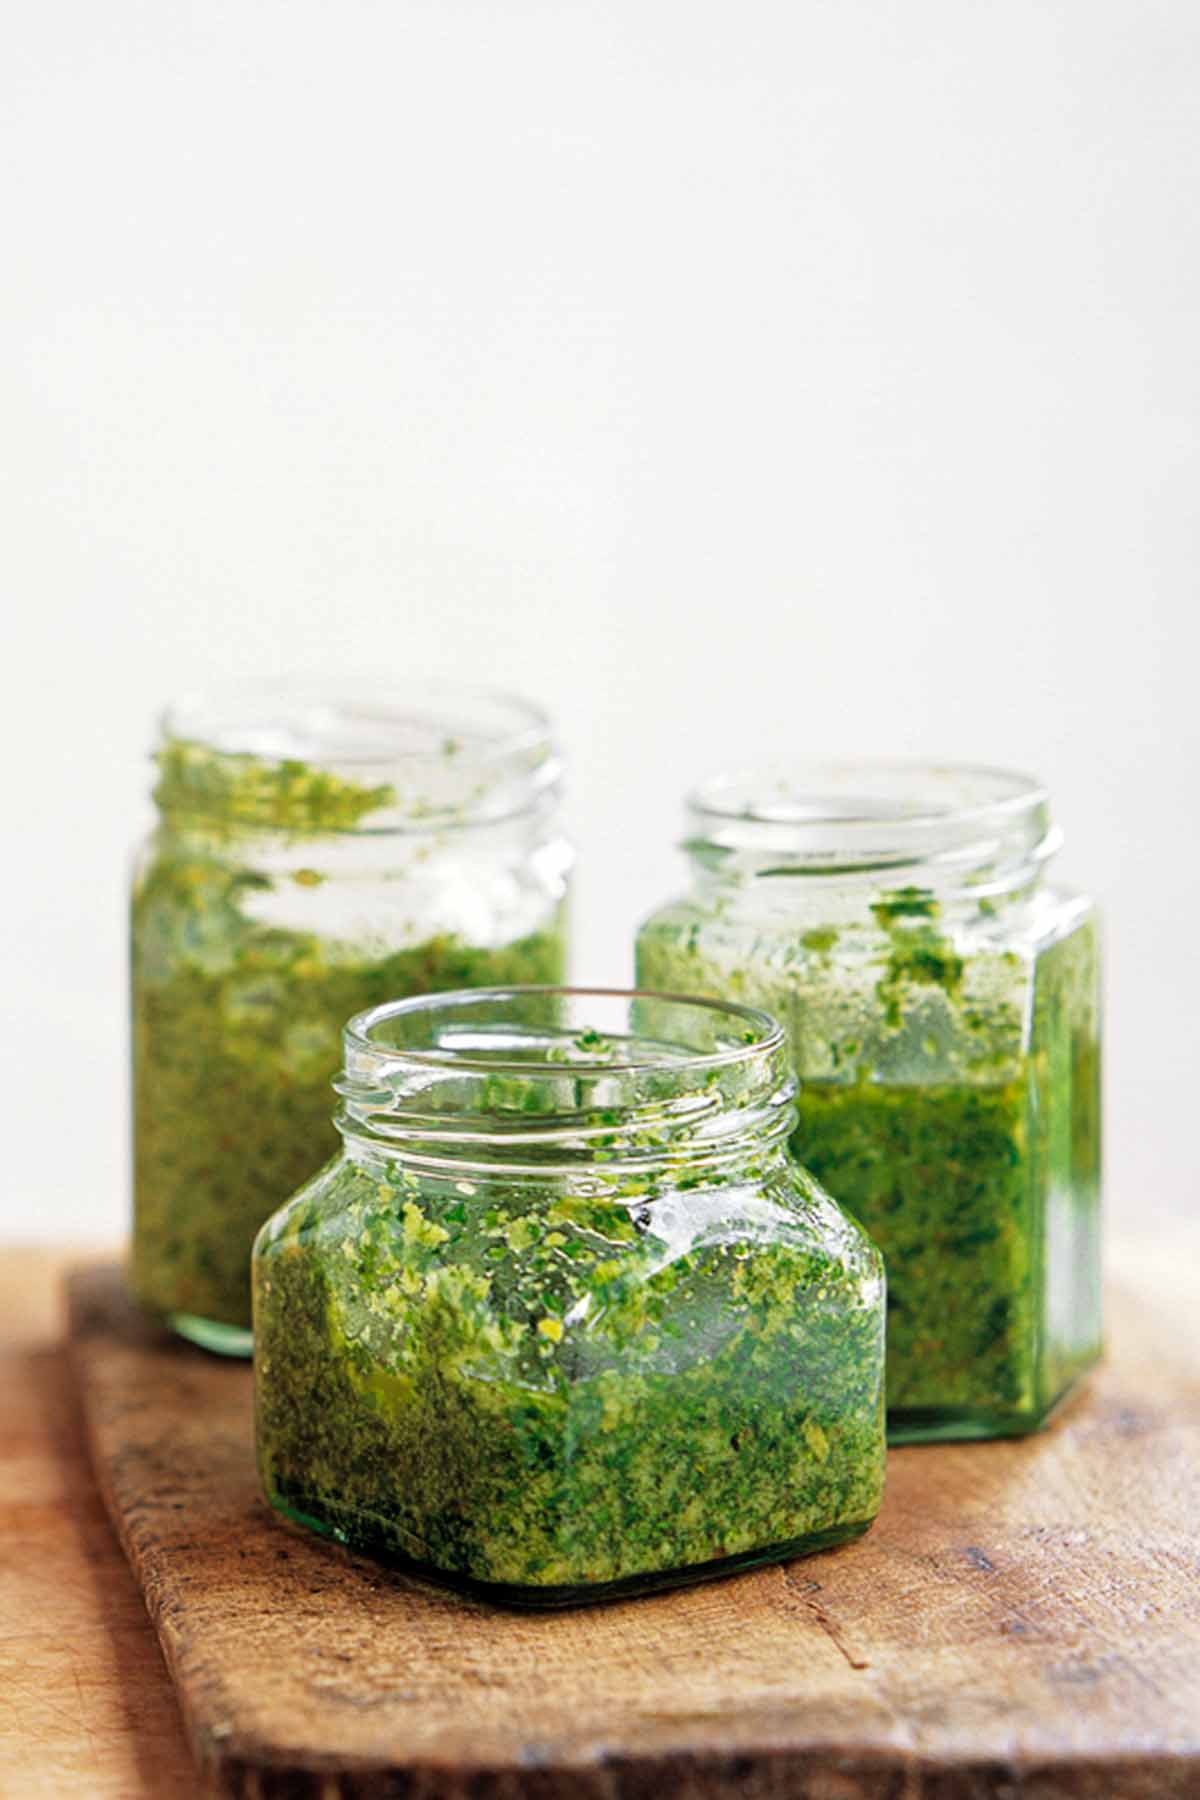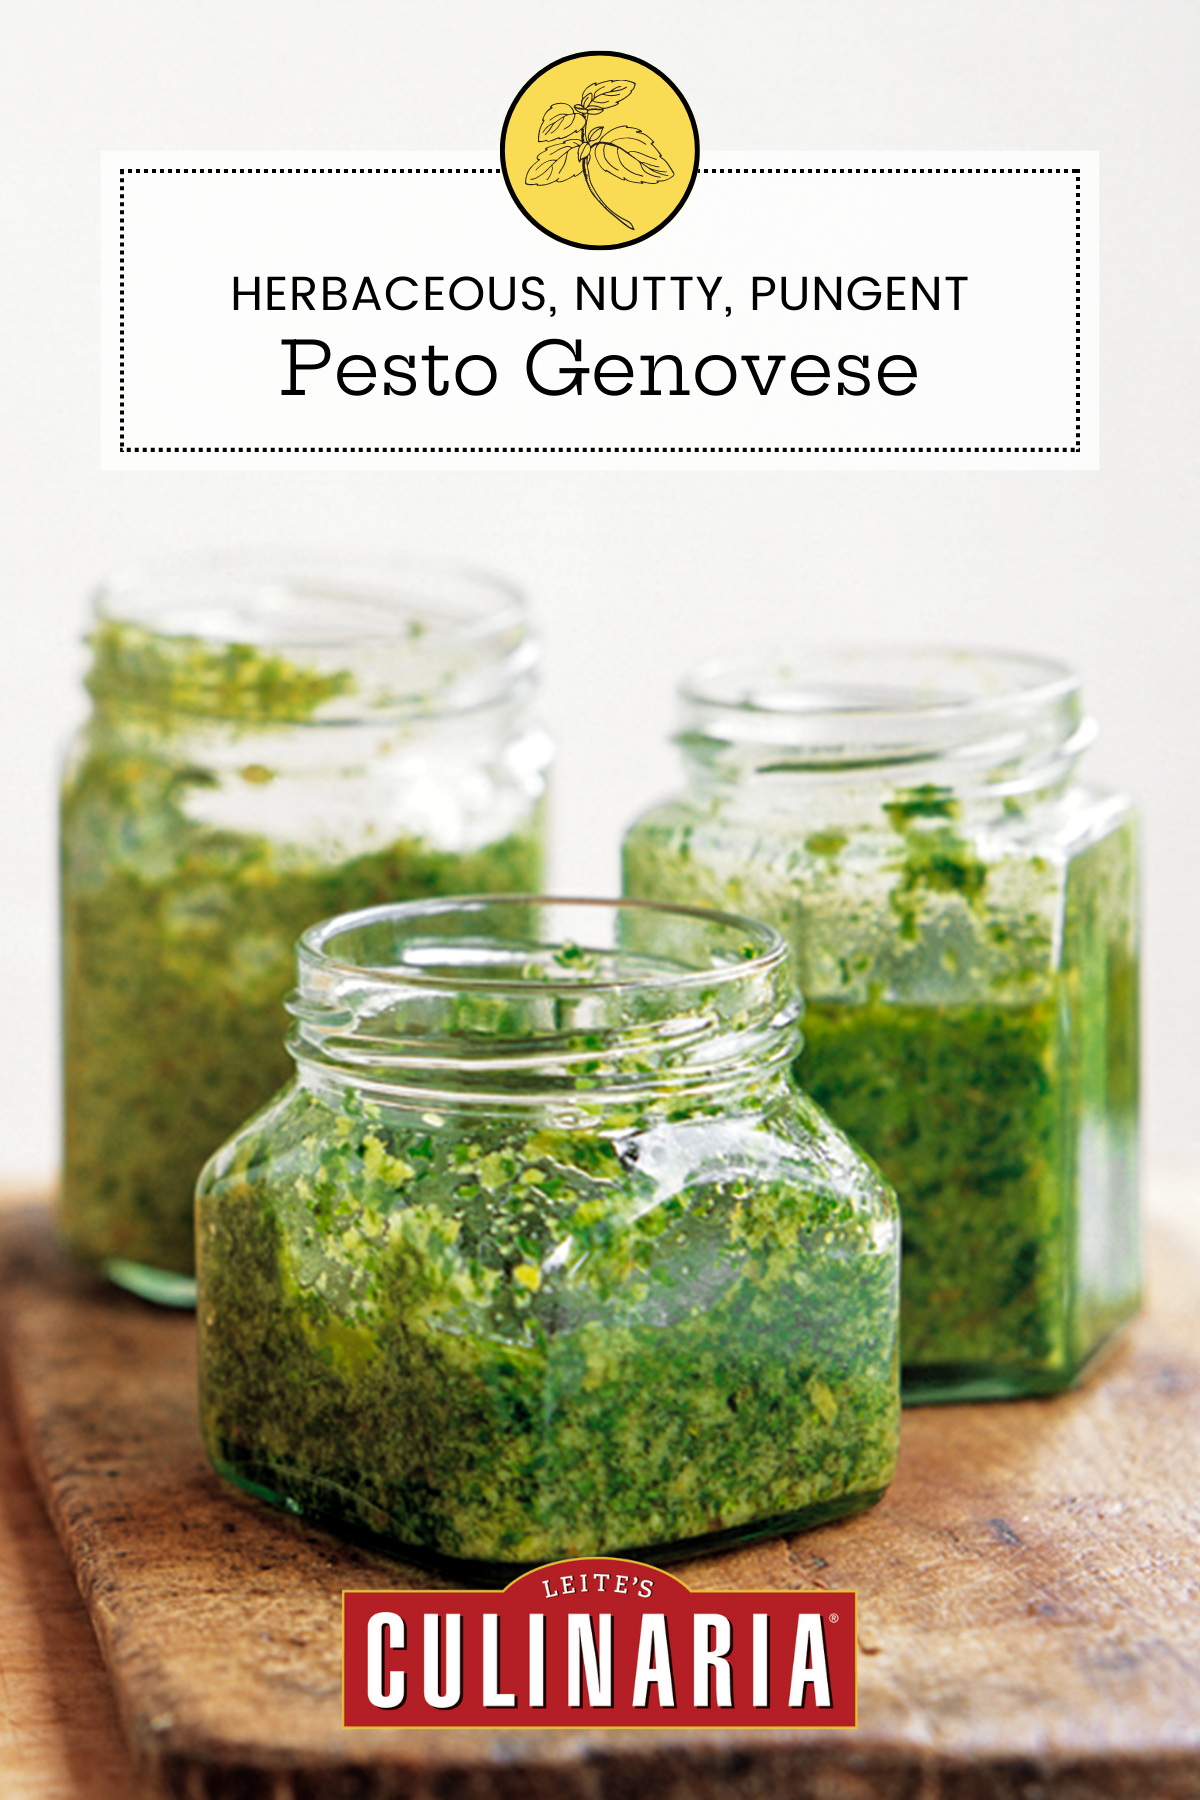
This pesto Genovese is a spoon-it-straight-from-the-jar-and-slather-it-on-everything sorta sauce that boasts all the taste of tradition and all the seduction of sophistication. You can toss it with pasta, natch, although let’s see how many other uses we can think of for it. Let us know your faves in a comment below.–David Leite
Should I Use A Mortar and Pestle or a Food Processor?
Many of our recipe testers swooned over the rustic and imperfectly uneven texture lent to the pesto by making it in a mortar and pestle. Others found it quite cumbersome to make this pesto in anything but a food processor. You know your technology threshold and your desire for rusticity better than anyone. We’ll let you figure out whether you should use a mortar and pestle or a food processor for yourself.

Pesto Genovese
Ingredients
- 1/2 cup really tightly packed basil leaves, stems removed
- 1 small garlic clove, peeled
- 6 tablespoons pine nuts, raw or lightly toasted
- 1/3 to 1/2 cup extra-virgin olive oil
- 1/4 cup Parmigiano-Reggiano, finely grated
- Salt to taste
Instructions
- Place the basil leaves in a mortar and crush them with a pestle until they collapse into a pulp or toss the leaves in a food processor and process until they're finely chopped.
- Add the garlic and pine nuts and crush or pulse repeatedly until combined. Transfer everything to a bowl if you'd like a little more elbow room as you stir.
- Using a metal spoon, as slowly as you can, add the 1/3 cup olive oil into the mixture 1 spoonful at a time. Then add the Parmigiano-Reggiano. If a more drizzle-friendly consistency is desired, add the remaining 2 tablespoons olive oil; otherwise, leave it as-is. Taste and, if you feel it's necessary, season with salt to taste, although given how salty Parmigiano is, you may not need any added salt. Use immediately or, to store the pesto for later, pour it into a clean jar, top with just enough olive oil to completely cover the surface, screw on the lid, and tuck it away in the fridge for up to 3 weeks.

Explore More with AI
Nutrition
Nutrition information is automatically calculated, so should only be used as an approximation.
Recipe Testers’ Reviews
Did you know only 68% of the recipes we test make it onto the site? This recipe survived our rigorous blind testing process by multiple home cooks. It earned the Leite’s Culinaria stamp of approval—and the testers’ reviews below prove it.
This pesto Genovese makes a very mild, nutty-flavored pesto. I was originally going to toss it with pasta, but ended up making two versions of pesto pizza and both were delicious.
I do not own a mortar so I ended up making this in my food processor, which may be why mine was thinner than most pestos I’ve had, but it was still very good and very easy.
Whether it was the fresh-from-the-farmers’ market first basil of the season (with roots still on the stems!) that I mashed by hand, the richness of the lightly toasted pignoli, or the quality of my oil, I don’t know, but this was the sweetest, brightest-tasting pesto I’ve ever made or eaten.
While I eventually used the food processor, I started by crushing the basil leaves in the mortar with a pestle and tried to do the same with the garlic clove and a few nuts. And, it seemed fussy when I read it, but adding the olive oil by spoonfuls allowed incorporation into the emulsion without the basil–oil separation that sometimes occurs when you make the whole thing in a processor. After stirring in the Parmesan, a few grains of salt was all it took to bring all the flavors together.
Here’s another deceptively simple recipe for a classic most of us have made many times.
This pesto genovese is delicious. My friend and I couldn’t stop eating our pasta with pesto for lunch today!
I made it with my blender, as I don’t have a mortar and pestle. I really packed the basil leaves into my 1/2-cup measure. Because of the saltiness of the cheese, I didn’t add too much salt to the pesto but cooked the pasta in very salty water. I’m looking forward to using the leftover pesto later this week. And actually, now I might go to the fridge and take another bite of leftover pasta…
This pesto Genovese was a delight to make, smell, and devour! We loved the rustic, slightly chunky texture the pestle and mortar gave it.
The pesto did not last 3 weeks for us! We enjoyed it over grilled breads, on pasta, with cheese, and over grilled salmon. It has so many uses. I will keep this recipe around for a long time, especially when my basil is plentiful!
This is the way to make pesto Genovese! Get out that mortar and pestle and have some fun. Genovese is quick, easy, and delicious. And it is NOT that thin kind of pesto where everything is all mashed up together, but rather a pesto with some substance.
I can see using this on just about everything! I am even thinking of trying it on ice cream, it is so good!
I quite enjoyed making this pesto with a mortar and pestle. Loved the texture of it. The toasted pine nuts add a new depth of flavor to the pesto. This will be a favorite even through the winter months.
I always look forward to the summer, for summer to me means that it’s finally warm enough in the mid-Atlantic to grow basil plants. I love using them in pesto, and this recipe is a tried-and-true classic.
I used a little less olive oil than the amount called for, since I like to have the option to make it “looser” depending on its intended use. I used a food processor rather than the traditional mortar and pestle since it’s faster.
The pesto is wonderful with pasta, of course, or just drizzled over some tomatoes and fresh mozzarella. When left slightly thicker, it makes an excellent spread for bruschetta.
A classic recipe that is always seamless and tasty. I did use the traditional pestle and mortar to create the paste, as there is something special about making it this way.
We served it over some pasta with lots of extra-virgin olive oil. The toasted pine nuts were indeed a nice touch.
This is a good starter recipe for those new to creating pesto Genovese. This makes a great topping for pasta or bread.
Good olive oil is critical to the final flavor of this, or any other, pesto. The same goes for the cheese. Parmesan from a can will not give you the same depth of flavor that freshly grated Parmesan will.
I suggest toasting the pine nuts; although you CAN leave them raw, toasting enhances their flavor, much like cooking flour removes the raw flavor.
I think a classic pesto is a great summertime dish. I normally like to include any green herbs I might have to give it a unique flavor. This is such a great recipe to put over pasta, mix with grilled vegetables, or eat with tomatoes and mozzarella on bruschetta!
This makes a very nice pesto for pasta.
Preparing it with a mortar and pestle is probably more work than it requires. I would use a food processor to make this again, unless I was going for a very rustic look. If it had been made with a food processor, the amount of olive oil would probably be okay. With the elbow-grease mortar and pestle version, I thought there was a bit too much oil.
I think classic pesto is a great summertime dish. I normally like to include any green herbs I might have on hand to give it a unique flavor. This is such a great recipe to put over pasta, mix with vegetables to grill, or eat with tomatoes and mozzarella on bruschetta!
This is a very nice pesto, but I found it somewhat lacking in the basil department. I found that an extra 1/4 to 1/2 cup basil leaves really brought out the best this pesto has to offer. When adding the oil, I would suggest starting with 1/3 cup and adding until the desired consistency is achieved.
If someone has never made pesto, or hasn’t made good pesto, then they could use this very basic pesto recipe. I must admit that I was lazy and I made this in our food processor. I, like the author, always like to toast my pine nuts when I make pesto. When I make pesto, I don’t follow a recipe exactly. I taste and add a little bit extra of this and that, whatever the pesto needs to taste the way that I want it to at the time. I also never use the whole amount of olive oil in a recipe. I only add enough to get the consistency I want at the time. This recipe should be used as a guide. You can add more later depending on your specific use of the pesto.


I love all the information you have provided in how to grow herbs! Thank you so much! I am on a strict anti inflammatory diet now and want to know if you can make this pesto without the Parmesan Cheese please?
Lin, thank you! I’m so glad the herb-growing guide was helpful—those little green beauties have saved many a dinner in my kitchen. And I totally hear you on the anti-inflammatory diet. It can feel like half the ingredients you love are suddenly off the table.
As for the pesto: technically, if you omit the Parmigiano-Reggiano, it’s no longer a true Pesto Genovese (please don’t tell any Italians I said that—they’ll clutch their pearls and wave their mortars at me). BUT! You can still make a delicious herb paste that works. Here’s what I suggest:
* Add a tablespoon of nutritional yeast for that salty, cheesy depth.
* Throw in a few soaked cashews or walnuts—they’ll add creaminess and help bind the mixture like cheese would.
* And go easy on the olive oil, adding just enough to bring it together so it doesn’t turn into a basil slip-n-slide.
It won’t be classic pesto—but it will be vibrant, tasty, and anti-inflammatory–friendly. Let me know if you give it a go!
Thank you David for your suggestion for the Pesto sans cheese! I should have thought of the nutritional yeast! I have been using that in many dishes now since I can no longer have my beloved cheeses! I must say my body feels better with the anti-inflammatory eating but my mind is not there and will never be!
You always make me laugh with your way with words David! That is why I have been following you and The One for so many years! You have given me great joy with your book and writings along with all the wonderful recipes and tips! Thank you and hope y’all have a wonderful summer!
Lin, your comment made my day. I’m thrilled the nutritional yeast trick hit the spot! I completely get the tug-of-war between the body and the mind. Cheese might be off the table, but mourning it? That’s forever. 😭
Thank you for your kindness and for sticking with me and The One all these years. You have no idea how much that means. Wishing you a gorgeous, delicious, anti-inflammatory-but-still-satisfying summer!