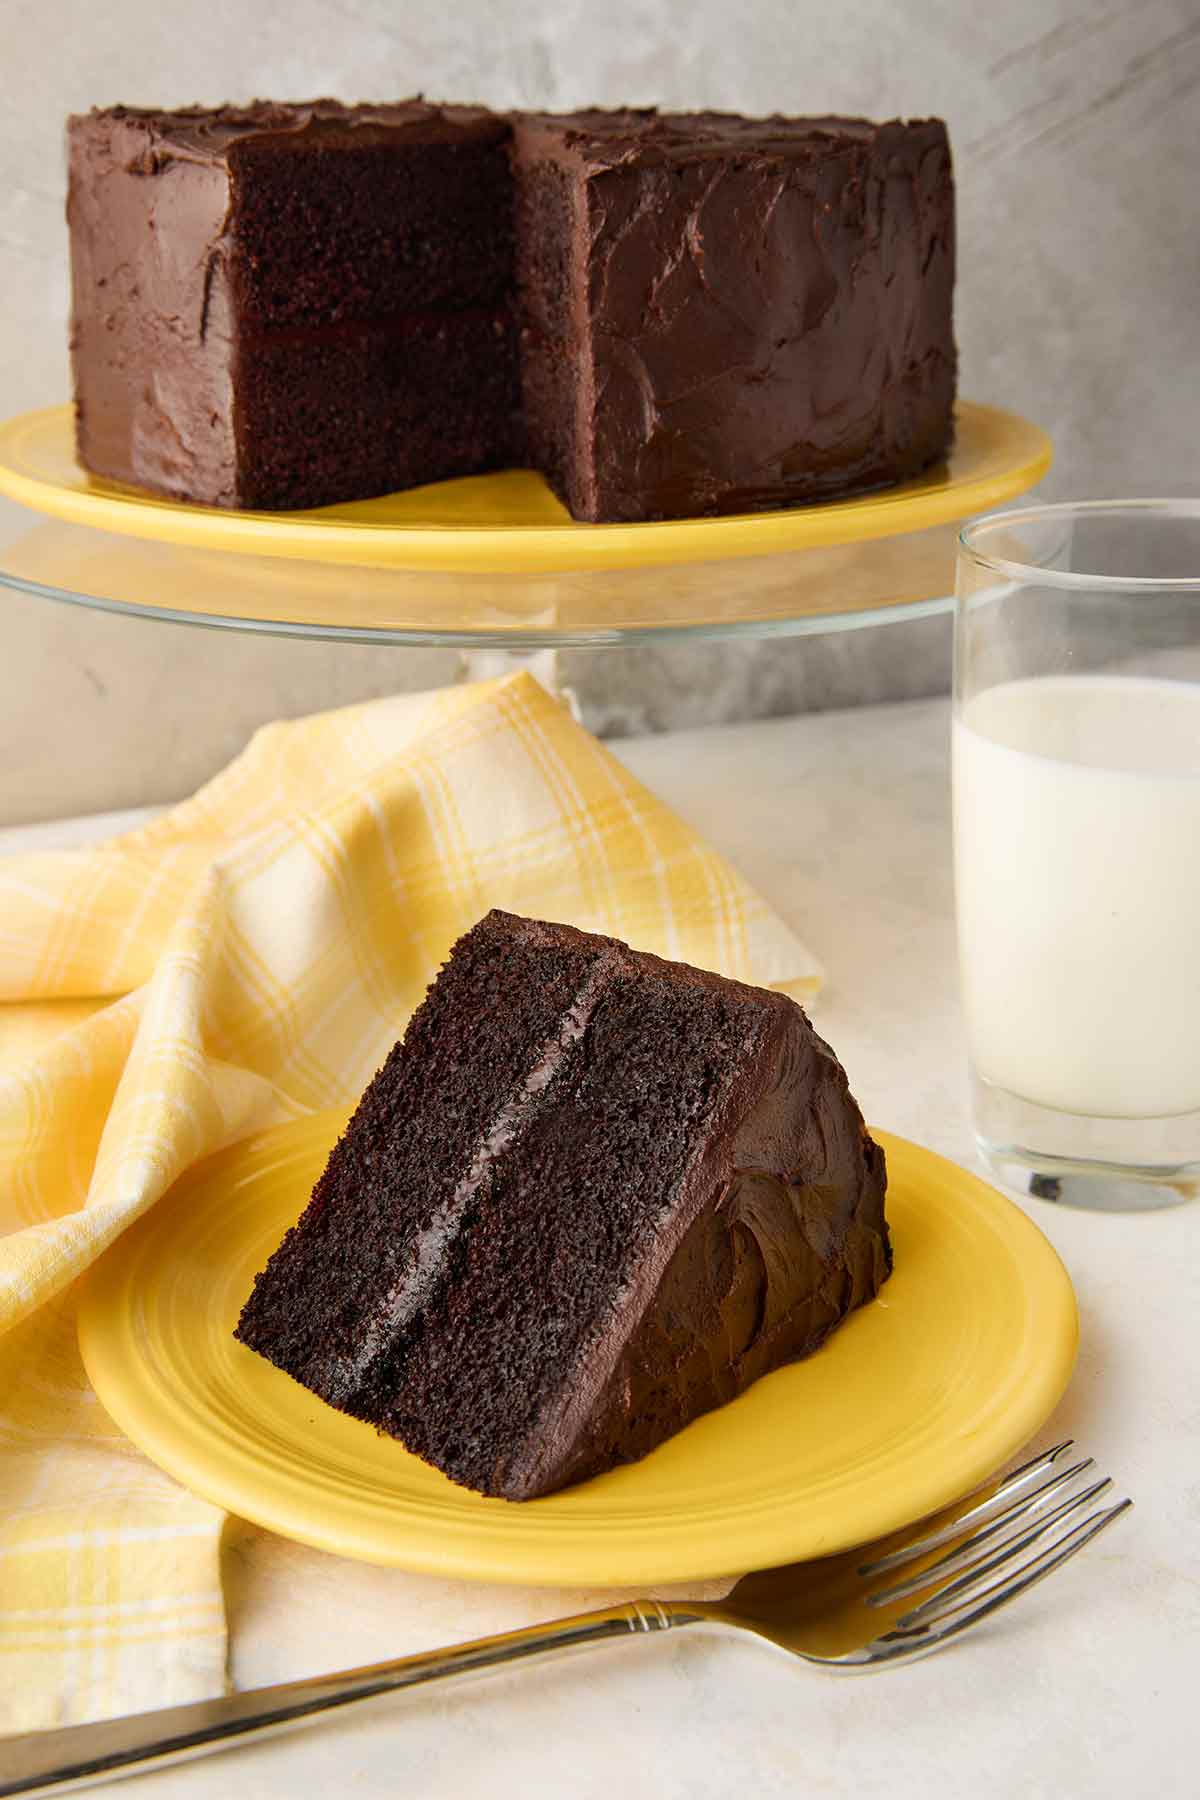
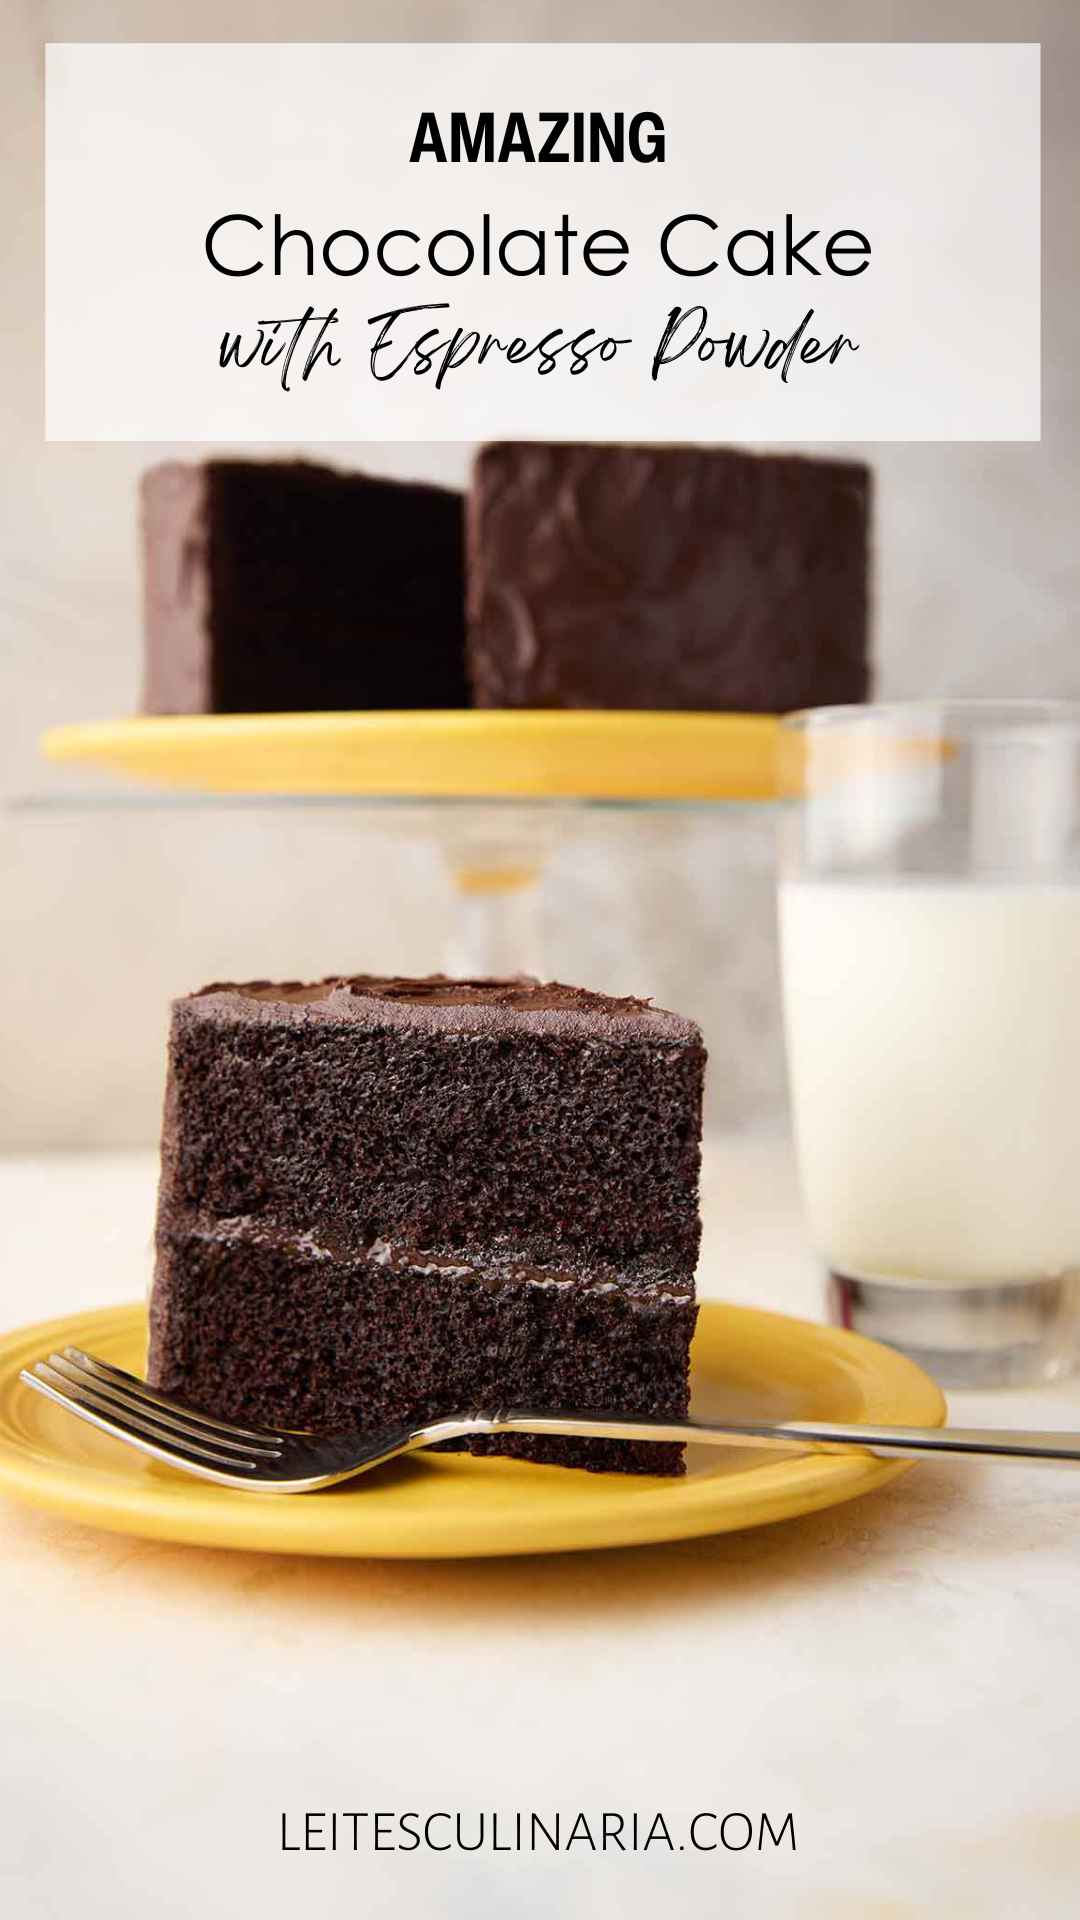
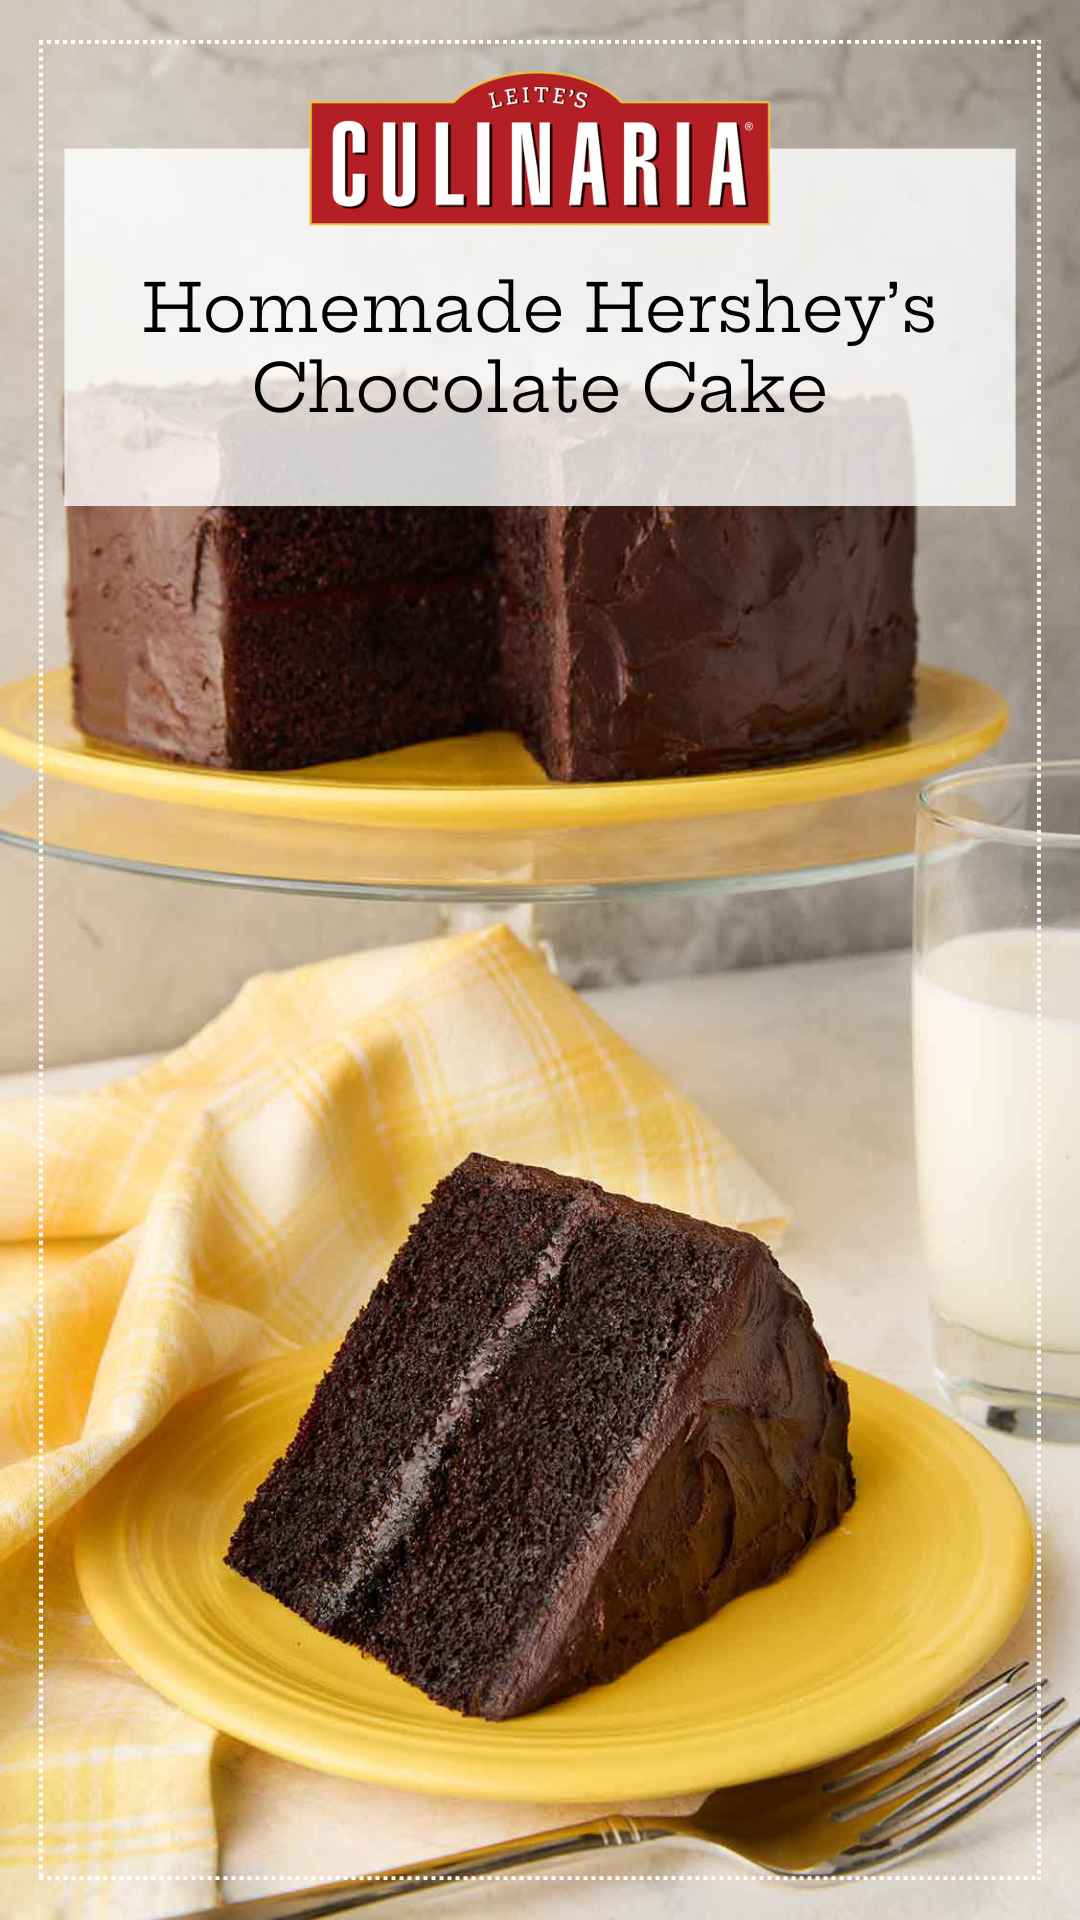
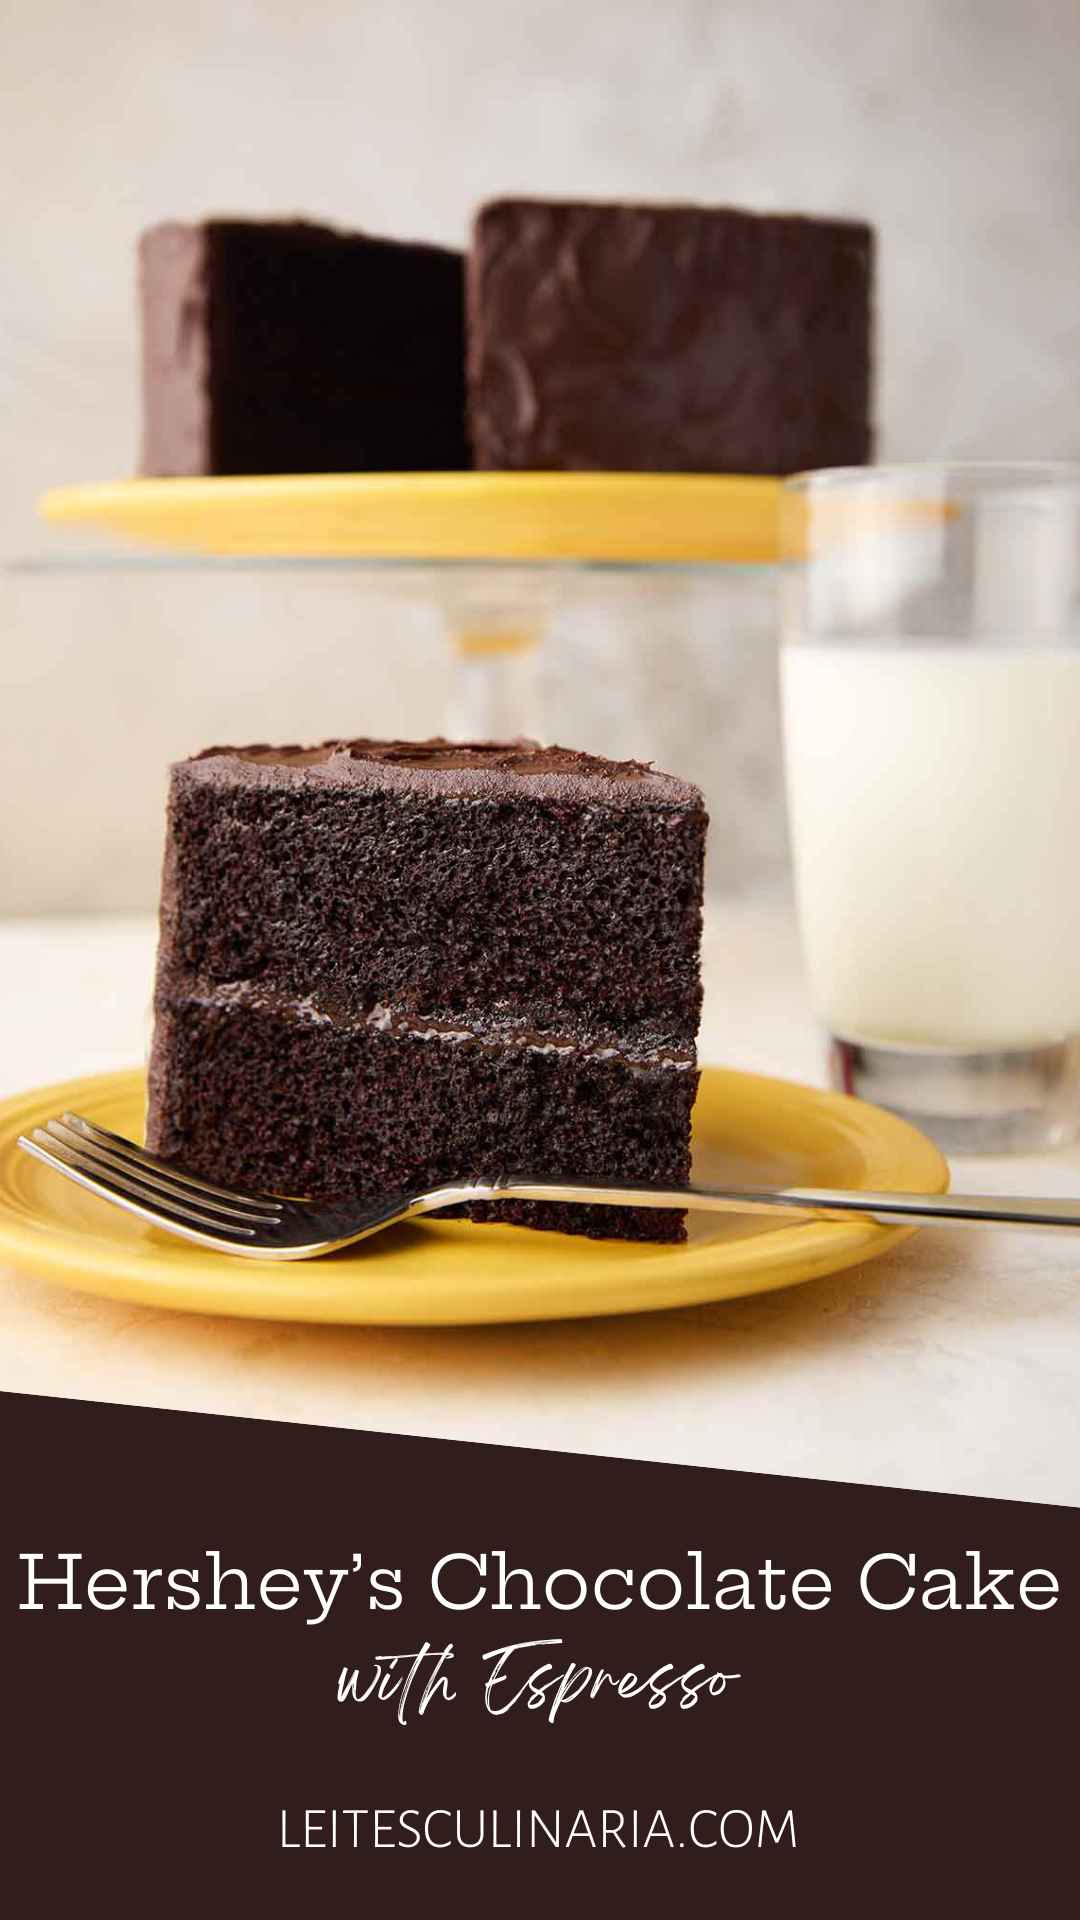
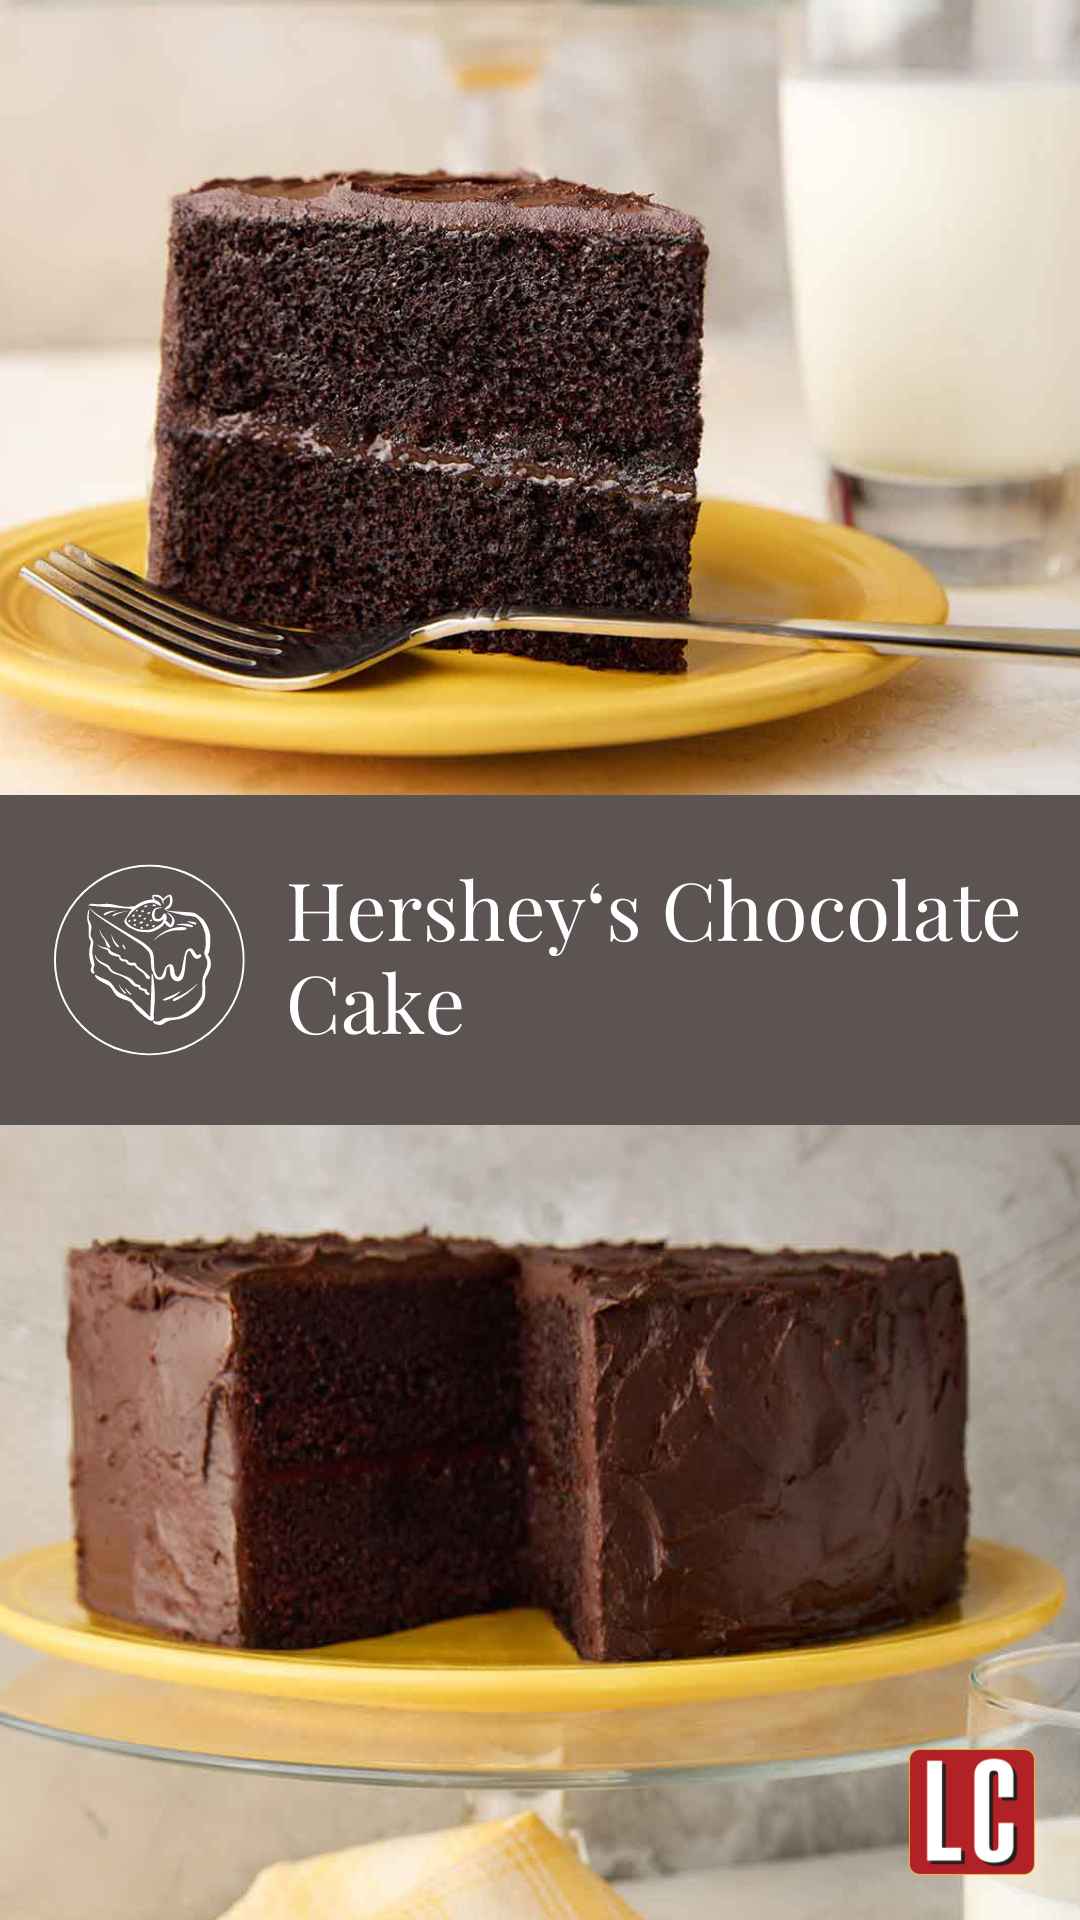
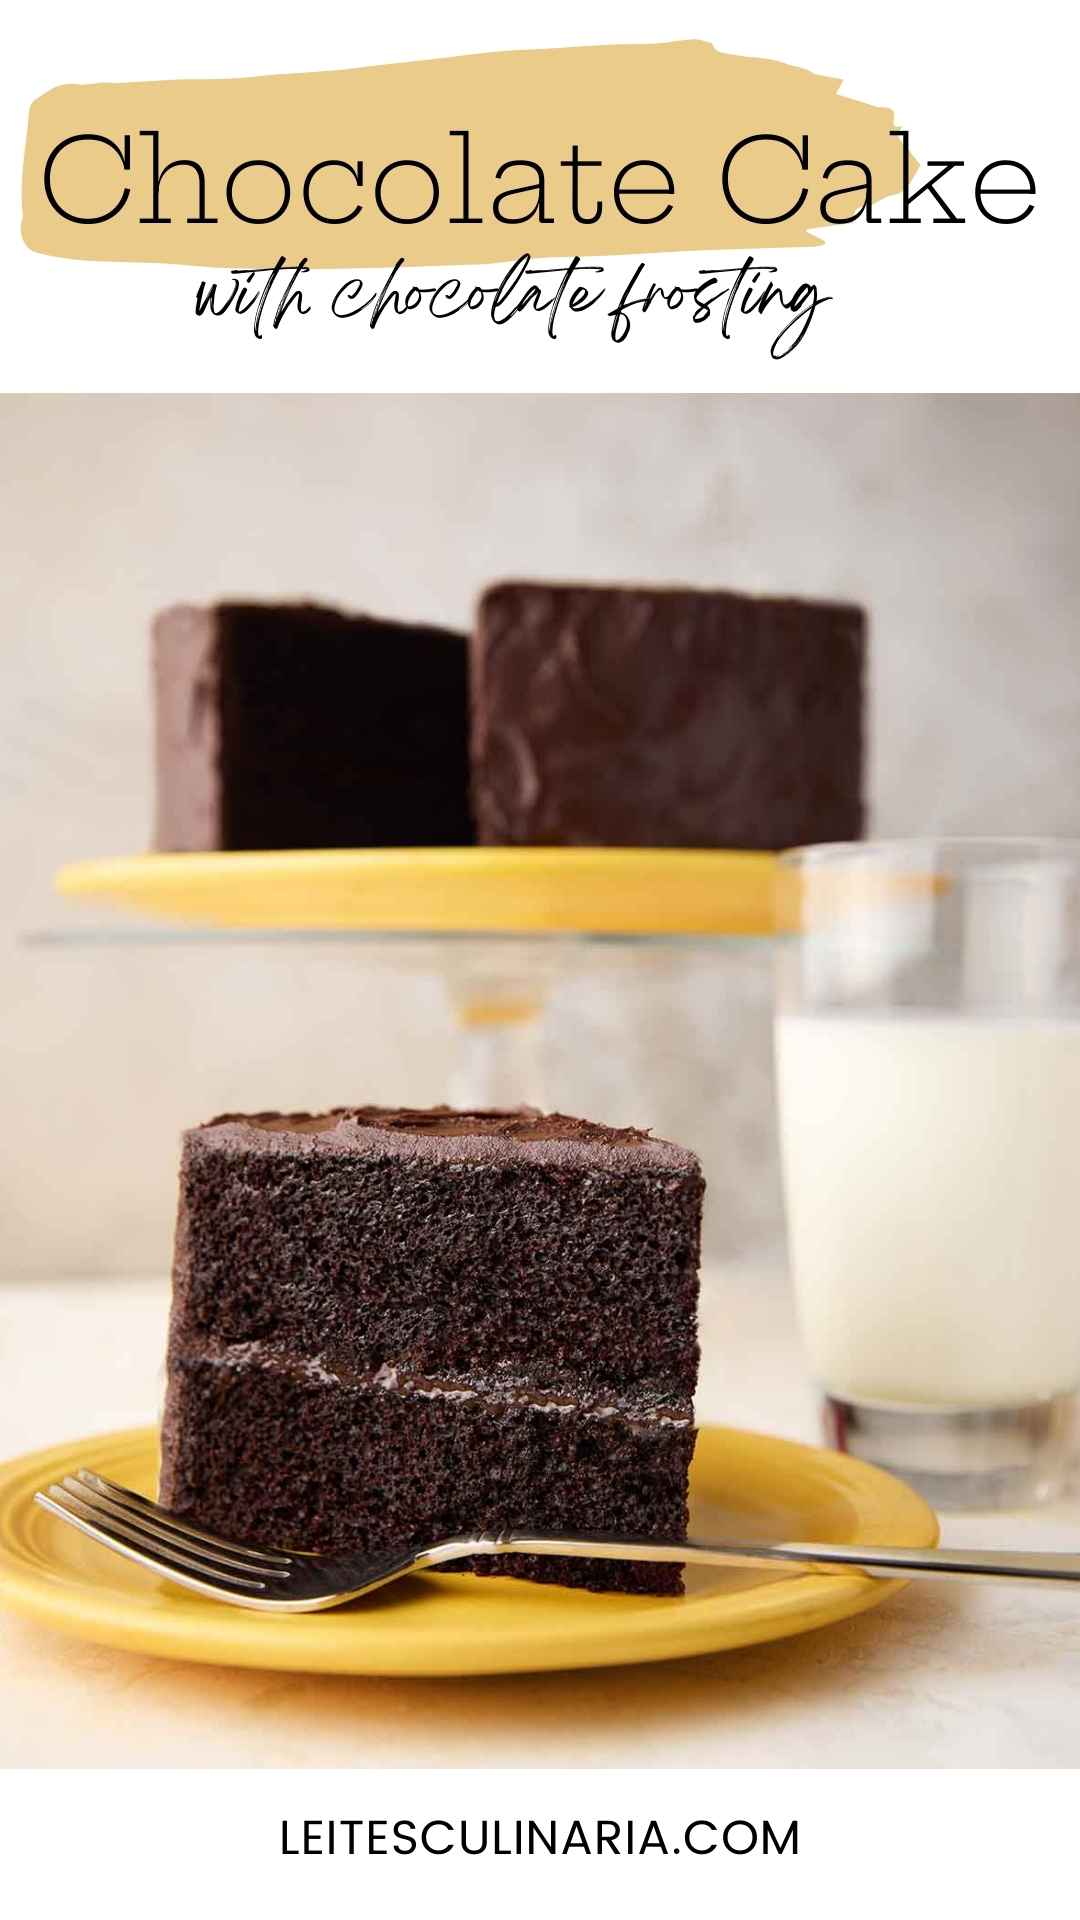
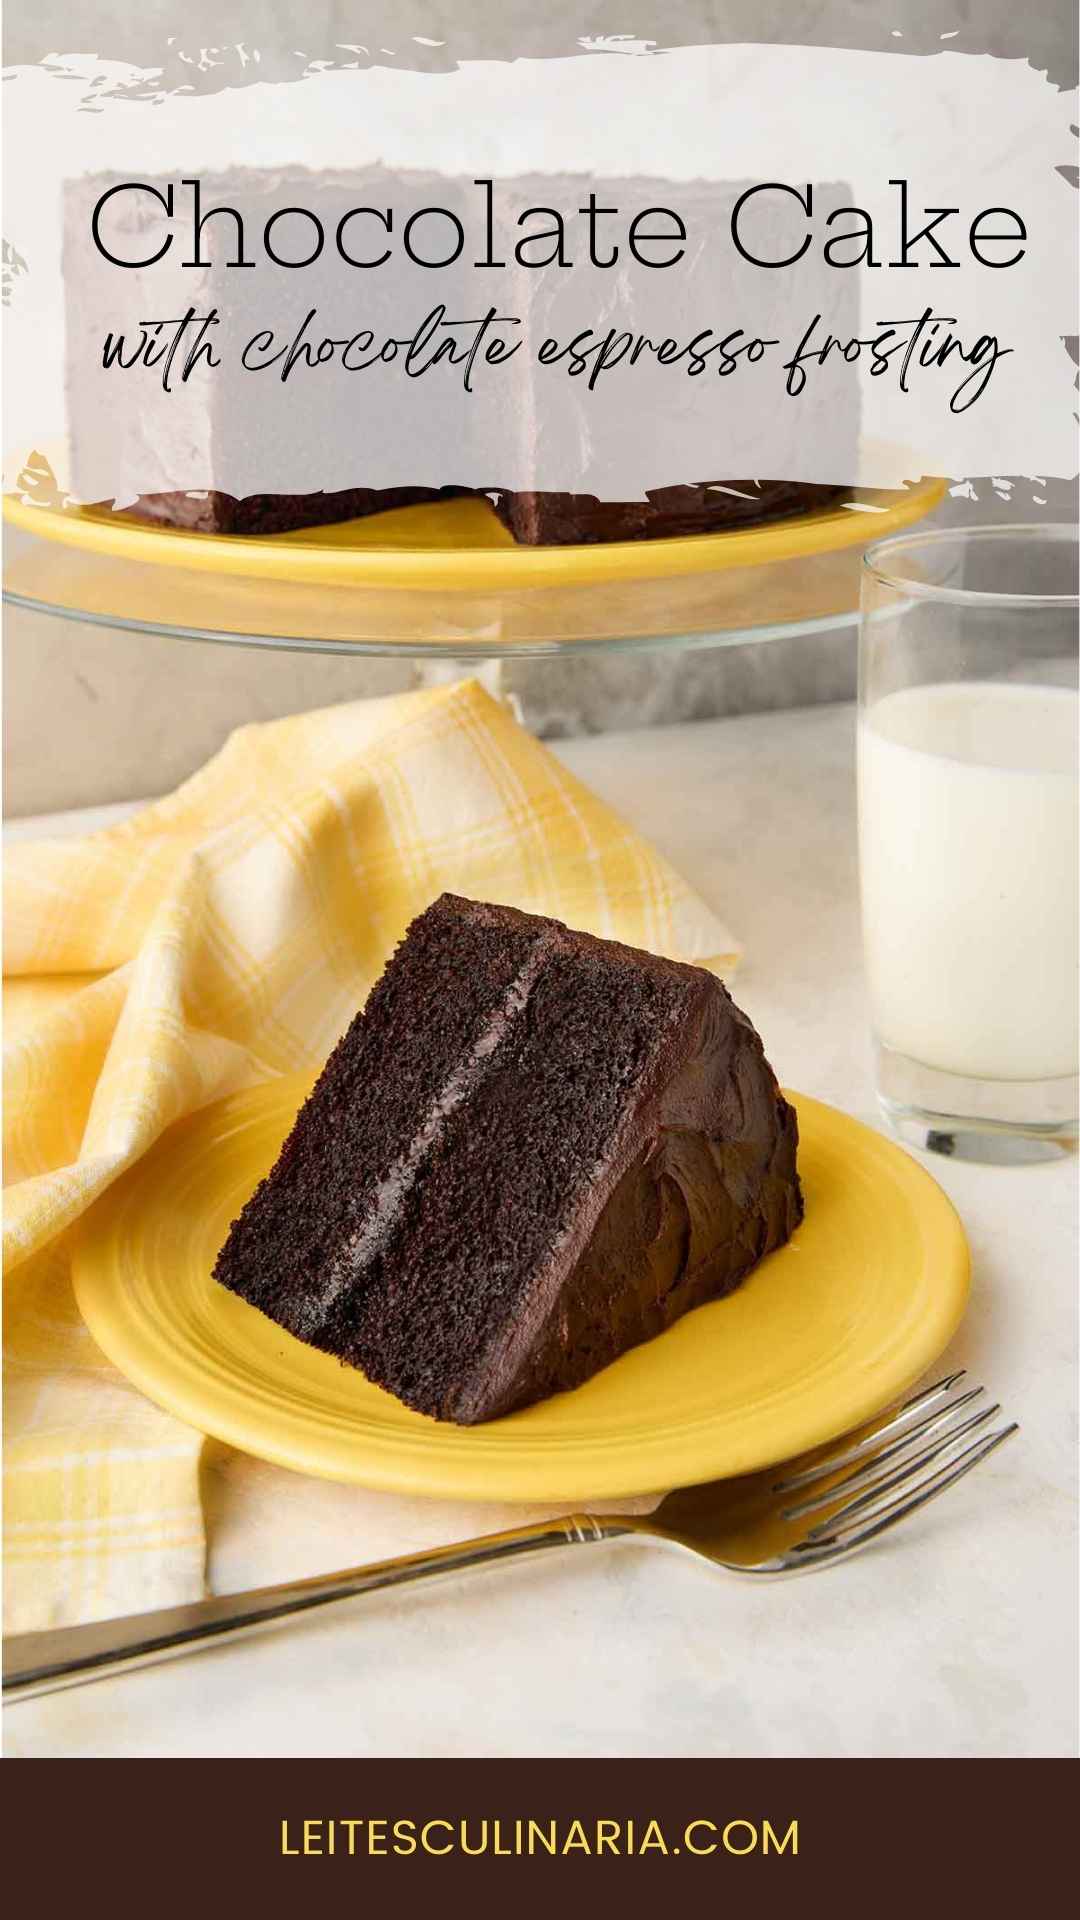
This Hershey’s chocolate cake needs no introduction, as it’s been around for almost a century. It’s one of the great chocolate cakes of all time. If you’ve never made it, you’re in for an old-fashioned treat. And if you’ve never made it with my wee spin on it, you’re in for an even greater treat.
All I’ve done is toss in some instant espresso powder to the batter and the frosting. It amps up the flavor. And because I wanted a frosting that was more buttery and less cloyingly sweet, I use a greater proportion of butter to sugar, which makes the frosting soooo light–nothing at all like the cloying, gritty American buttercreams out there. That’s it. I don’t like to mess (too much) with perfection.
☞ READ MY ARTICLE: Forever and Completely, in which I explain that few things in life are truly forever and completely, save for my adoration for this rich chocolate cake and my love, The One, of 30 years.
Jump To

Why Our Testers Loved This
It’s no surprise that the testers are calling this “a cake that screams perfection.” Not only did they adore the rich chocolate flavor of the cake and frosting, but they were delighted that this could be whipped up in just 20 minutes with only a bowl, spoon, and hand mixer.
Notes on Ingredients
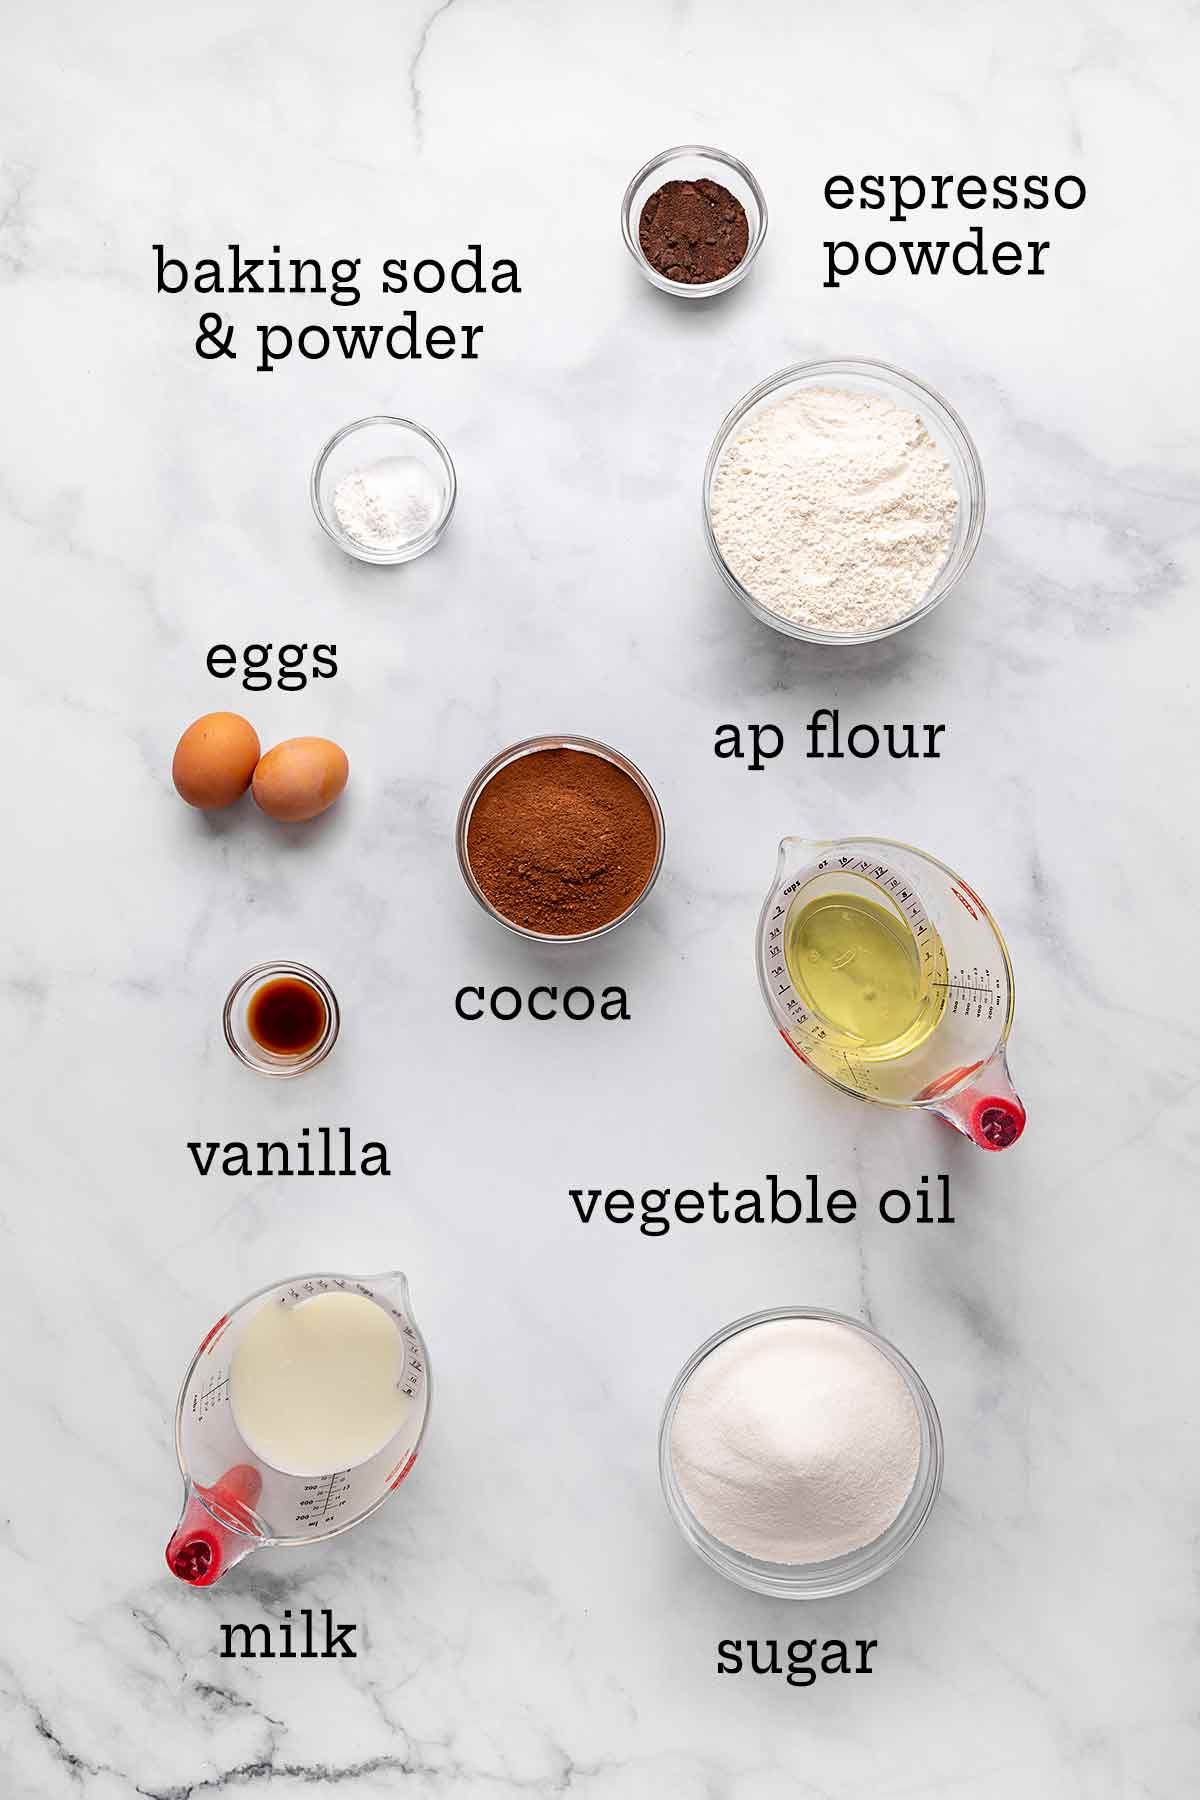
- Hershey’s Cocoa—Since this is a Hershey’s chocolate cake, you simply gotta use Hershey brand natural cocoa. I sometimes use their extra-dark cocoa for a seriously deep flavor. If you need to substitute another cocoa powder, be sure to use natural unsweetened cocoa, not Dutch-process cocoa.
- Instant espresso powder–The addition of espresso powder enhances the chocolate flavor of the cake, and I highly recommend it. If you don’t have instant espresso powder, you can replace the espresso and hot water with 1 cup of very hot coffee.
- Vegetable oil–Any neutral-flavored oil will work, such as vegetable oil, canola, or sunflower. Don’t use strongly flavored oils as they’ll alter the flavor of the cake.
- Vanilla extract–Only the real stuff, please! (You know how I feel about the fake stuff.)
How to Make Hershey’s Classic Chocolate Cake
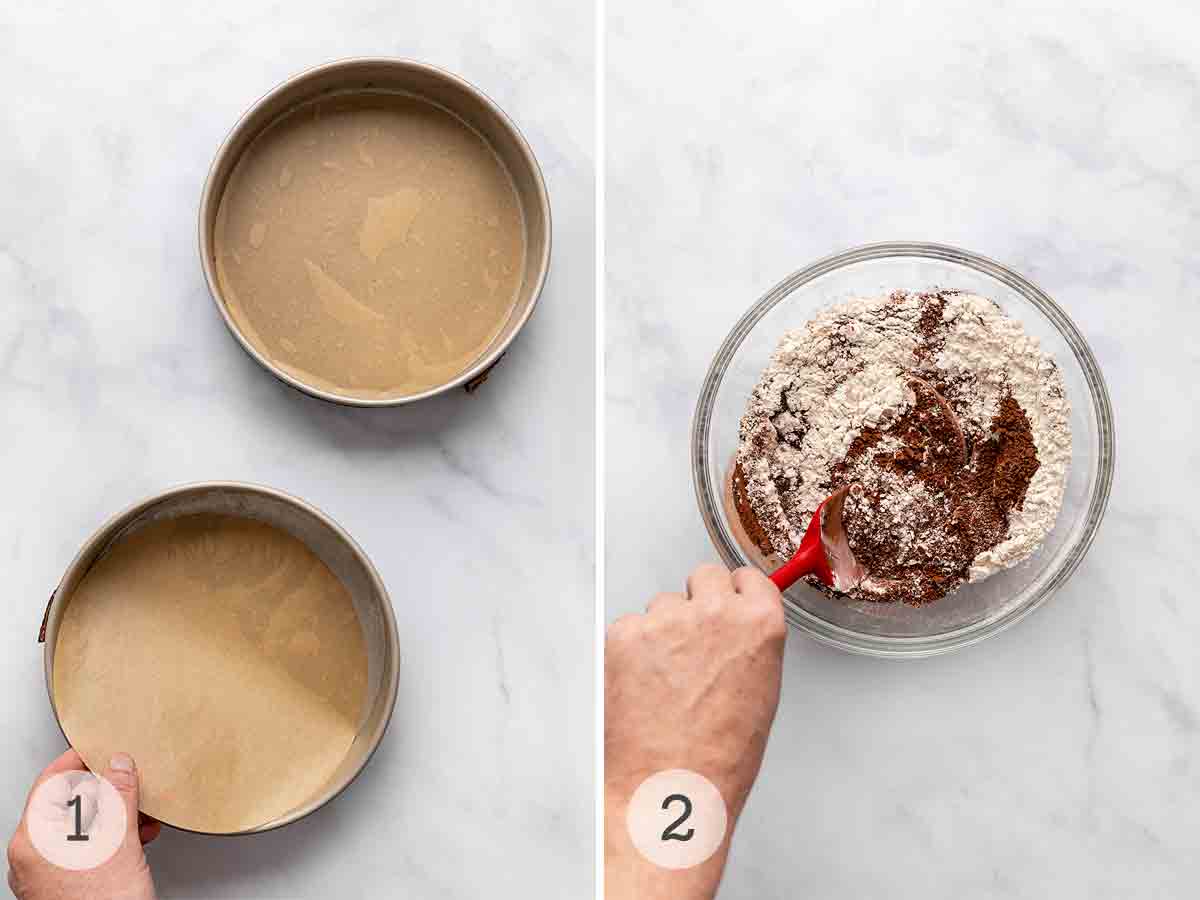
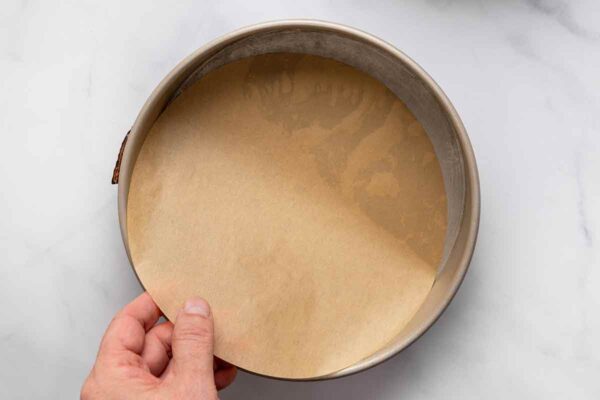
- Crank the oven to 350°F. Butter and flour two 9-inch cake pans and line with parchment.
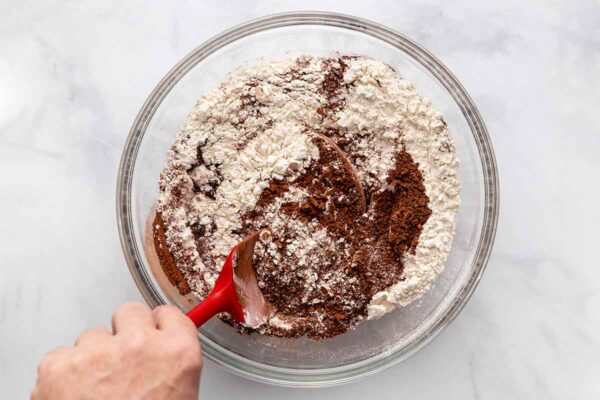
- Stir the sugar, flour, cocoa, espresso powder, baking powder, baking soda, and salt in a large bowl. Make a well in the center.
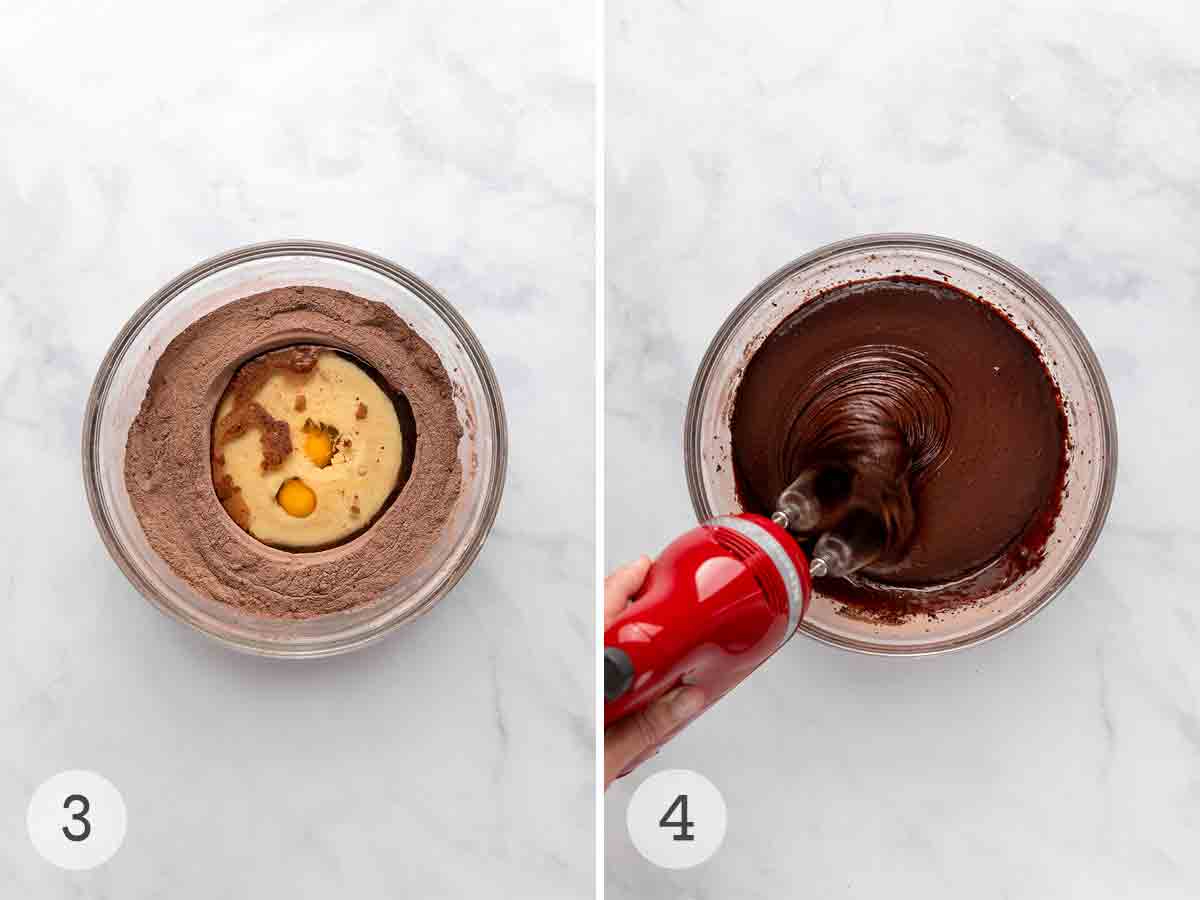
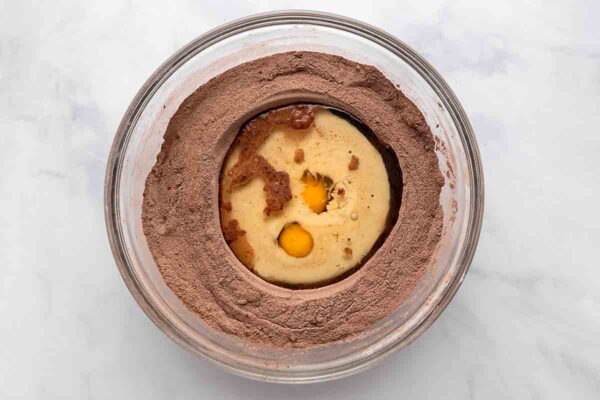
- Add the eggs, milk, oil, and vanilla into the well.
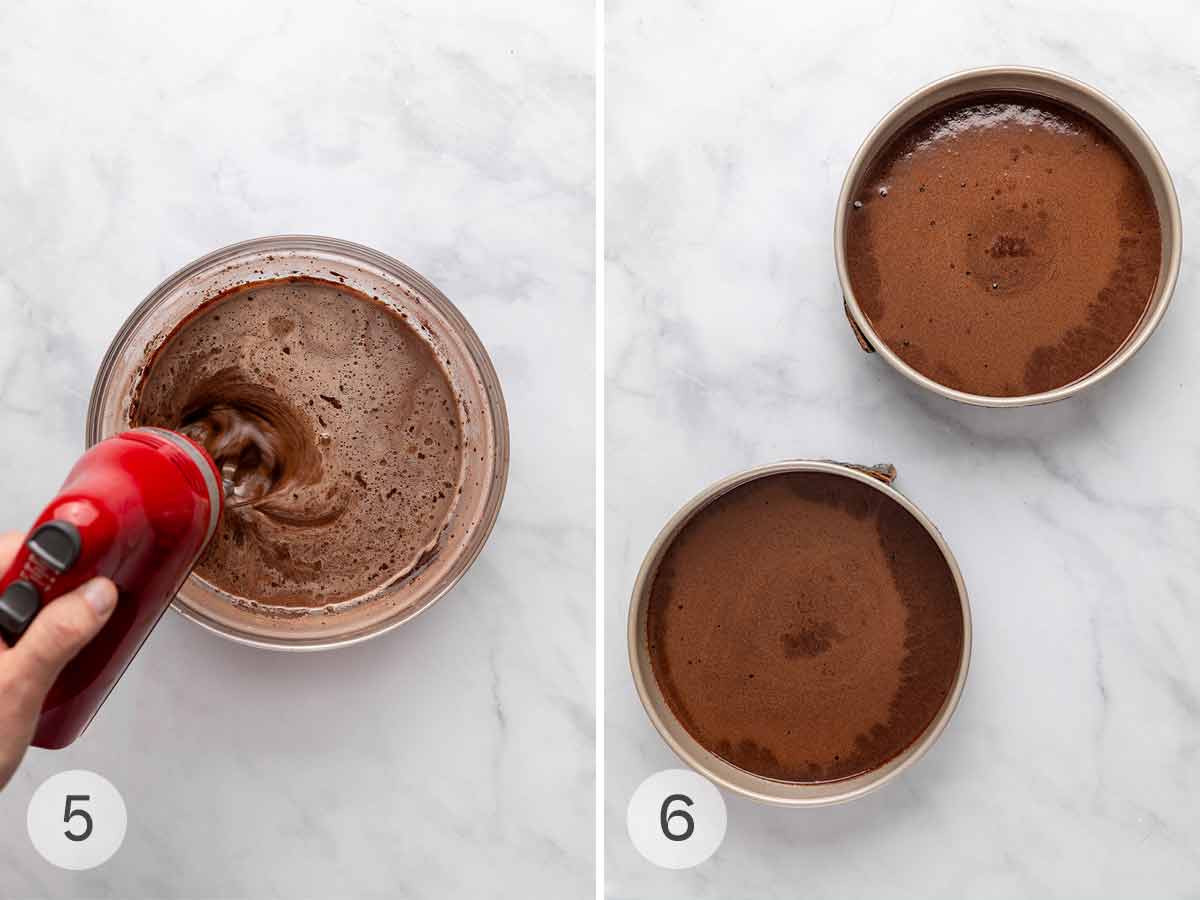
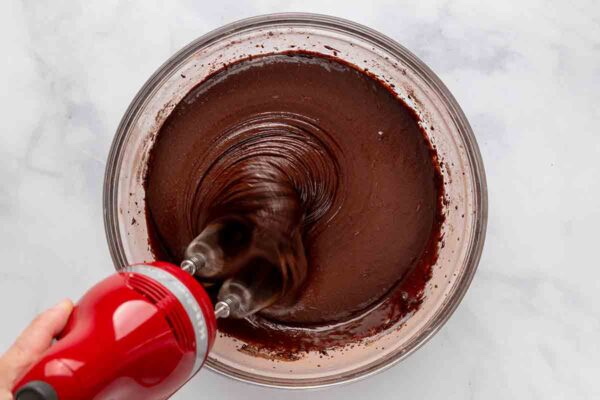
- Beat the ingredients with an electric hand mixer for 2 minutes.
Want to Save This?
- Beat in the boiling water. The batter will be wicked thin. Fear not, that’s as it should be.
- Divide the batter between the two cake pans. Bake until a tester inserted in the center of each cake comes out clean. Cool in the pans for 10 minutes, then invert onto wire racks spritzed with cooking spray to cool completely.
- Place the first layer on a cake stand and spread frosting over the top. Add the second layer and frost all over.
Common Questions
Yes. I suggest freezing the cake unfrosted. Wrap the cooled cake layers individually in plastic and freeze for up to 3 months. Unwrap the layer and thaw at room temperature before assembling and frosting.
Yes. The cake batter can be divided among 12 jumbo cupcake wells and baked for about 20 minutes.
Pro Tips
- Mix your ingredients in a deep bowl so that everything stays contained when you start beating it.
- For the fluffiest cake layers, use a hand mixer. Hand mixers provide better control, preventing overbeating, which can lead to a dense cake. Overmixing with a powerful stand mixer develops too much gluten, reducing the cake’s light texture. Keep it old-school for the best results!
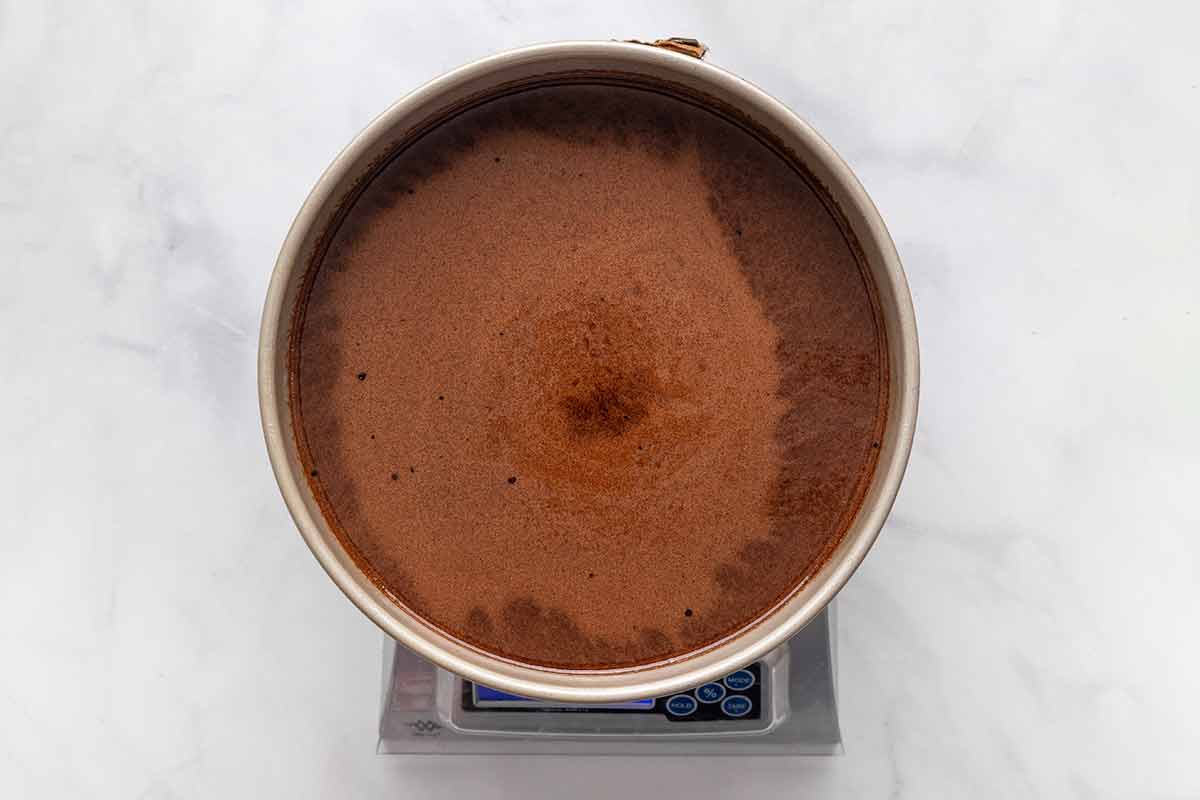
- To make sure your cake layers are identical in height, weigh the batter. I use a digital kitchen scale.
Storage
Store the cake under a cake dome or loosely tented with plastic at room temperature for up to 3 days.
Write a Review
If you make this recipe, or any dish on LC, consider leaving a review, a star rating, and your best photo in the comments below. I love hearing from you.–David
I made this cake last week, and, my goodness, it’s the best chocolate cake I’ve ever had! I love the espresso in the batter and the frosting. The cake is very “more-ish” and moist, and the frosting is smooth.
I froze some slices, and it froze beautifully, too. Thank you for the recipe, I will definitely be making this for a long time to come!
Melanie M.
Hershey’s Chocolate Cake Redux
Ingredients
- Butter or baking spray, for the pans and wire rack
- 2 cups granulated sugar
- 1 ¾ cups all-purpose flour, plus more for the pans
- ¾ cup Hershey’s Cocoa
- 2 tablespoons instant espresso
- 1 ½ teaspoons baking powder
- 1 ½ teaspoons baking soda
- 1 teaspoon salt
- 2 large eggs
- 1 cup whole milk
- ½ cup mild vegetable oil
- 2 teaspoons vanilla extract
- 1 cup boiling water
- 1 batch Hershey's chocolate frosting recipe
Instructions
Make the Hershey’s chocolate cake
- Heat the oven to 350°F (180°C) and position a rack in the middle of the oven. Generously butter and flour (or spray with baking spray) two 9-inch round baking pans, tapping out any excess flour. Line each pan with parchment paper rounds. Butter or spray a large wire rack. Set aside.
- In a large bowl with a wooden spoon (surely you have one of those, yes?) or spatula, stir together the 2 cups granulated sugar, 1 ¾ cups all-purpose flour ¾ cup Hershey’s Cocoa, 2 tablespoons instant espresso, 1 ½ teaspoons baking powder, 1 ½ teaspoons baking soda, and 1 teaspoon salt. Make a well in the center.
- Plop the 2 large eggs into the well and pour in the 1 cup whole milk, ½ cup mild vegetable oil, and 2 teaspoons vanilla extract.
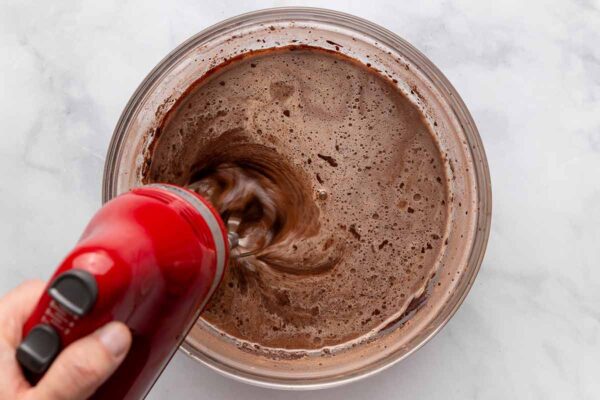
- Using a handheld electric mixer (c'mon, surely you still have one of those, too?!), beat the ingredients on medium-high speed for 2 minutes.
- Stir in the 1 cup boiling water. The batter will appear alarmingly thin but fear not, that's the way it should be.
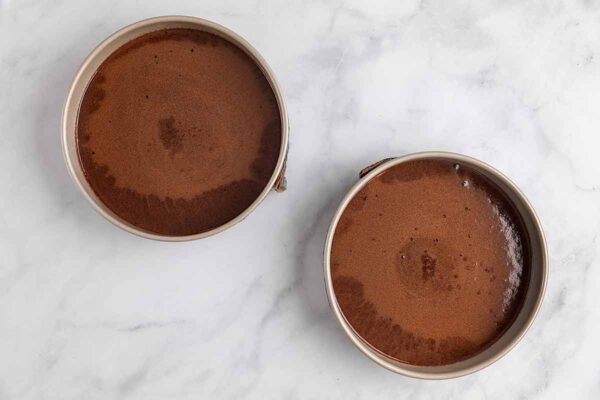
- Pour the batter into the prepared pans, dividing it evenly, about 1 pound, 8 ounces (680g) in each pan.
- Cool the cakes in the pans on the buttered wire rack for 10 minutes. Then invert the cakes onto the rack, remove the pans, turn the cakes right side up, and let them cool completely.
Frost and serve the Hershey’s chocolate cake
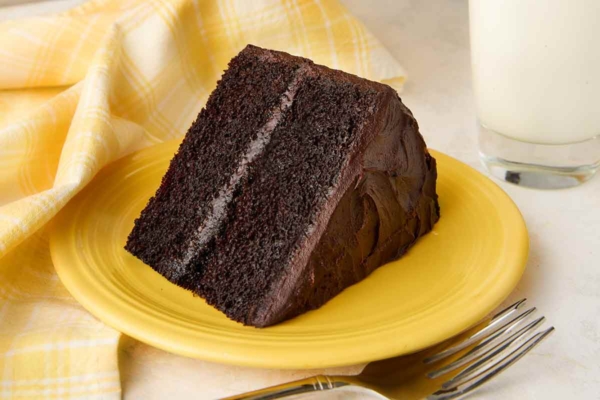
- Place a single cake layer on a platter or cake stand and spread a goodly amount of frosting on top. Place the second cake layer on the first and frost the sides and top, creating as few or as many lavish swoops and swirls with the frosting as desired.
- Cut the frosted cake into gargantuan wedges—none of those diminutive slivers for us, thank you very much—and serve.
Notes
- Use a deep bowl–Mix your ingredients in a deep bowl so that everything stays contained when you start beating it.
- Use a scale–To make sure your cake layers are identical in height, weigh the batter. I use a digital kitchen scale.
- Storage–Store the cake covered at room temperature for up to 3 days. Unfrosted cake layers can be frozen for up to 3 months. Wrap them in plastic before freezing.

An LC Original
View More Original RecipesExplore More with AI
Nutrition
Nutrition information is automatically calculated, so should only be used as an approximation.
Recipe Testers’ Reviews
This really is the best chocolate cake! I’ve made lots of cakes, and this chocolate cake is absolutely the best.
I prefer using butter in baking; however, I make an exception with this cake, which calls for oil. Yes, the batter is thin, but that’s okay. And the frosting comes together beautifully, complements the cake, spreads easily, and isn’t overpowering.
The first time I made this cake, I brought it to a small dinner gathering. After everyone had their cake, the room went silent, given that everyone was blissfully sated.
If I’d been wearing pearls, it would’ve been a Donna Reed moment, maybe June Cleaver. Imagine mixing all of the ingredients with a hand mixer before dinner, whipping up some frosting after dinner, and serving up the most delicious chocolate layer cake shortly thereafter…nothing complicated, nothing fancy, just a cake that screams perfection.
Wooden spoons and hand mixers are perfect here. Just make sure your bowls are deep enough so that the flour doesn’t go flying; the same goes for the confectioners’ sugar in the frosting. Too bad there are only two of us, and one of us watches our weight!
It’s a perfect cake for a celebration or just because you love chocolate. The espresso powder adds a nice undertone and cuts the chocolate just a bit.
This moist chocolate cake recipe is delicious and very simple to make. The cake has a rich chocolate flavor. Indeed, the addition of espresso powder enhances and enriches the chocolate flavor. I do this whenever I make a chocolate dessert, and it never fails to pay off.
I suggest using cocoa powder instead of flour to dust the baking pans. This will eliminate the white powdery “crust” that will appear on a chocolate cake after it’s baked. The frosting is an excellent everyday type of frosting with a rich chocolate flavor resulting from the addition of espresso powder. For a more special occasion, I’d make a nice Swiss meringue buttercream, a whipped ganache, or even a whipped cream frosting. I loved using my electric hand mixer rather than dragging out the big 7-quart mixer!
“Pure bliss,” “perfection,” and “supreme” are a few words that come to mind after a bite of this cake. If a food could bring about international peace, then this must be the one.
It was supremely easy to put together. The addition of espresso powder deepened the chocolate flavor, and the icing recipe was easy to work with and wasn’t overpowering. I would skip all three meals and just have cake for a day. With a nice glass of Prosecco, it’s sublime.
This is a decadent chocolate cake. The ingredients are probably in your pantry and easy to whip up for some chocolate love. The batter is thin when done mixing but cooks up to a lovely, moist cake. Espresso powder deepens the perfect rich chocolate flavor of the cake. We felt the frosting was a little overwhelming and would tone it down in the future.


Folks, I need some feedback on an experience I had with this cake.
I’m a private chef and have made this cake about 3 times for a cake-mad client since it first appeared here last year. First time, I made it to sneer at it — how could any cake without expensive 70% dark chocolate in it be any good? One bake was all it took to cure me of THAT misconception. My client went bonkers for it, requesting it every couple months between other, fancier cakes.
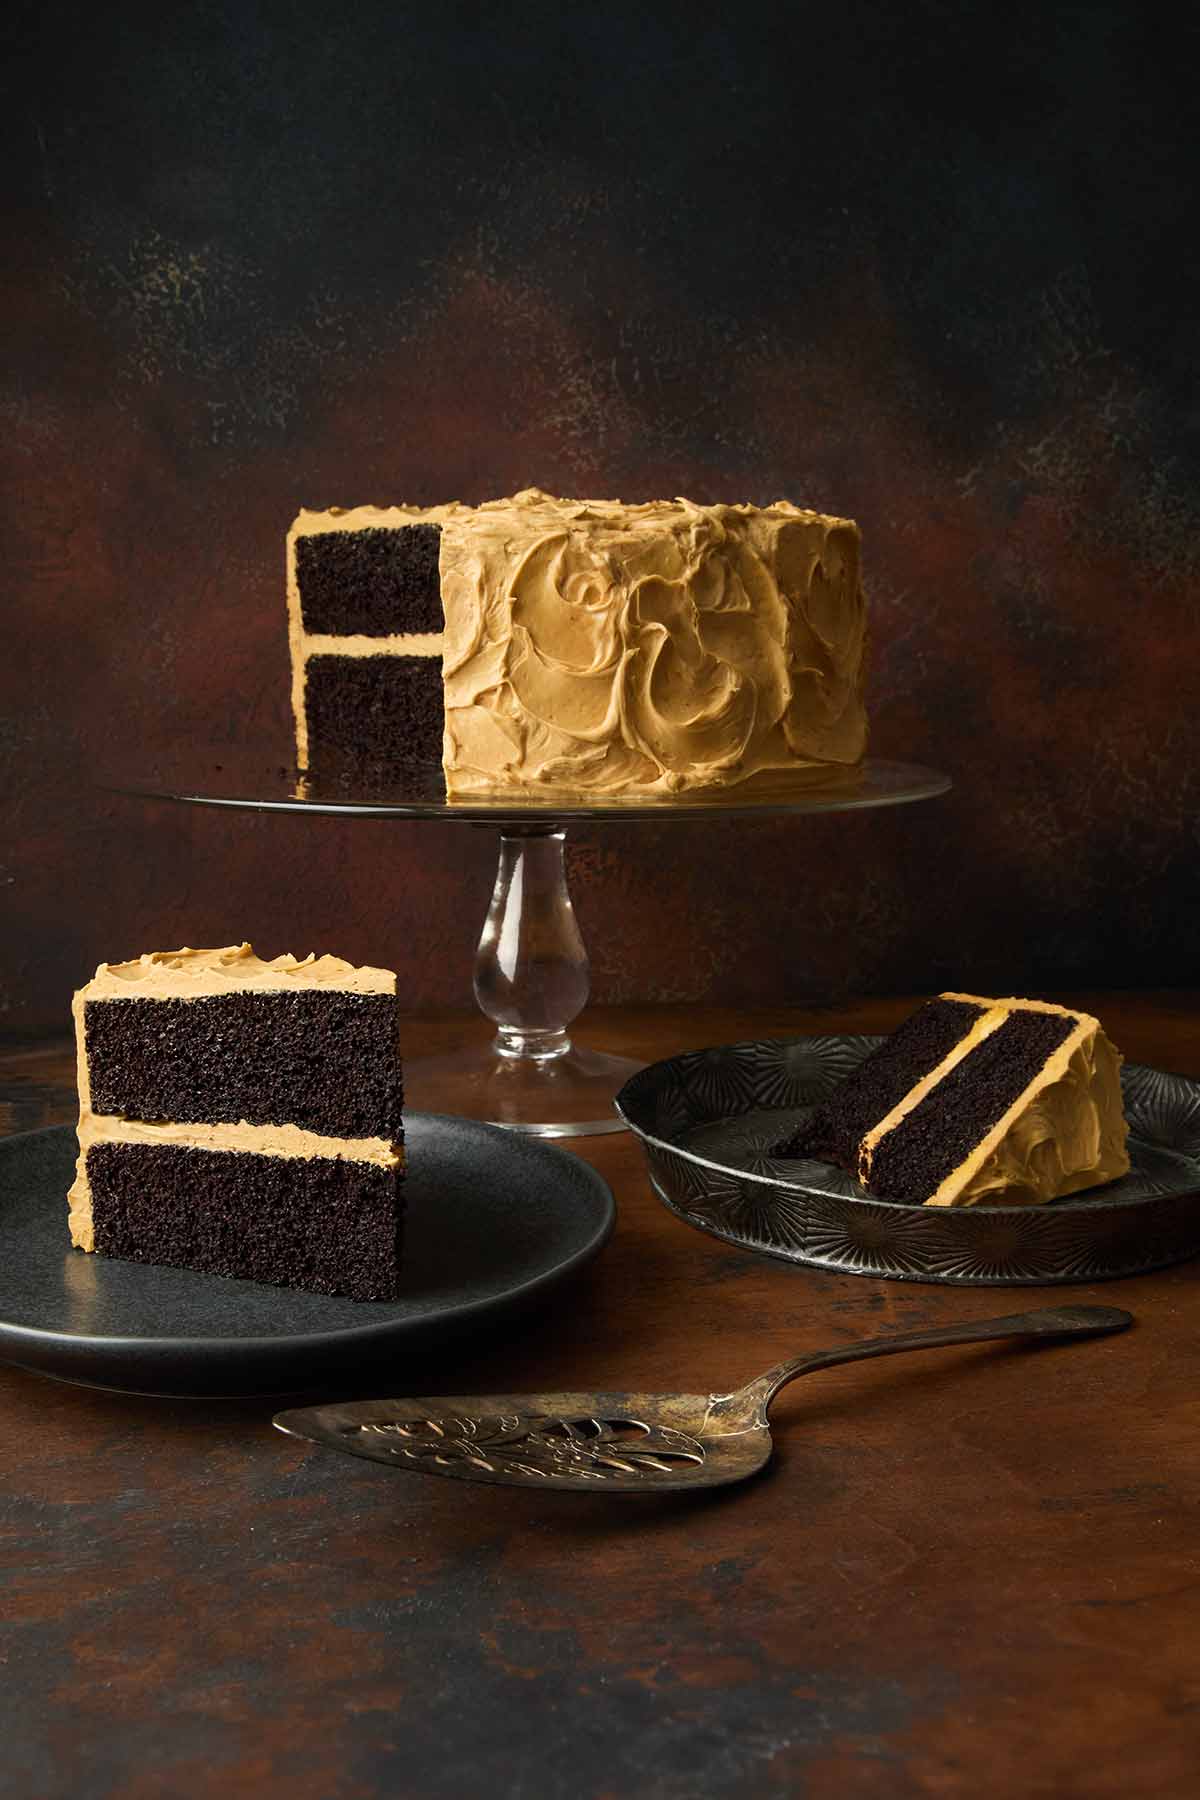
So last week I decided to make it for them again, with a caramel ganache frosting they particularly love. Baked the layers, and then out of sheer laziness and distraction, I left them sitting, in the pans, uncovered, on a counter top for three whole days.
They looked, smelled and felt fine, so I went ahead and frosted them and served it up. (Told you I was lazy.)
And the reaction was unbelievable. They were wrapping and hiding pieces from each other, telling me almost in tears that it was the best chocolate cake they had ever, ever tasted.
Of course I told no one what I’d done — but I’m telling y’all here because I’m bewildered by what the aging could have done to actually improve these already-perfect cake layers. They were darker, moister, and tenderer than when baked. How could that be? Could they have been on the verge of spoilage and somehow that improved their flavor?
Anyone have any ideas?
Maggie, wow, that’s really fascinating. Perhaps someone can explain how it got moister. My guess as to the darker color and more intense taste would be the aging. I discovered the same thing happens to chocolate chip cookies. As the cookies aged before baking, the flour hydrated and the texture and flavor changed.
In this instance, I don’t know how much hydration would have taken place, especially since they weren’t covered. If anything, they would have lost moisture, which could have accounted for the intense taste.
Perhaps others have an idea? Anyone?
Yep, I can see how that would happen BEFORE baking, as with the cookies and the extra hydration. But I’m perplexed about the after-baking improvement….
BTW, I neglected to thank you for introducing me to this odd and wonderful cake. Without your article and the testers’ comments I would never have tried it, so beijos to you for bringing it to my attention.
Maggie, my pleasure. But I, too, an perplexed. It’s not as if the cake has preservatives. The only thing I think think of is the oil, which has no water, may have kept it uncommonly moist.
I am not a scientist, but i have found that cake, as long as you don’t cut it, actually does get denser and moister if you let it sit. The pans sort-of act as a wrapping and the top “crust” that forms on a cake layer pretty much makes them impervious to drying out. I first observed this with cupcakes which, basically, are little individual cake layers. I also suspect that the humidity of your environment plays a role in this, although even in fairly dry climates i have noticed this phenomenon. The key, it seems, is leaving it/them unopened in the pan or cupcake wrapper. It’s way too hot where i am to bake right now, but boy…can’t wait to make this cake again!
Lisa, excellent deduction work there. I’m not sure if that the cause, but it sure sounds plausible. I need to try it.
Thanks Lisa, it’s good to hear someone else has experienced this. And as to the humidity factor, I’m in a hot and humid South Carolina summer, so your theory holds there.
I’m wondering about David’s observation about this cake being oil-based, too. Would a butter-based cake behave the same, or tend to go rancid? And is the chocolate a factor? I think I’ll experiment with a different cake this weekend, make it on Saturday and let it sit out til Tuesday.
Maybe there’s a cake-aging trend in our future…
Hi, I have a question regarding the Hershey’s Cake. Is it 1 AND three-fourths cup of flour or, 1 three-fourths cup as in one scoop.
Hi Preya, it’s 1 and 3/4 cups of flour. Hope this helps.
there’s nothing like a classic chocolate cake!
You said a mouth full, Dina. A mouth full.