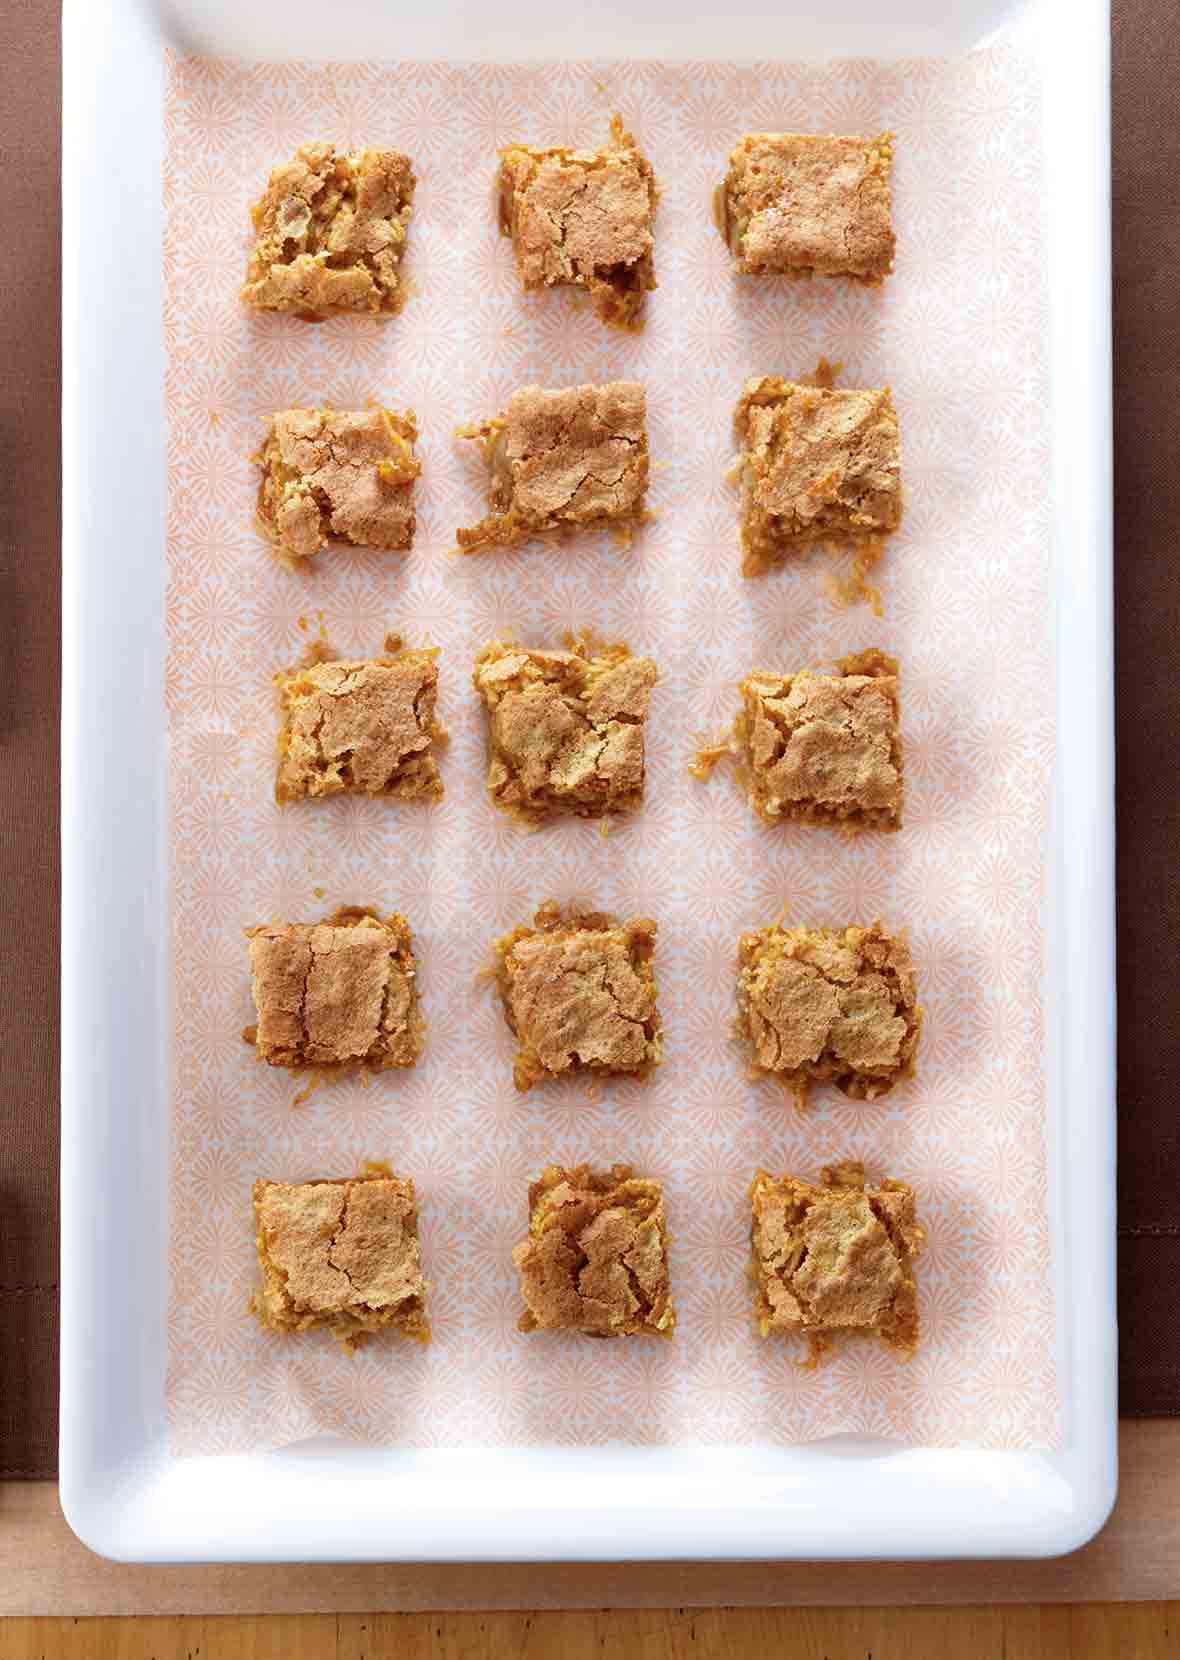
“I come from a long line of awesome ladies. This recipe was passed down from one of them.” So reads the original headnote to this recipe. We can only imagine how awesome all of the baking recipes from these ladies must have been based on the response to these bars, which also go by the name “Yum-Yum Squares.” Yum, indeed.–David Leite
Coconut Blondies FAQs
This recipe calls for sweetened or unsweetened coconut – but it’s important to be wary of the difference. Your end result may have a different flavor or texture, depending on which you use. The difference between the two is more than just sugar content. Sweetened coconut is typically soaked in sugar or corn syrup, making it moist and heavy, while unsweetened coconut is dry and light. If you plan to use the unsweetened variety, you’ll need to add a bit of moisture to your coconut with water or oil. For each 1/2 cup of coconut, use either 1 tablespoon of hot water OR 1.5 teaspoons of oil +1.5 teaspoons of hot water, then allow your mixture to stand for ten minutes before adding to the rest of your ingredients. If you’re using unsweetened and also want to boost your sweetness level – just add a tablespoon of powdered sugar per 1/2 cup of coconut.
Coconuts are extremely beneficial and are a healthy source of fiber, iron, and protein. They’re a great way to add natural sweetness and texture to granola, oatmeal, and your favorite cookies and cakes. That said, as with all good things, moderation is key.

Coconut Blondies
Ingredients
- 1 stick (4 oz) butter, softened
- 2 tablespoons plus 1 cup brown sugar, packed
- 1 1/4 cups all-purpose flour
- 2 large eggs, beaten
- 1/2 teaspoon salt
- 1 teaspoon vanilla extract
- 1 cup shredded coconut, (sweetened or unsweetened, it’s up to you)
- 1 cup walnut pieces, (optional)
Instructions
- Preheat the oven to 350°F (175°C).
- In the bowl of a stand mixer, beat the butter and just 2 tablespoons of the brown sugar until the mixture is light and fluffy. Stir in the flour.
- Press the mixture into an unbuttered 8-inch square pan.
- In another bowl, combine the eggs, salt, vanilla, and the remaining brown sugar and mix well. Stir in the coconut and walnuts, if using, and pour the mixture on top of the crust, smoothing the surface so it’s even.
- Bake for 25 to 29 minutes, until the top is a rather rich shade of golden brown and a tester inserted in the center comes out with just a few crumbs clinging to it.
- Place the pan on a wire rack and let the mass of coconutty goodness cool slightly before slicing it into 16 two-inch squares. (We mean what we say about letting them cool somewhat. If you try to slice the bars while they're still too warm, you’ll have a gooey mess on your hands.) You know what to do from here.

Nutrition
Nutrition information is automatically calculated, so should only be used as an approximation.
Recipe Testers’ Reviews
Holy yum! I think the title is missing about 1 million more yums! The squares were so flavor-packed; my family said these were reminiscent of pecan pie. Pecan pie is much more labor-intensive than these gems. These squares are incredibly easy to prepare! The crust bottom tasted like a shortbread. The topping divides itself into a gooey center with a coconut/walnut crust.
These magical texture combinations meld together well! I will make these again and again; perhaps changing up the nuts if I feel like it, though walnuts were delicious. I might try baking the crust part for 5 or so minutes next time, as it was a bit crumbly. Delicious as written, though I can see endless opportunities with this one in the future!
Yum yum is the verdict on these squares. They are very easy to rustle up with pantry staples, making them perfect for unexpected company or rainy days.
The coconut and walnuts make for a nice texture combo. Visually, the colors go from a light tan to a dark brown in the middle to a lighter brown on top, making it very attractive looking. This will be a regular in my home for all the sweet tooths in my family.
These were truly fantastic. They were like little squares of gooey goodness that made me keep coming back for more. These are sweet with a flakey cookie bottom. They were quite addicting.
The prep was very fast and easy, and they were finished and ready to cut in no time at all. I managed 20 squares that were the perfect snacking size out of my 8-inch pan. The only problem was they disappeared so quickly.
The bars tasted wonderful–super sweet, sticky and chewy but also crumbly.
This recipe yielded 16 very small bars and for me one was not enough! For whatever reason, my bottom crust disintegrated as soon as I cut into the finished pan. Maybe blind-bake the crust for a few minutes before-hand?
Everyone who takes a bite of these coconut blondies immediately makes the noise “yum,” you just can’t help it! I have made this coconut blondies recipe 4 times in 2 weeks because they are now what my family suggests when I need to make a dessert.
I had to extend the baking time in order to have the top be golden brown, 27 to 29 minutes seems perfect. The recipe states to cool slightly before slicing, so I took this as the okay to let my husband take just one. Maybe we did not cool enough because the bars started to ooze into the empty square but just a short while later the squares were easily removed with much less mess.
They are so easy to make, come out of the pan easily (without sticking) and are delicious. One of those recipes you must try!
I made this coconut blondies recipe the day before we were meeting friends and their dogs and kids for a picnic, so I knew I would have more tasters than usual. Everyone loved these! A little gooey, not too overly sweet. One of the boys thought he tasted banana, however, it is just coconut and walnuts. Must be a tropical combination!
Kept them in the cooler and found them easier to remove from the pan when they were a bit chilled. Would definitely make these again. Very quick and easy to put together.
I had my 12-year-old great-niece help me with these. They were a breeze to make, she did them practically by herself.
We often get together on Sundays (the whole family) at my mom and dad’s and cook together while we visit. These were made for our dessert for one of those times. Everyone who tasted them loved them. We heard lots of ooohs and ahaaas and a few “OMG, these things are good”s. The last one was from my nephew who doesn’t like that many sweet treats, but sure enjoyed this one.
After they baked (took 25 minutes in Mom’s oven) and cooled a bit, I cut them into 16 small bars, which was the perfect size for the sweet little treats. We will be making these easy and delicious gems again.
This coconut blondies recipe was very easy to put together and it was a hit at work! It doesn’t have an overwhelming coconut flavor like I expected it to. I would probably cook it even longer to get a more golden crust.
I was nervous that it didn’t say to spray the pan so it wouldn’t stick, but the bars just popped out of the pan. I would also think this recipe would be great with mini chocolate chips or other nuts.
These coconut blondies were very easy and quick to make. Cut into 16 servings, the dessert was on the rich side for my personal taste, but my husband and daughter had no problems eating it!
Next time, I think I might try this with sliced almonds instead of the walnuts, as I’m a big fan of the almond-coconut combo.
These were delicious and like an easier version of Congo Bars. I particularly liked that they did not use sweetened condensed milk. Though the recipe didn’t specify, I used sweetened coconut with good results, though I would be able to eat more in one sitting if I had used unsweetened coconut.
The recipe made 12 satisfying squares. Next time, I would sub the cup of walnuts (too bitter for me) for half a cup of pecans and half a cup of chocolate chips. Also, I think the recipe needs salt, about half a teaspoon in both the crust and the topping.
The flavors were good and the recipe was easy to make. Unlike other similar recipes, the bottom part is not cooked first. I think that there were mixed reviews on this point. I suspect that baking the bottom layer for at least 10 minutes or until slightly golden would produce a contrast that more people might like a bit better.
I think that 16 bars is about right. You could go smaller but going larger would be too much.
Everyone I had taste this recipe rated it anywhere from an 8 to a 10. It’s a very quick and easy dessert to put together.
After 20 minutes in the oven it was golden brown on the top and I cut into it and it was completely runny. I put them back in the oven for another few minutes and voila, they were perfect.


These squares are my daughters absolute favourite just wondering if they can be frozen
We haven’t tried freezing them, Judy, but I think they’d be fine. Once they are cool, slice them and then store them in a freezer container, between layers of wax or parchment paper in the freezer for up to 3 months.
Made this on a lazy Sunday using unsweetened grated coconut. The bottom crust came out super crumbly so popped it into the fridge to harden up a bit before serving. I think it could do with a pre bake before adding the coconut/brown sugar topping. Overall, it is so tasty and perfect with a cup of coffee! I think using sweetened coconut would make it too sweet. I might try adding in nuts or chocolate chips or a bit of cinnamon next time for variety.
Glad you liked it, smruti. Did you beat the sugar and butter until fully fluffy? If not, that may have made the bottom crumbly.