TL;DR (Quick-Answer Box)
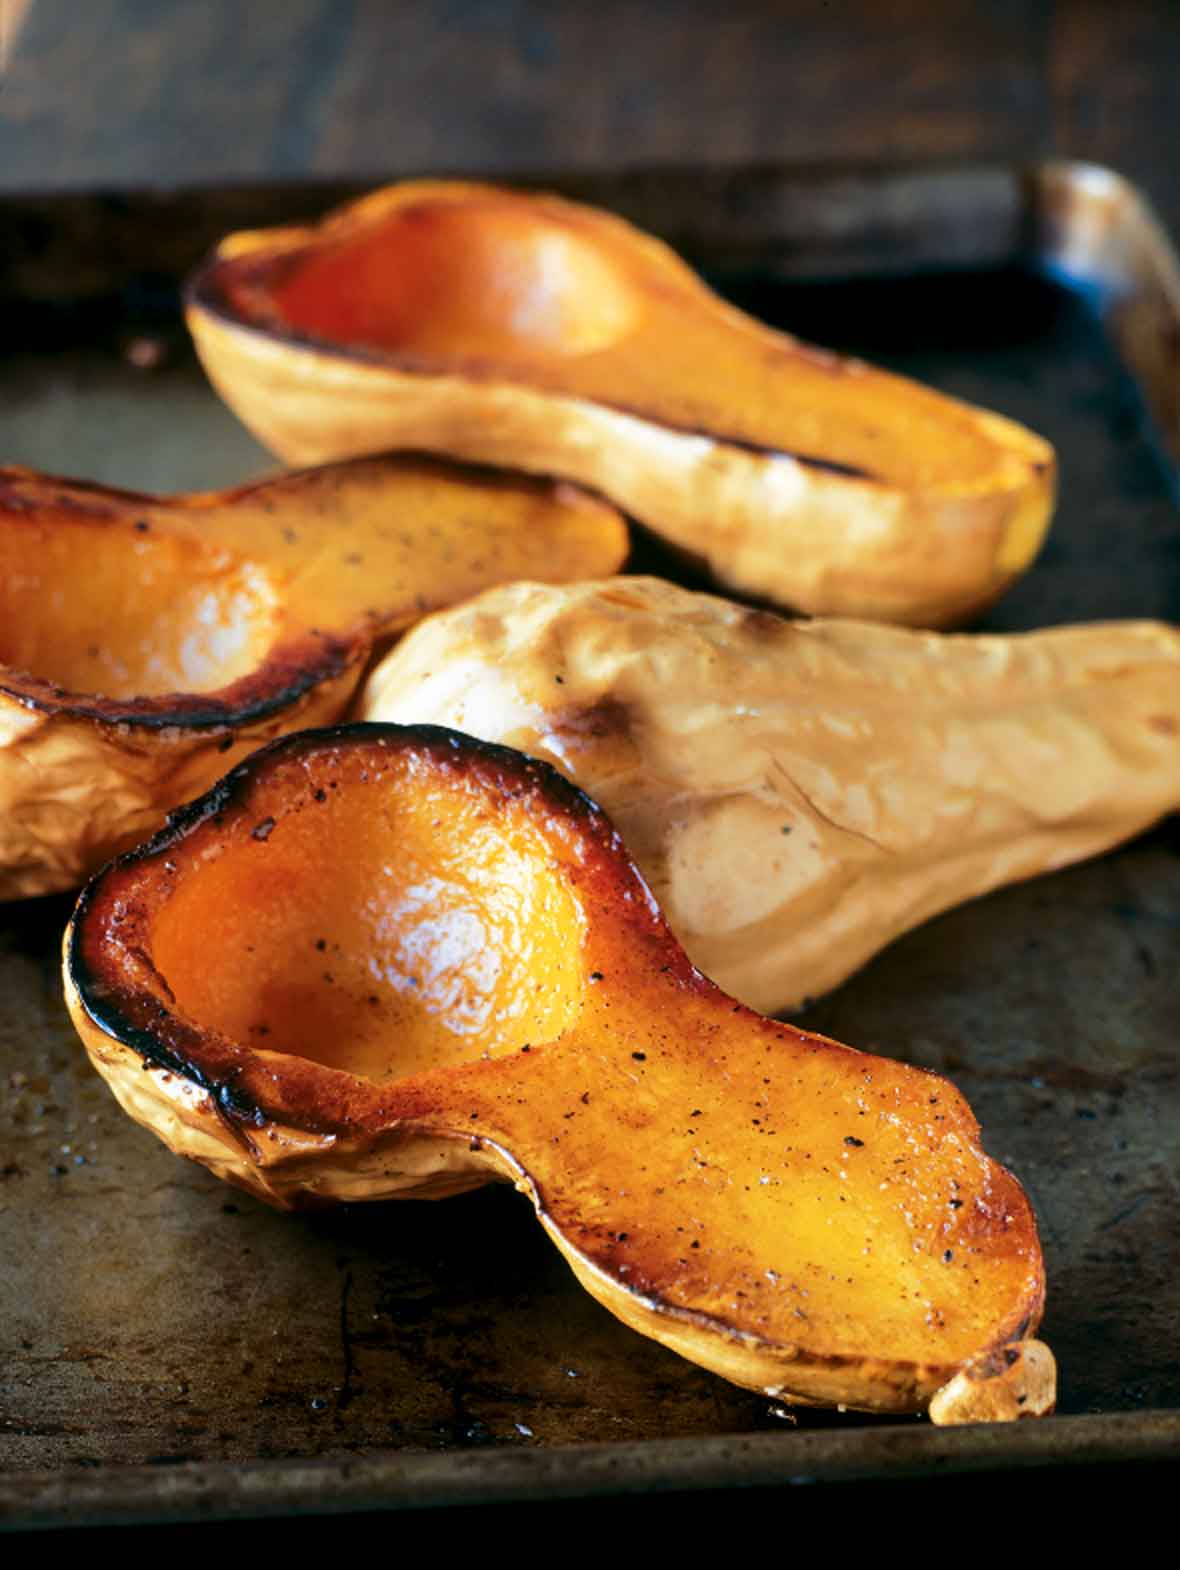
- What it is: A perfect, effortless side dish of roasted butternut or acorn squash elevated by a luscious, deeply nutty brown butter sauce and fresh herbs.
- Why you’ll love it: Roasting the squash cut-side down first ensures an incredibly tender texture and that the buttery, herby flavor soaks right in.
- How to make it: Halve, oil, season, and roast the squash cut-side down; flip it over, add a chunk of butter to the cavity, sprinkle with herbs (optional), and finish roasting until the butter melts and browns lightly.

This brown butter winter squash recipe is proof that brown butter has a knack for making just about anything tempting with its nutty fragrance and flavor. Even good-for-you vegetables. It’s sorta like black magic in that regard. Or rather, in this case, brown magic. And it’s not the brown butter alone that makes this squash tempting. It can also be a little something spicy or sweet—take a gander at the many Variations beneath the recipe—and the corresponding comments from folks who’ve made them—and you’ll understand exactly what we mean.
More Sensational Winter Squash Recipes
Stuffed Winter Squash
1 hr 30 mins
Roast Winter Squash With Blue Cheese
1 hr 30 mins
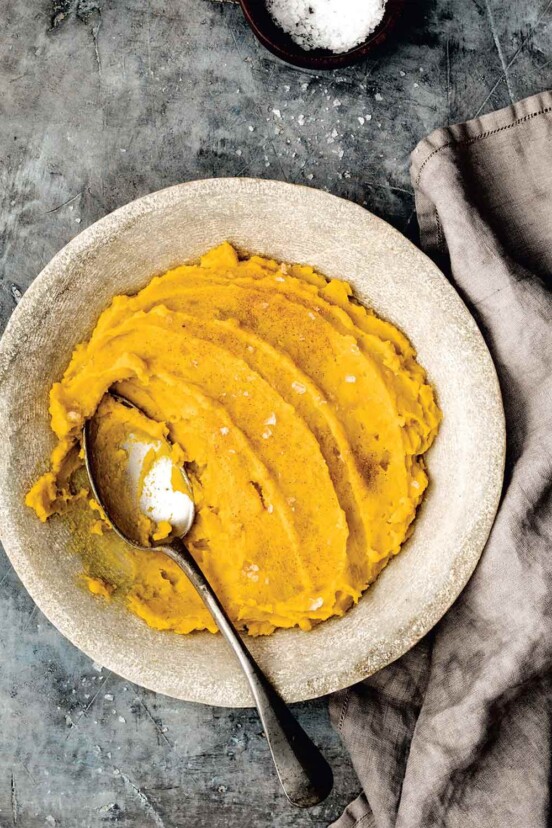
Mashed Kabocha Squash
1 hr 15 mins
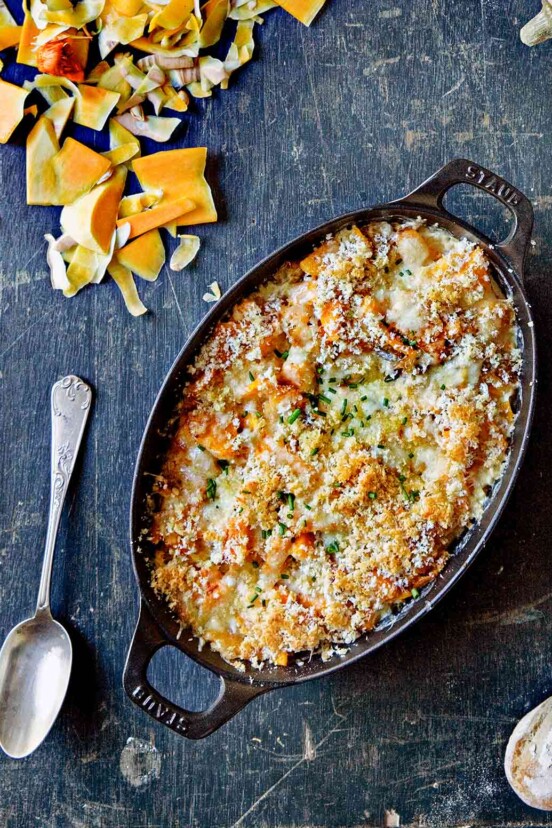
Butternut Squash Gratin
50 mins
Write a Review
If you make this recipe, or any dish on LC, consider leaving a review, a star rating, and your best photo in the comments below. I love hearing from you.–David
Brown Butter Winter Squash
Ingredients
- Two small winter squashes, such as butternut or acorn
- 1 tablespoon extra-virgin olive oil, plus more for the baking sheet
- Kosher salt and freshly ground black pepper
- 2 tablespoons unsalted butter, cut into 4 equal chunks
- 1 tablespoon chopped fresh herbs, such as sage, thyme, rosemary, or marjoram (optional)
Instructions
- Preheat the oven to 400°F (200°C).
- Lightly oil a rimmed baking sheet. Carefully cut each squash in half lengthwise and scoop out and discard the seeds and strings. Lightly brush both the curved and the cut sides of the squash halves with the olive oil. Season the cut sides of the squash generously with salt and pepper, then place the squash, cut-side down, on the baking sheet.
- Roast the squash until very nearly tender when pierced with a knife, about 20 minutes. Remove from the oven and, using a spatula, carefully turn each one cut-side up. Plonk a piece of butter in each squash cavity. Sprinkle each squash with the herbs, if using. Continue to roast the squash halves until the butter is melted and begins to brown lightly, 5 to 10 minutes.
- Using a sturdy spatula (or 2 spatulas or a spatula and tongs or whatever it takes), transfer the squash to a platter or individual plates. Serve at once.
Notes
Winter Squash Variation
Winter Squash with Maple Syrup Bake the squash for 20 minutes as directed. Meanwhile, melt the butter in a small pan over low heat. Stir in 1 tablespoon maple syrup and 1/4 teaspoon ground cinnamon and then remove from the heat. When you turn the squash halves, add the seasoned butter to the cavities, dividing it evenly. Omit the herbs and proceed as directed. Winter Squash with Southwest Spices Bake the squash for 20 minutes as directed. Meanwhile, melt the butter in a small pan over low heat. Add 1 teaspoon cumin seeds or chili powder, stir for 30 seconds, and then remove from the heat. When you turn the squash halves, add the seasoned butter to the cavities, dividing it evenly. Omit the herbs and proceed as directed.
Explore More with AI
Nutrition
Nutrition information is automatically calculated, so should only be used as an approximation.
Recipe Testers’ Reviews
Did you know only 68% of the recipes we test make it onto the site? This recipe survived our rigorous blind testing process by multiple home cooks. It earned the Leite’s Culinaria stamp of approval—and the testers’ reviews below prove it.
Sweet, roasted root veggies get me every time! So simple, delicious, and accessible to every cook. Plus, they allow for variations in flavors depending on the spices/herbs used. I prepared the acorn squash using maple butter and even added a splash of bourbon to liven it up. I may’ve used a tad less butter, but even so I made sure to baste the squash a few times. I wonder if this could be made into an easy dessert—a scoop of vanilla ice cream right into the warm squash cavity for a rich, almost pumpkin pie–like combo…anyone?
Whether you’re looking for a sweet or savory side dish, this recipe is a keeper. It was nice not to skin and chop the squash. This makes for an easy side dish for a weeknight, but the presentation of the dish is pretty enough for company. The squash comes out of the oven fork-tender and nicely browned. The herb flavor is nice, giving a balance of sweet and savory, while the sweet flavor isn’t so sweet that it tastes like dessert. There is some smoking and sizzling during the cooking, though it wasn’t a problem.
I’ve cooked acorn squash cut-side down and cut-side up but never both in the same recipe. The advantage to this method is that the top doesn’t brown and get tough, yet you still get the caramelization that looks so nice. I used the maple syrup variation. Personally, I’d use more butter and maple syrup (in the same proportion, just more of each). I didn’t baste the cut side because it wasn’t face-up long enough to dry out and I felt the sugars in the maple syrup would burn if it was spread out on top of the squash. Using cinnamon on acorn squash was new to me, but with the maple syrup and butter it complemented the sweetness of the other flavors.
There can be no bad version of roasted acorn squash involving butter—and this recipe is no exception. I opted to try both the herbed version and the maple syrup version. I have a preference for the sweet preparation but both were delicious. For the original version I used rosemary, and 1/4 tablespoon packs a powerful punch. I’d scale back to just a pinch for a less perfumey flavor but it was still tasty. For the sweet version I used Saigon cinnamon and it really stood out. I can’t say I fully detected the nuttiness of the brown butter and would be tempted to brown the butter first before putting it in the cavity of the squash next time. Still, this is definitely a keeper!
Something about butternut squash pairs so nicely with sage. I added some leaves to the pool of butter as it cooked and it was just perfect. You can scoop it out of the shell like a bowl and it’s amazing.
Plain and simple yet so very delicious. The squash was very well cooked, creamy, and had a nice balance of sweetness and saltiness. This is a keeper for a minimally time-consuming way to create a nice side dish. The herb aromas just enhanced the final experience.
I stared at this recipe for so long, trying to decide which variation to make, as they all looked so good. Should I go with the sweeter version that one child would like or the Southwest version my husband may like or start with the original? I love all types of squash but have never gotten my family to try them. (It’s a long story.)
Knowing that getting anyone in my family to try butternut squash was going to be an accomplishment in itself, I decided to make all 3 versions at once. The recipe was so easy. The squashes were all tender after about 20 minutes. I added a mix of fresh sage and thyme (mostly sage) to the original version, followed the recipe exactly for the maple cinnamon one, and added a little chili powder, cumin, and garlic to the Southwest Spices version. They were all wonderful. The original was my favorite but I could’ve eaten the maple cinnamon one as a dessert.
The presentation was elegantly rustic, just a little large to serve on one plate. Everyone tried the squash and all had to admit they liked it much more than they thought possible. I realized they really liked it when both my teenaged boys asked to pack some with their lunch the next day—a privilege reserved for pizza and other favorite dishes!
This is a great side to have if you’re making a large meal because it doesn’t need constant attention. Put it in the oven, forget about it for a little bit, flip it over, and put it in the oven again until done. Very simple, healthy, and tasty!
Squash is a favorite in my home, and this recipe reminds me very much of the way my mother used to prepare squash. I was able to get butternut, acorn, and a couple of small Hubbard squashes, so I prepared them two ways. The herb choice for the original method was sage. The result was warm and earthy and went very nicely with roasted meat.
The second method was with maple syrup and cinnamon. Again, a warm, tasty way to prepare squash for those who like it sweeter. There was enough left over for lunches, and the consensus was that it was even better the next day when the butter and seasonings had time to marinate into the squash.
This is an easy way to make squash, and the seasoning choices to go with the butter are only limited by a lack of imagination.
This was a win–win vegetable dish! As suggested, I served the butternut squash with pork chops and the combination was delicious. The browning butter and herbs (I used fresh sage) gave off a wonderful aroma as the squash was baking. The nuttiness of the brown butter was so fragrant and tasted even better.
This was such a simple dish, because it could be placed in the oven and basically forgotten about. I didn’t baste the cut side of the squash because the olive oil in the beginning seemed to keep everything moist. This is a keeper and will be served alongside our Thanksgiving turkey!
Not a whole lot to say about this recipe other than it was easy and delicious. I made the maple syrup variation. I used 1 teaspoon of cinnamon rather than 1/4 teaspoon because I love cinnamon. It was well received by my guests and I’m going to make it again for Thanksgiving. One note: I basted the entire cut side of the squash a few times during the baking.
I tried the maple/cinnamon variation, so I didn’t have to worry as much about the basting aspect. One note is that if you don’t cut the halves quite equally, one “half” might cook faster than the other. What I did was remove the piece that cooked more quickly and left the larger piece in longer. Then I proceeded with brushing the butter/maple syrup/cinnamon mixture on. I basted it after I took it out and before serving.
So I had a small issue with this recipe, but it’s not the author’s fault: it’s the bounty of large winter squashes we have here in Arizona. The recipe calls for two 1-pound squashes, however, the smallest I could find was one 3-pound butternut squash. While this was fine, it threw off the cooking time substantially; these took almost 50 minutes to roast rather than the 20 minutes as written. Aside from that these were nearly perfect! Loved that nutty saltiness the butter took on after roasting. I ended up using fresh sage and this went perfectly with our holiday meal! Just know that you’ll have to adjust your cooking time accordingly with the size of your squash.



I have been looking for a recipe like this since it`s how my Mom prepared squash for us kids. Not sure if it was the now popular butternut variety 50+ years ago.I have a Red Kabocha to try, it’s about the same as butternut. Do you think it will work? Thanks for the recipe.
lowandslow, I just love the way food can yank us straight back to childhood.
And yes—your red Kabocha will work beautifully here. It’s a wee bit denser and a little sweeter than butternut, but that rich, velvety texture holds up fantastically to the brown butter treatment. The only thing to keep an eye on is timing: Kabocha can sometimes roast a smidge faster, so give it a poke a few minutes early.
If you try it, please report back. I’d love to know if it tastes just like Mom used to make.