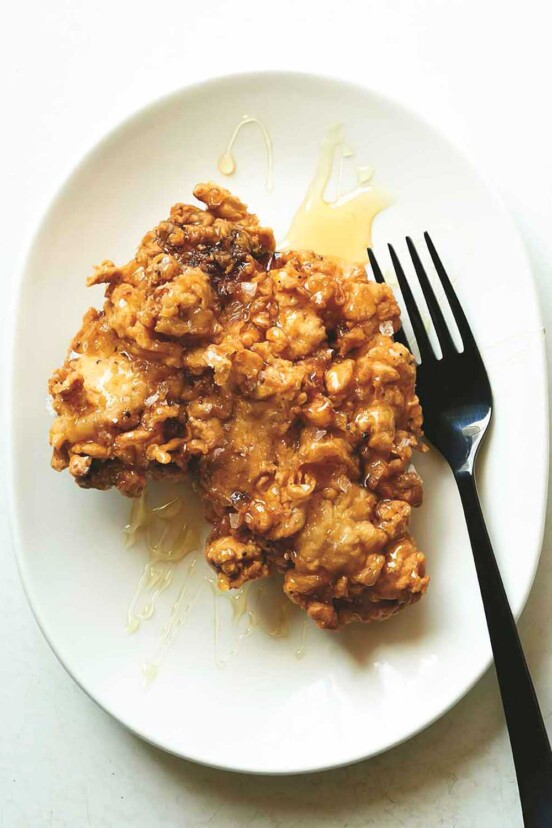
Batter-Fried Chicken (An Easy, Extra-Crispy Recipe)
Proof that it doesn’t take buttermilk or an insufferably long overnight brine to make insanely tender, crazily crisp, gosh darn perfect fried chicken.
1 hr 30 mins
Fried chicken is more than just dinner—it’s a holy grail. I’m talking about that specific, spine-tingling moment when teeth meet a crust so crisp it practically echoes. Whether you’re looking for the classic, craggy comfort of Southern Pan-Fried Chicken or the sophisticated crunch of Japanese Chicken Karaage, you’ve just hit the poultry motherlode.
After twenty-five years of testing every method under the sun, I’ve learned that the “perfect” bird is a personal choice. That’s why I’ve gathered our most successful versions. From our James Beard Award-winning Batter-Fried Chicken (the secret to no-buttermilk shatter-crunch) to the shockingly easy Simple Fried Chicken and its mysterious “water-dip” trick, these recipes deliver greatness without the grease-splattered nervous breakdown.
I’ve also included my Guide to Everything You Need to Know About Frying Chicken. You’ll find the science of perfect oil temperature, tips on how to brine for juiciness, and even what to serve on the side. So go ahead—grab your tongs, pick a recipe, and prepare for the standing ovation. Cuz dammit, you earned it!

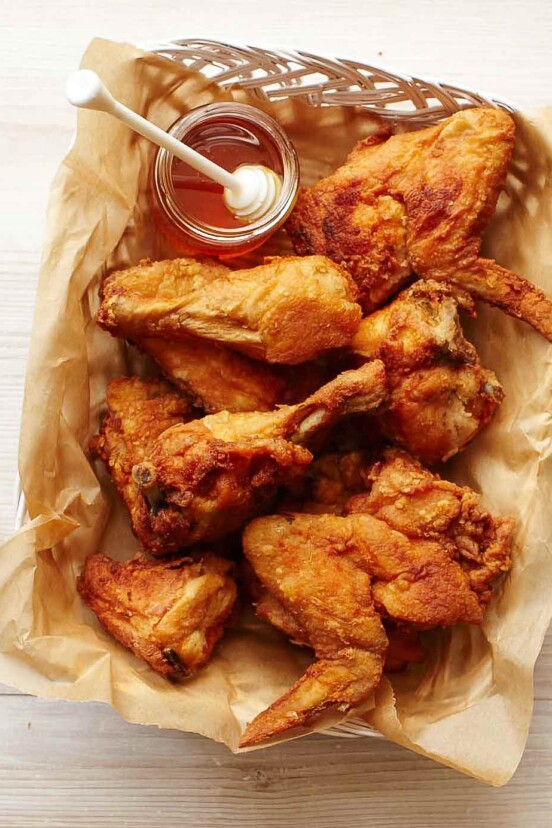
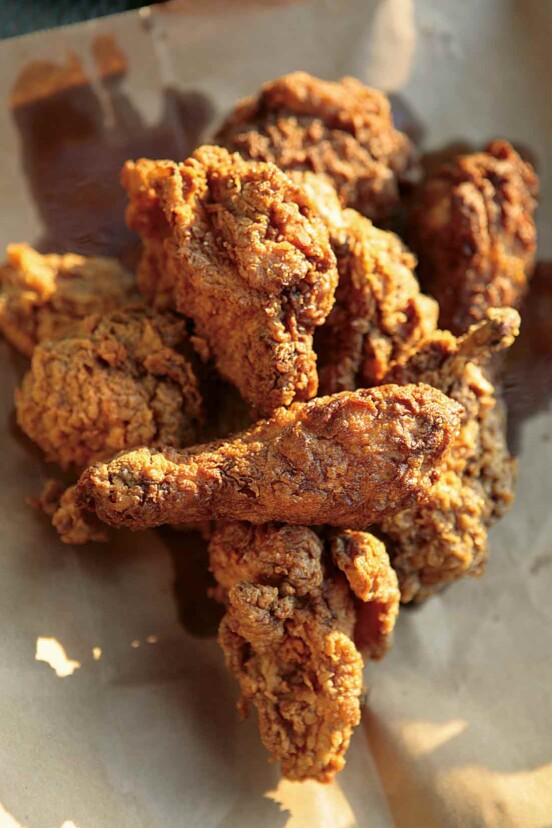
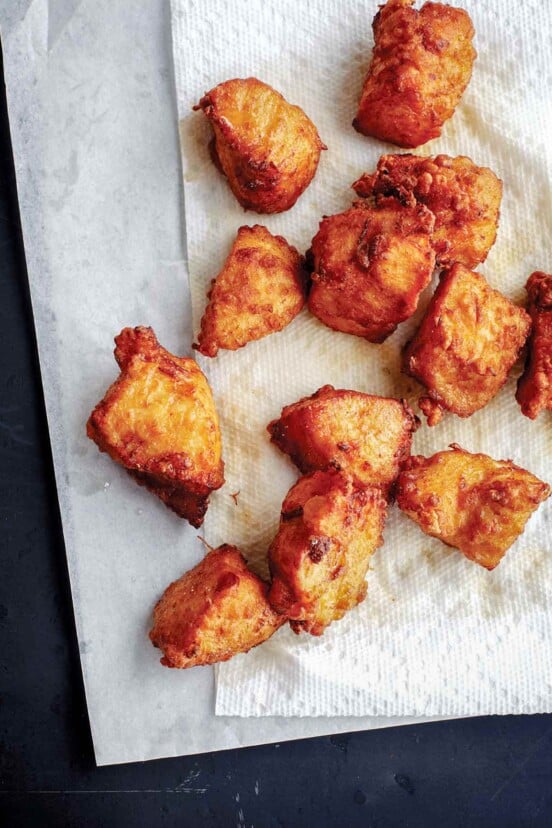
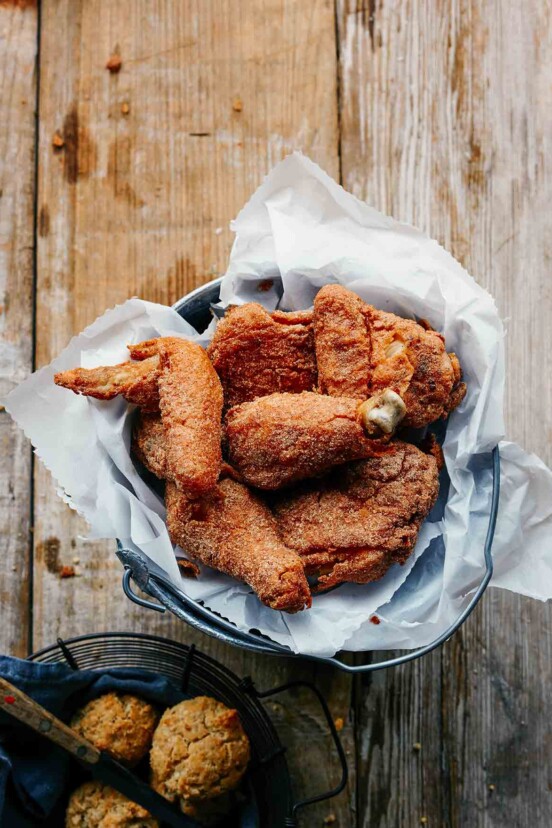
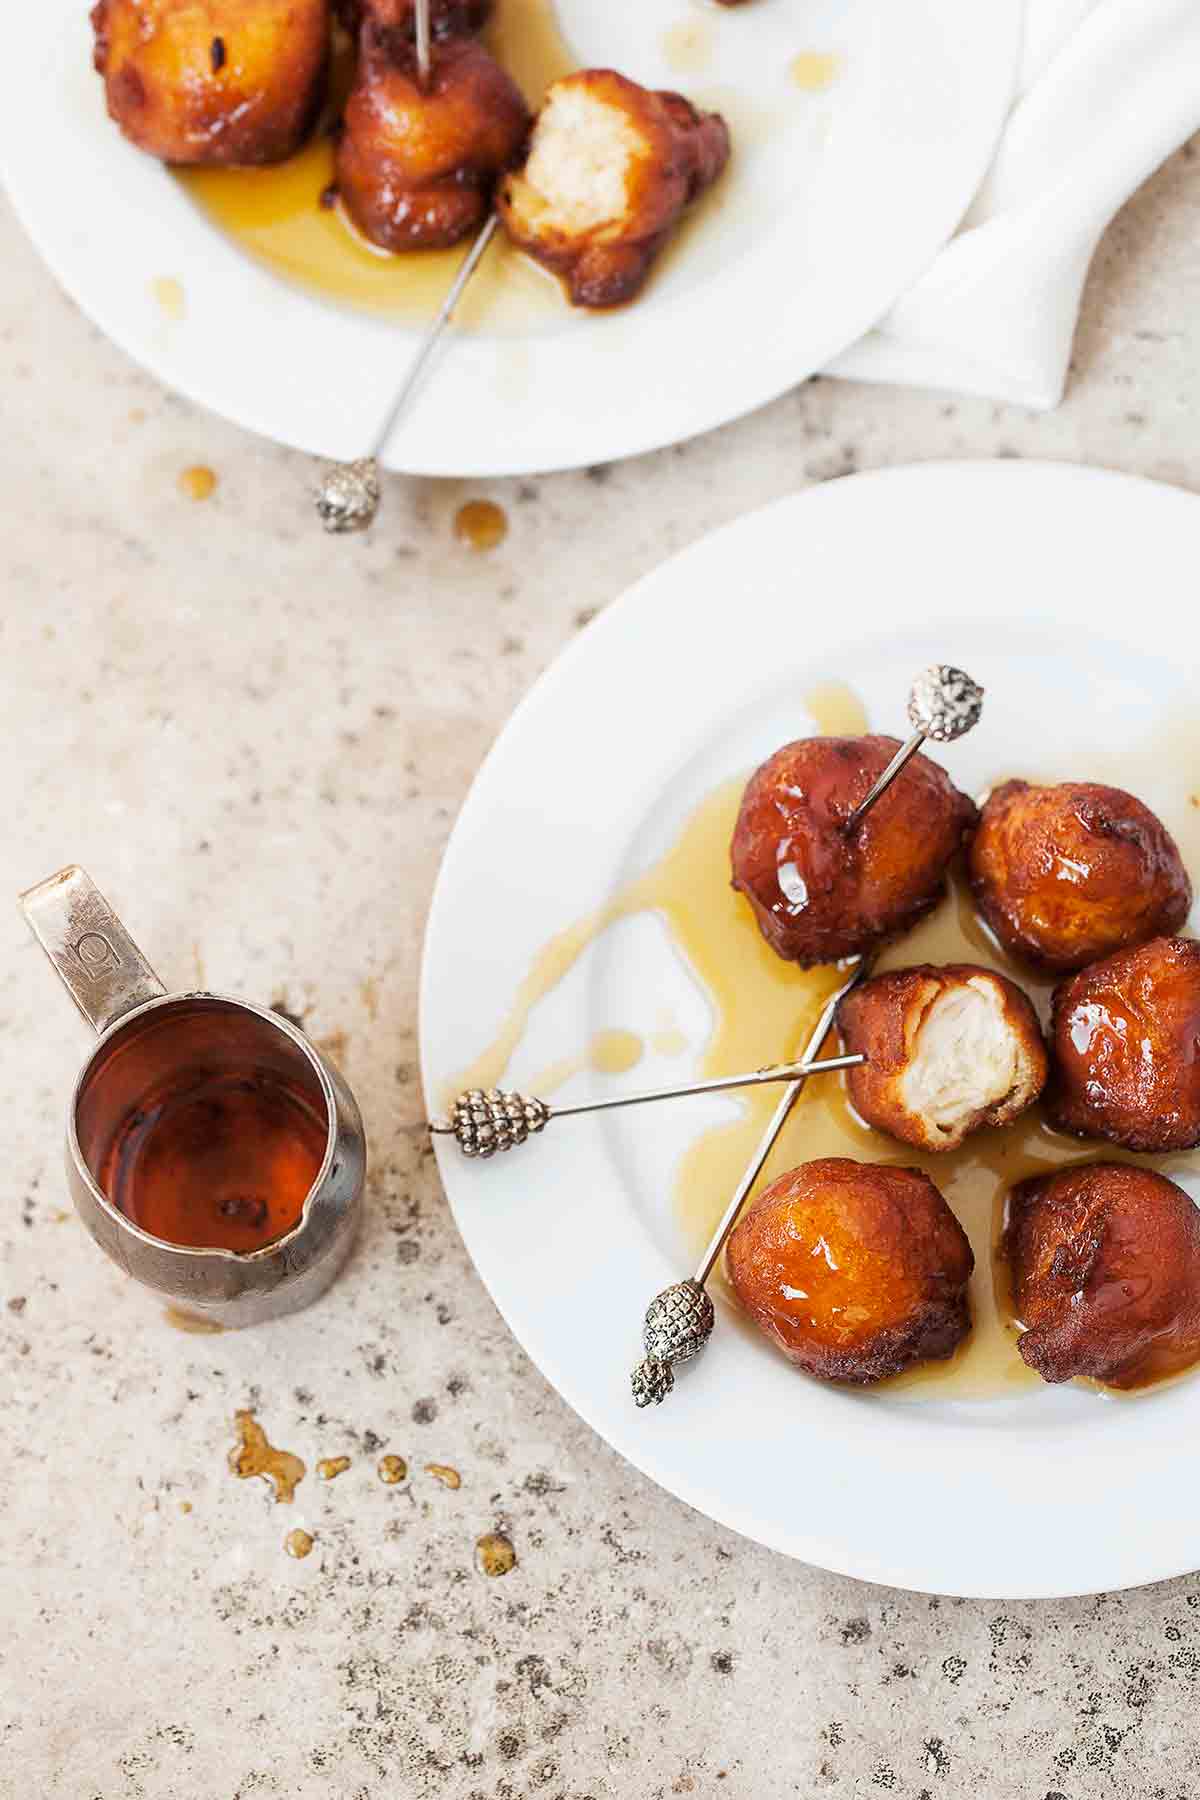
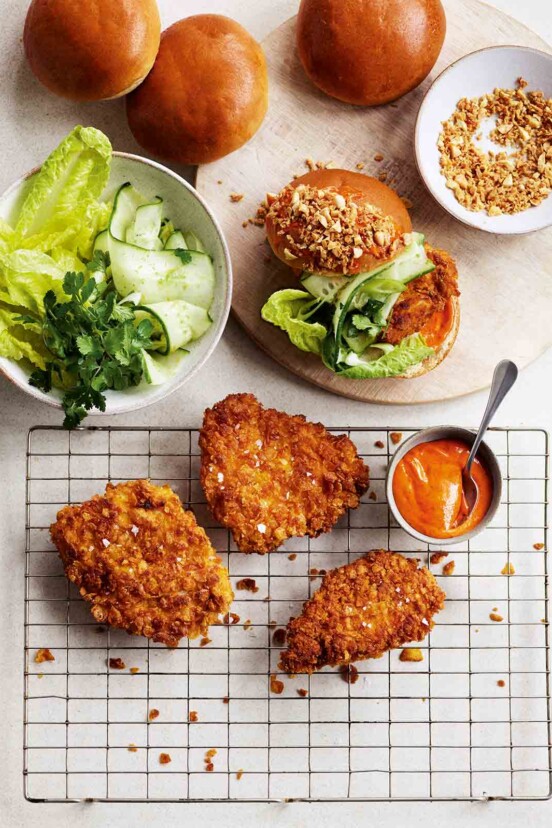
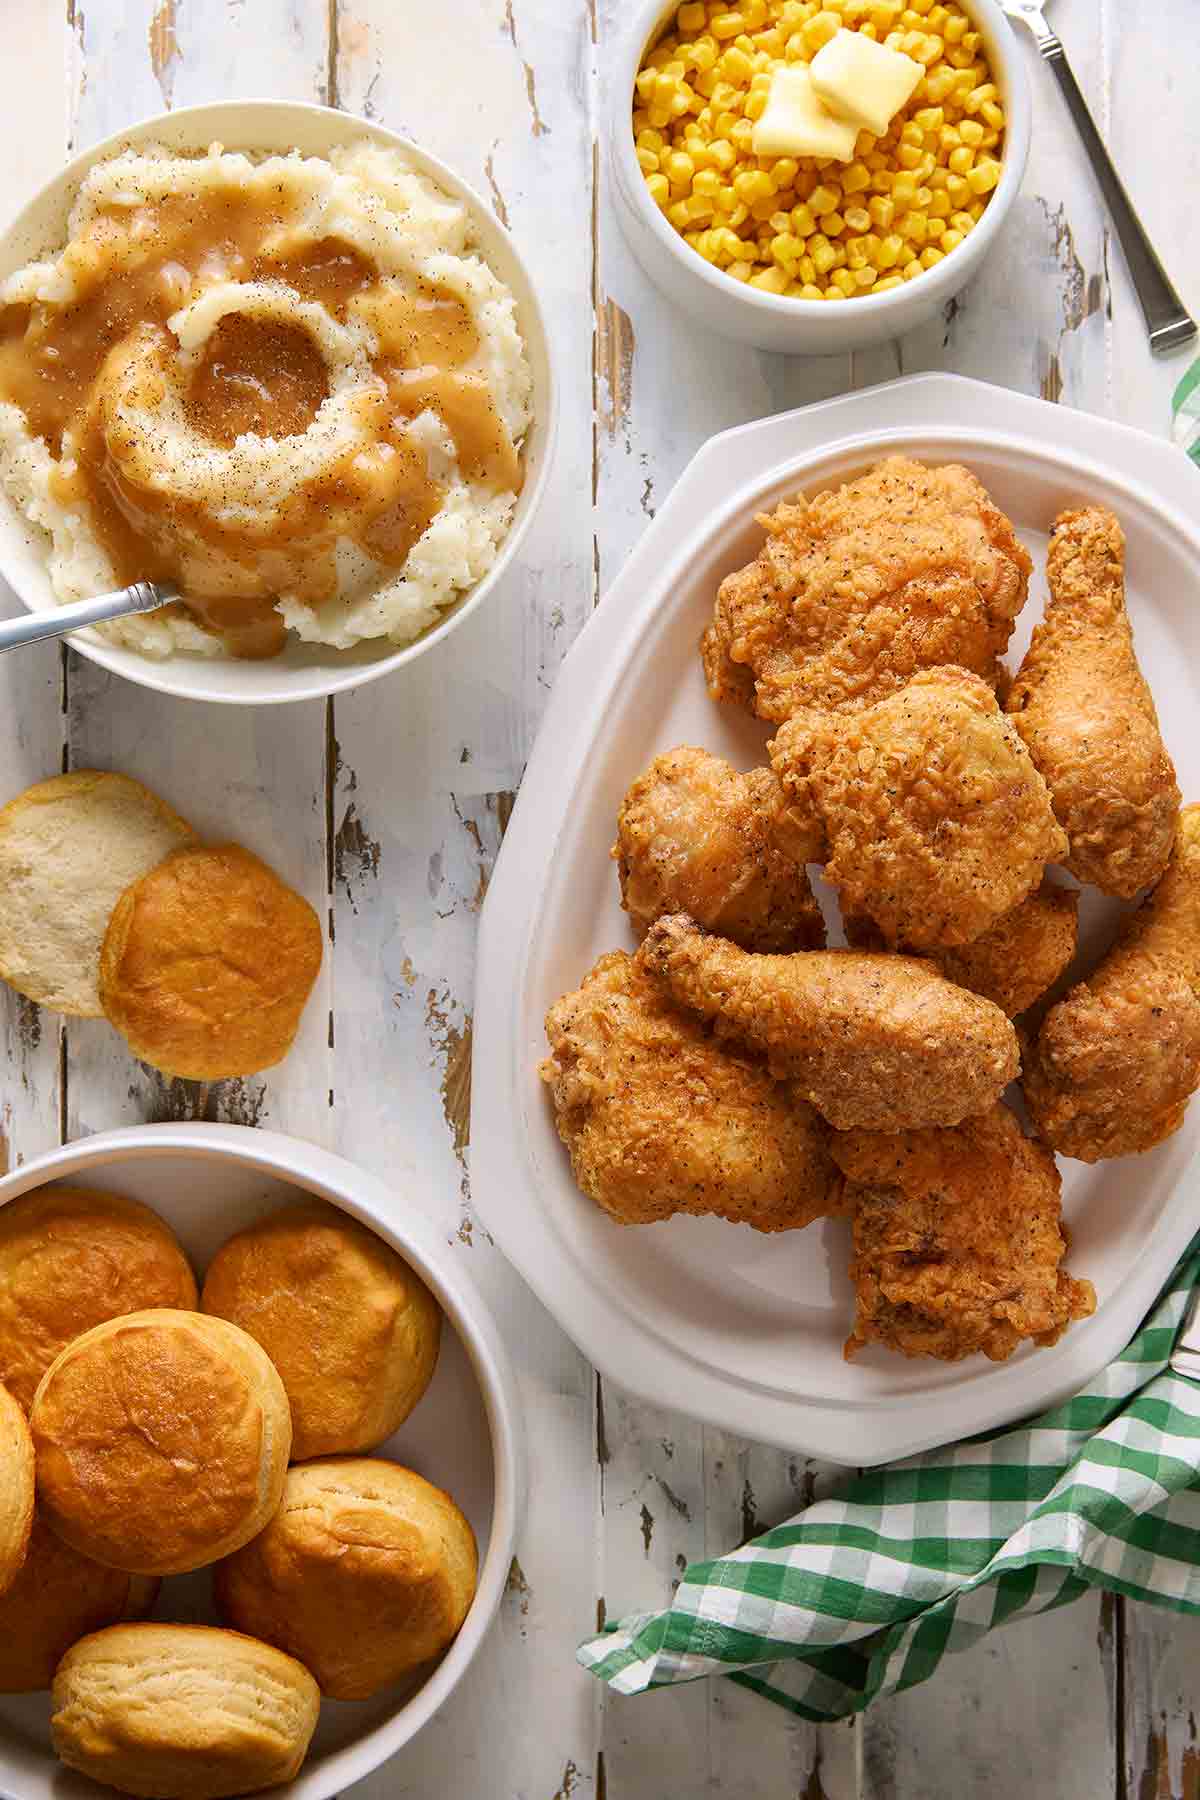
Every so often, a recipe comes along that finally ends the Don Quixote-like search for the holy grail of poultry. This is that bird. It’s the recipe that officially broke The One’s lifelong, slightly illicit obsession with the Colonel’s buckets.
What makes this the most-loved fried chicken recipe on the site—boasting over 62,000 shares and a near-perfect rating from hundreds of happy (and full) cooks—is a bit of a plot twist. Out with the buttermilk bath; in with a batter of flour, cornstarch, and cold water. This creates a wicked crispy coating that stays crunchy. It’s an easy, 90-minute wonder that delivers insanely tender meat and a spiced shell that actually clings to the chicken.
1 hr 30 mins
If the thought of a bubbling skillet makes you reach for the Xanax, take heart. Years ago, I invited the Pioneer Woman Ree Drummond’s cookbook editor and her children’s book editor to lunch at our home here. To honor them, I made fried chicken—and I screwed it up so royally (and burnt it so thoroughly) I didn’t touch a frying pan for almost a decade. I was just that freaking scared, so I get it. Here are a few tips I wish I’d known all those years ago.
Start with one of the foolproof recipes below, keep your cool, and I promise: we’ll leave the smoke alarm out of it this time.
55 mins
1 hr 40 mins
4 hrs 35 mins
10 mins
1 hr
2 d 4 hrs
6 hrs 30 mins
1 d 2 hrs
45 mins
1 hr 25 mins
25 mins
30 mins
6 hrs 15 mins
1 hr
5 hrs
6 hrs 20 mins
30 mins
50 mins
You’ve got the bird, the sides, and the sweets—now let’s make sure nothing goes sideways in the kitchen. Here are the most common frying stumbles we’ve solved over the years.
It’s a common freak-out, but it usually isn’t about undercooking. It’s often bone marrow seeping through the porous bones of younger chickens. As long as your meat thermometer hits 165°F (74°C) and you let it rest, it’s perfectly safe. The rest period is non-negotiable—it lets the heat even out and those juices settle.
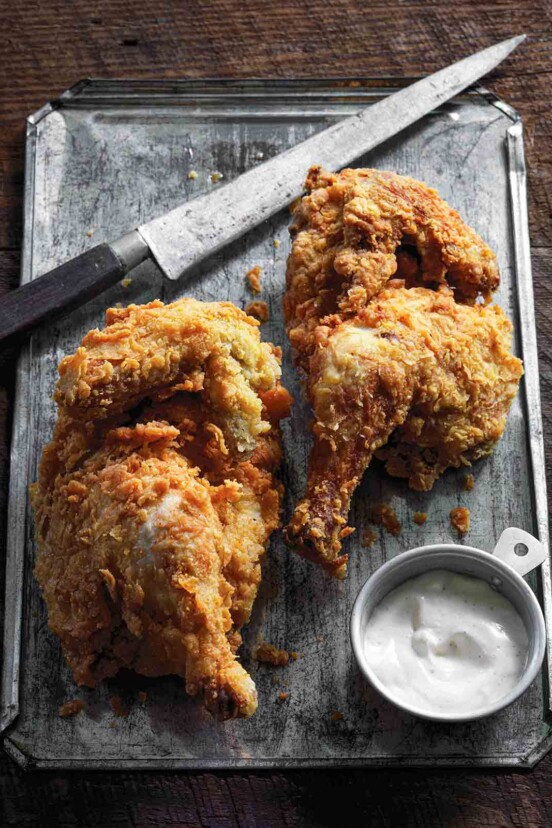
Hell yes! In fact, that’s the secret to our #1 most popular Batter-Fried Chicken. Cornstarch prevents gluten development, which is what gives you that “shatter-crisp” shell instead of a bready, doughy crust. For the absolute best crunch, I usually recommend a 50/50 blend.
Never, ever put hot chicken in a sealed plastic container—you’re just creating a steam room for your crust. Let it cool completely on a wire rack first. Then, pack it in a cardboard box or wrap it loosely in foil. It won’t be “straight-from-the-oil” hot, but the crust will stay crisp instead of turning into a soggy mess.
If you’ve got the time, then hell yes! Soaking your chicken in a salt-water solution for even a few hours before cooking will add flavor and help it retain moisture, keeping it juicy after frying. You can stick with a basic brine of salt, sugar, and water, but tossing in some herbs, spices, and even vegetables, as I do with my roast chicken, will give the chicken some extra oomph. And adding buttermilk will help to tenderize the meat.
Oof! The old complaint. There are a few things that can cause this. Not letting your chicken rest before frying is a big culprit. So is frying in oil that’s too cool. To avoid this, let your chicken rest for at least 15 minutes after breading before you frying. This will help the coating stick and give you mouthfuls of crispy skin to enjoy.

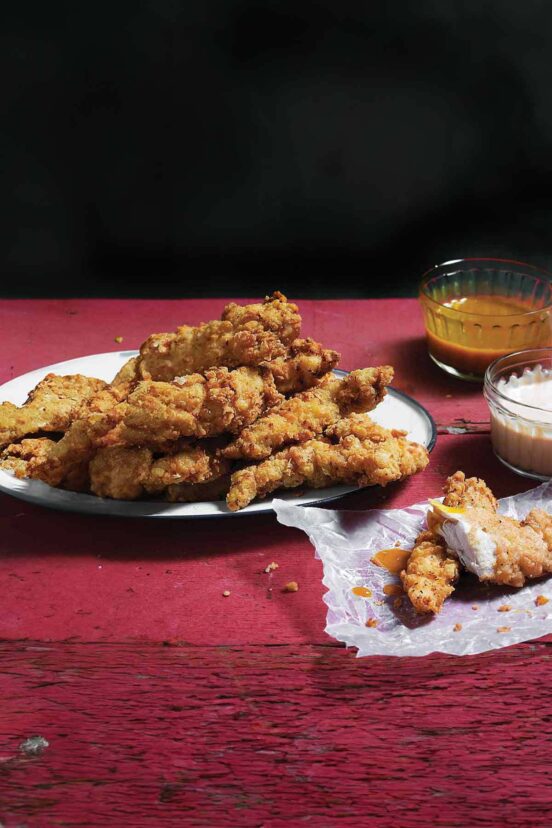
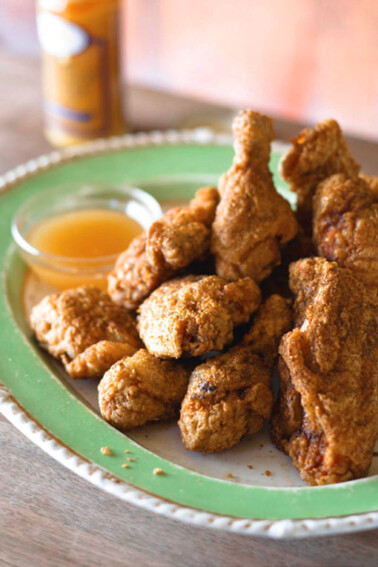
Once upon a time, this wasn’t even a question. Fried chicken was always bone-in. But, with the rise in popularity of fried chicken sandwiches, popcorn chicken, and chicken strips, boneless has become just as popular.
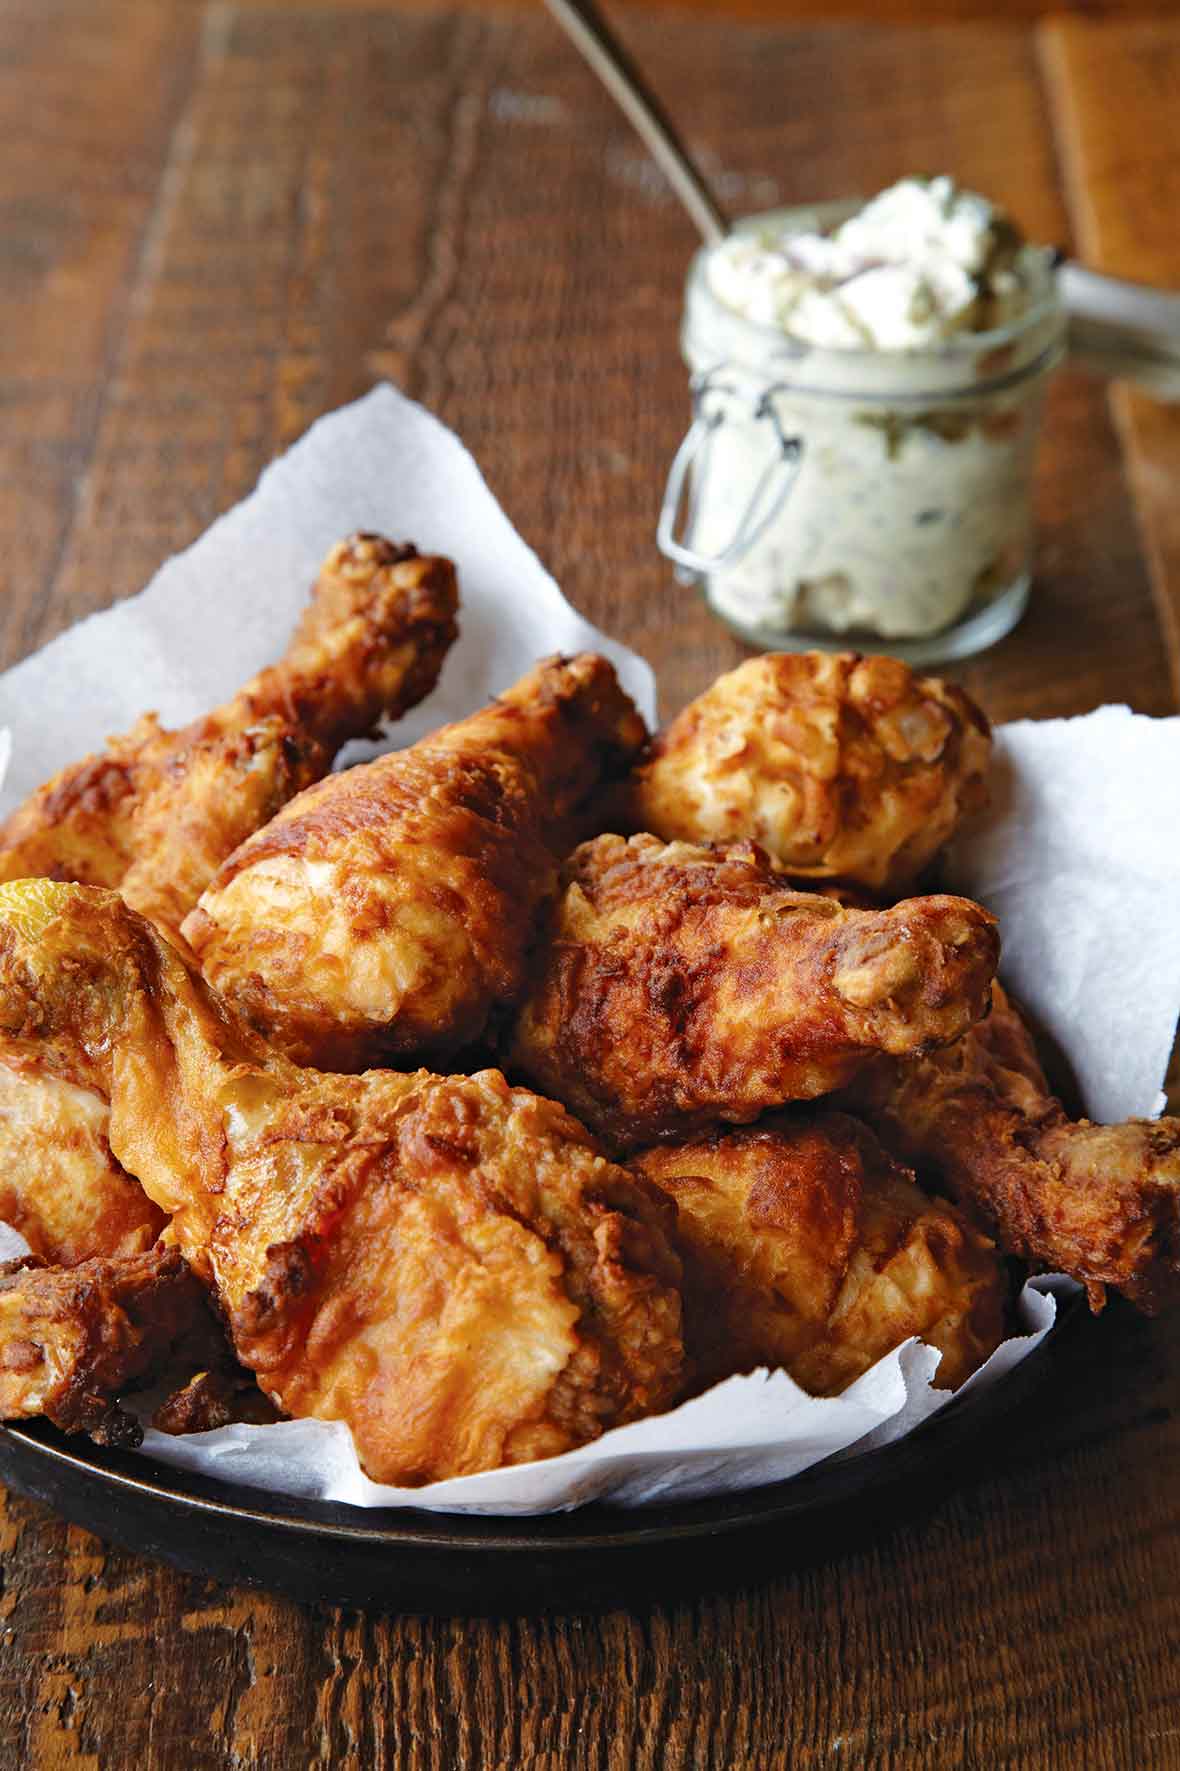
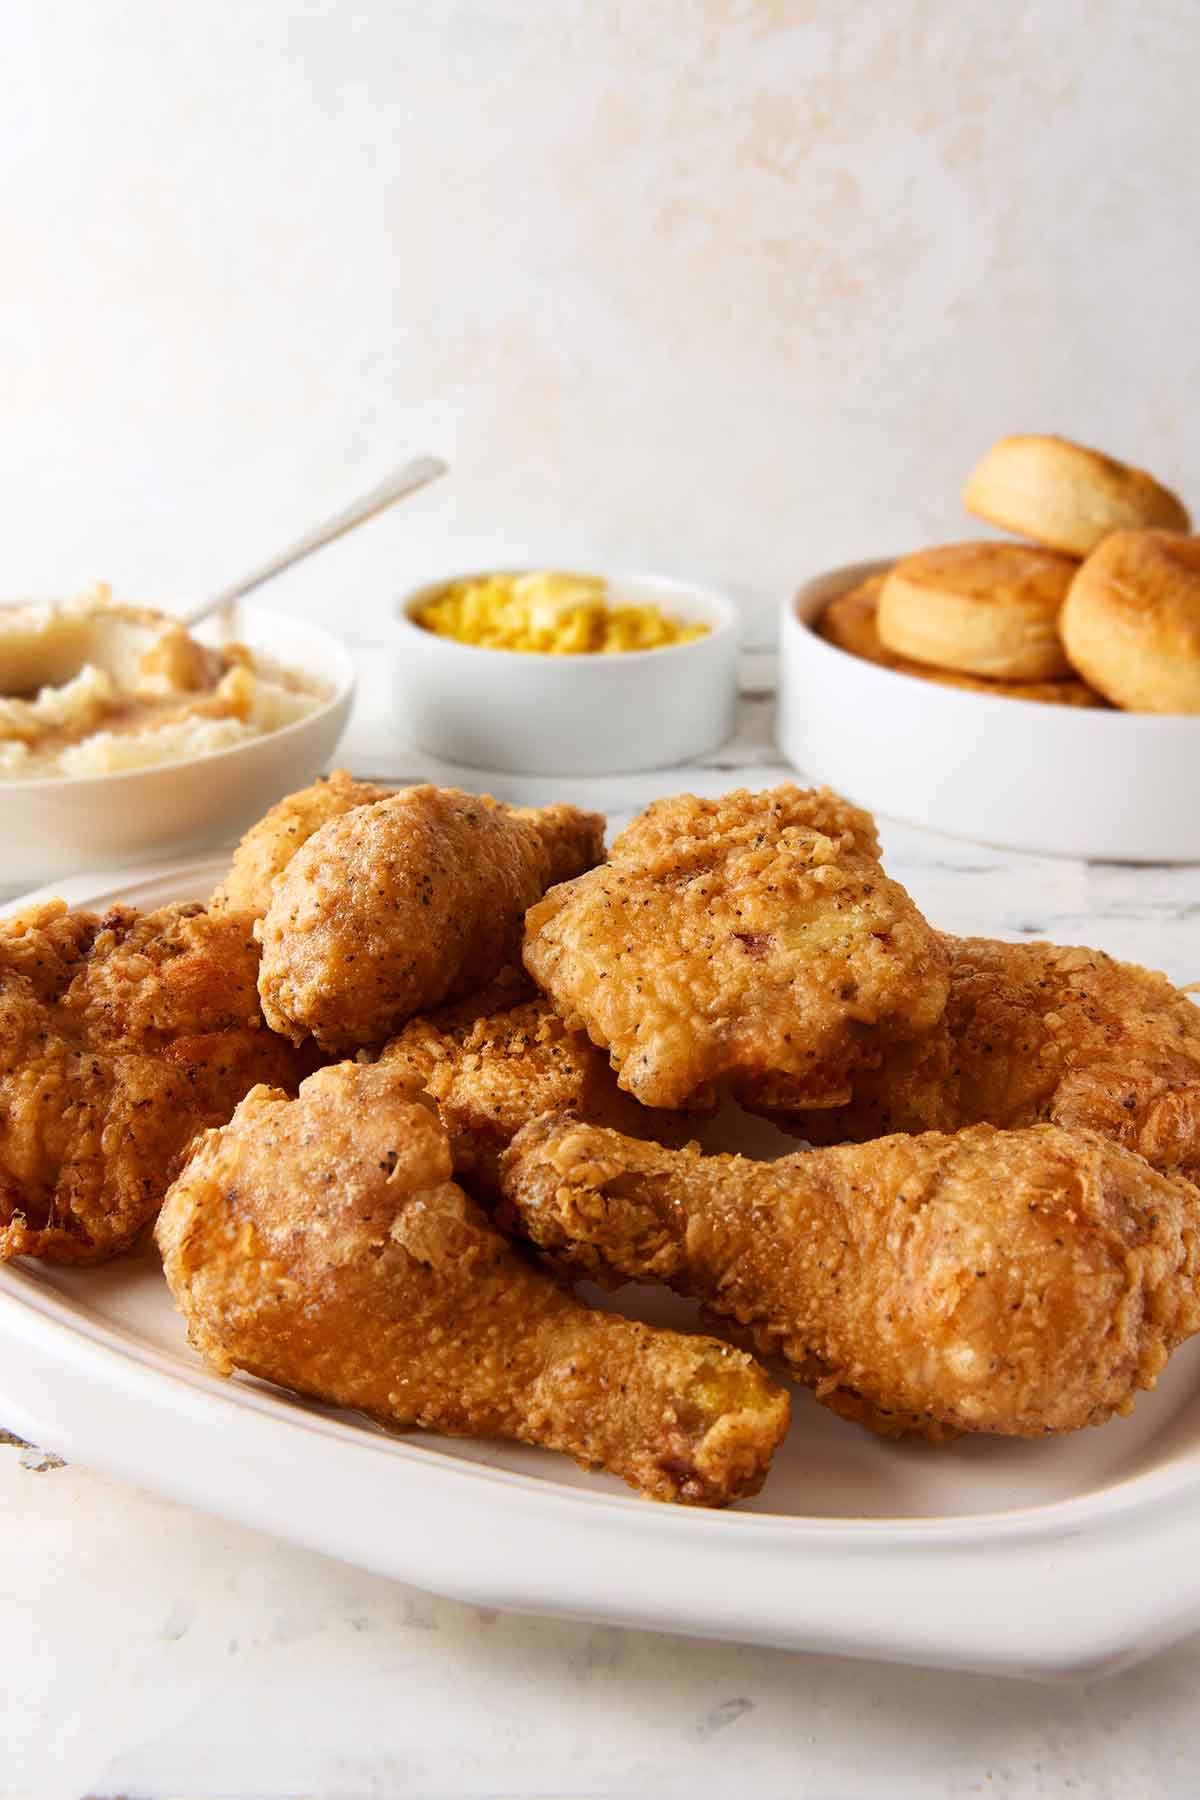
Sorry, but in my book, a classic fried chicken experience means bone-in. The bone acts as a heat conductor, helping the chicken to cook evenly and also helps the poultry to retain moisture during the frying process, resulting in tender and juicy meat.

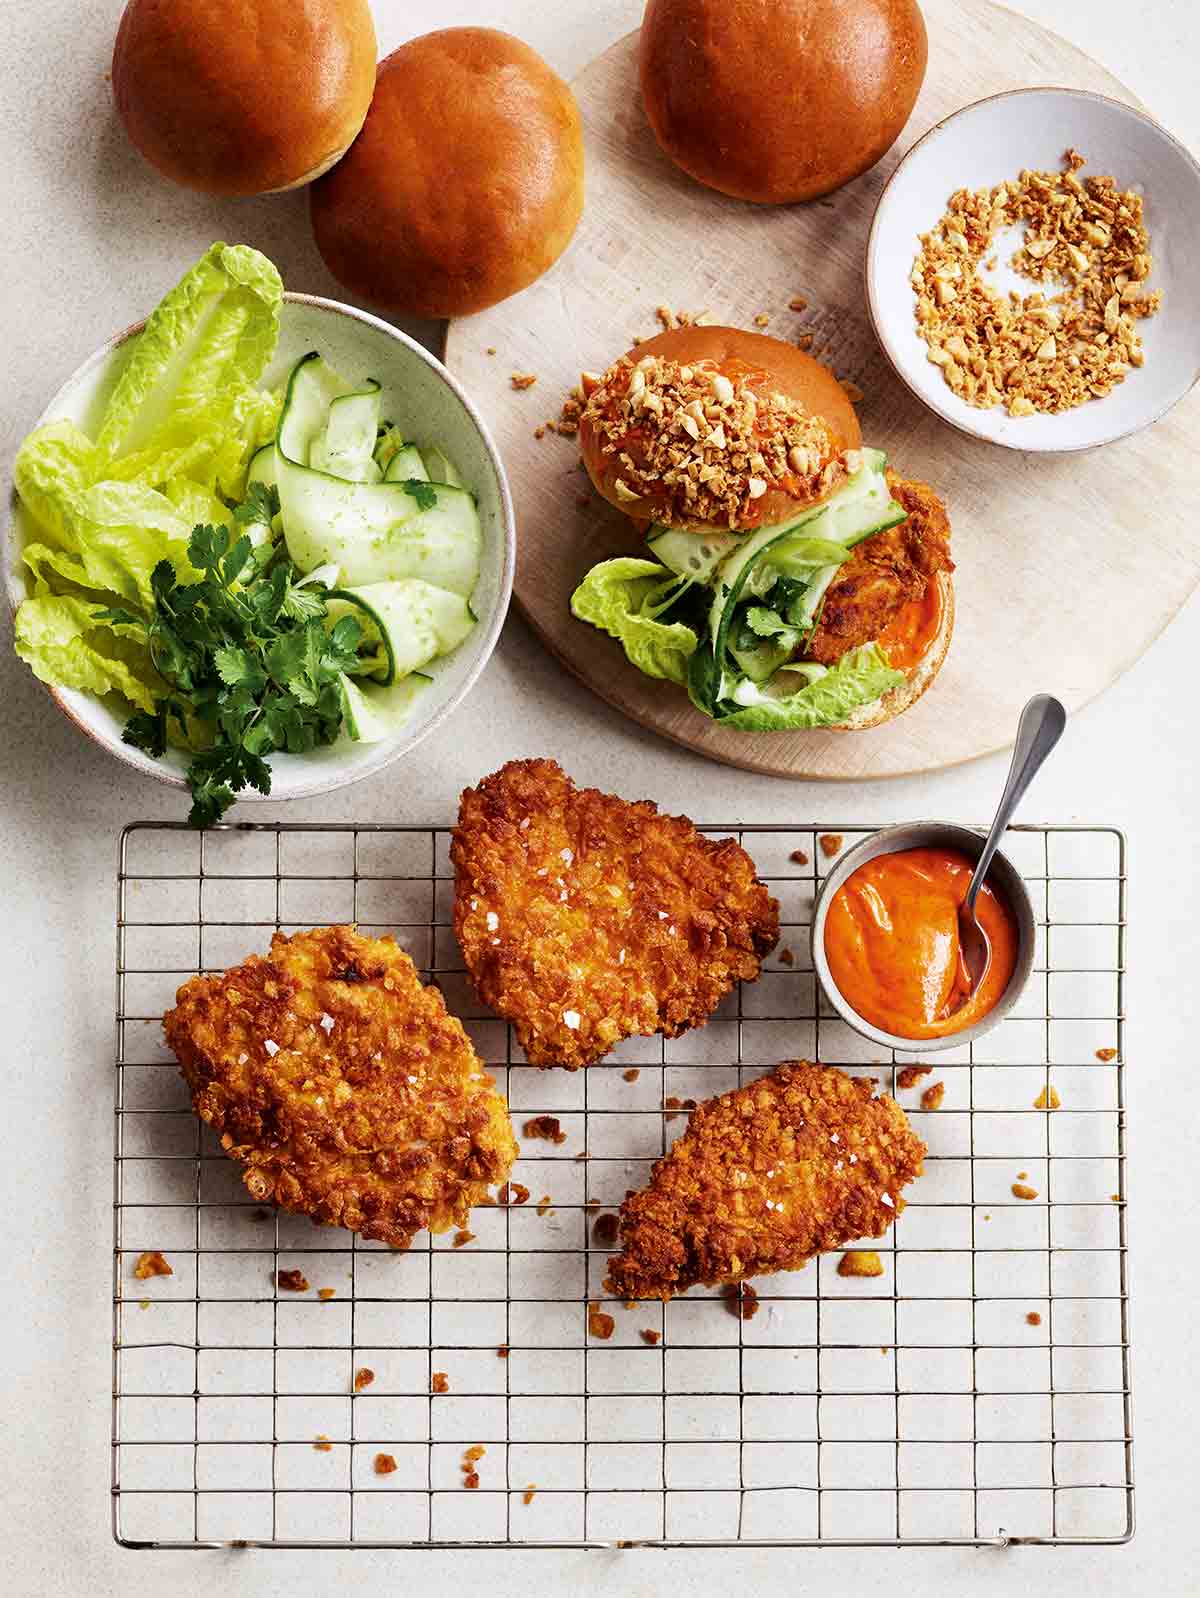
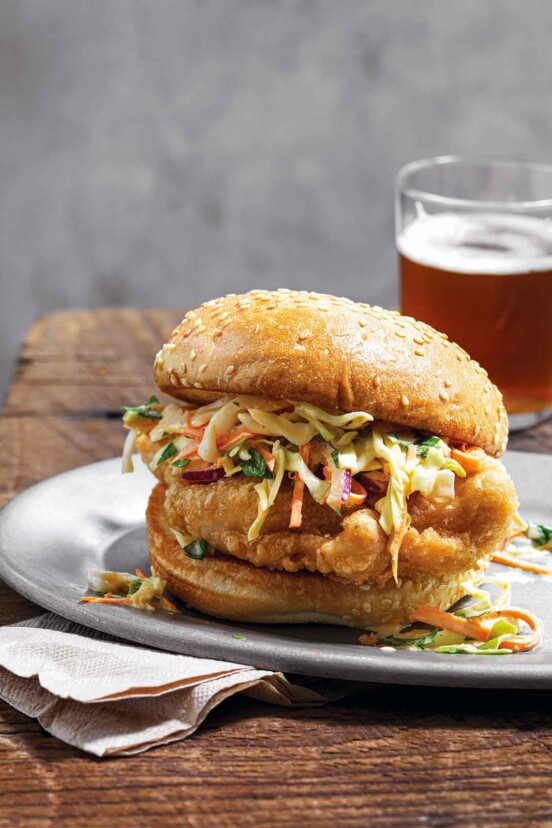
That being said, if you’re craving a beer-battered fried chicken sandwich or need some homemade chicken strips to appease the kiddos at dinnertime, boneless is the way to go. Just be aware that boneless chicken will cook quicker than bone-in and is more susceptible to drying out. That’s why I often use dark meat for sandwiches and strips.
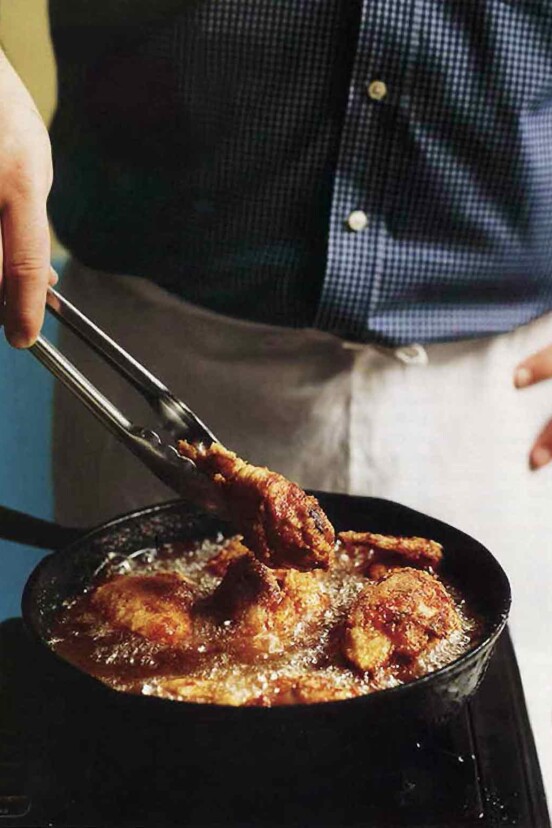
If you remember nothing else, remember this. Oil temperature matters. A lot. If it’s too hot, the coating will burn before the chicken is cooked through. Too cold, and you’ll end up with greasy, flabby chicken, or you may end up having the coating throw up its hands in disgust and slide right off the chicken.
I recommend getting a deep-fry thermometer. (This is the one I use; it’s cheap and sturdy.) All you have to do is attach it to the side of your pot. Make sure the oil is at 375°F (190°C) or slightly above before adding the chicken. As you add the chicken to the oil, the temperature will drop. To avoid having it plummet way below 350°F (170°C)—the preferred frying temp—cook only a few pieces at a time, and always let it come back up to 375°F between batches.
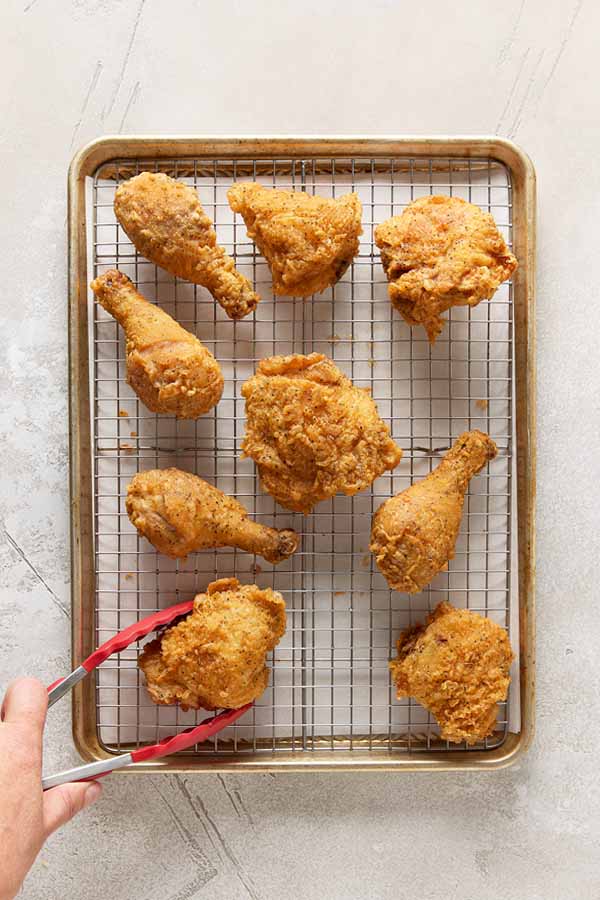
Your chicken’s just like your teenager: It needs space. With plenty of room in that bubbling cauldron of oil, it’ll transform from pale and flabby to crispy and fabulous. Adding too many pieces at once won’t allow the chicken to crisp or cook evenly. The pieces shouldn’t be touching each other and should have some room to float around as they cook. Most large pots will accommodate about 4 pieces at a time.
That chicken is going to be SCREAMING hot when you (carefully) pull it from the oil. Unless you’re into third-degree burns on the roof of your mouth, don’t even think about taking a bite until it’s rested for at least 5 minutes. As the chicken begins to cool, the skin will crisp more, and the juices inside the meat will get redistributed, resulting in evenly juicy chicken.
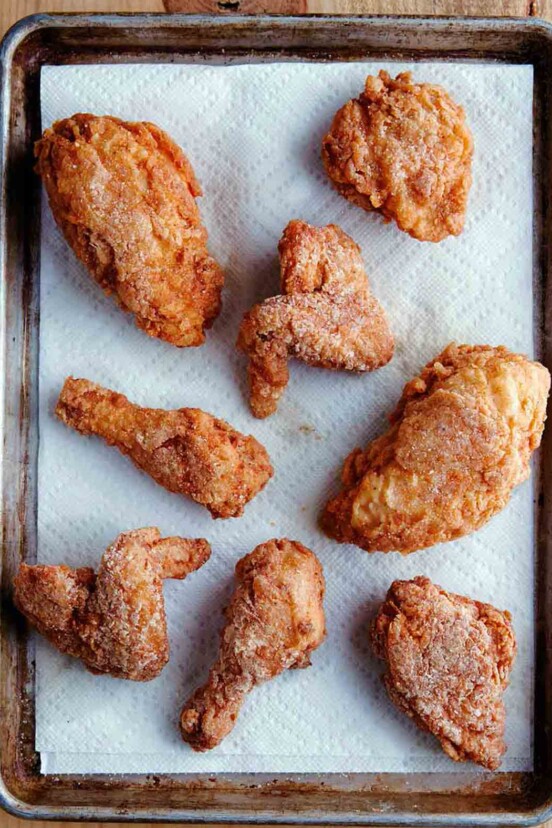
Ideally, you want to set the pieces on a wire rack over a few layers of paper towels or paper bags. The paper will catch any excess drips, and the rack allows air to move underneath the chicken, keeping the bottom just as crispy as the top. (Cuz no one likes soggy bottoms!)
Cold fried chicken snitched directly from the fridge after midnight is every bit as good as hot chicken out of the fryer. (Yes, I’m speaking from experience; The One has the photos to prove it.) For the best snack, let your chicken cool completely before wrapping each piece individually in foil or plastic wrap.
If you prefer your chicken warm, ditch the microwave and reheat it in a 375°F (190°C) oven for 15 to 20 minutes. Although it’s unlikely to be an issue, be sure to devour that leftover chicken within 4 days.
45 mins
25 mins
35 mins
2 d 4 hrs
55 mins
45 mins
3 hrs 10 mins
1 d 2 hrs
6 hrs 30 mins
5 hrs 40 mins
3 hrs 45 mins
As Seen In