
TL;DR (Quick-Answer Box)
- What it is: A juicy pork butt coated in a dead-simple yet wicked bold spice rub, slow-roasted in the oven until it’s fork-tender.
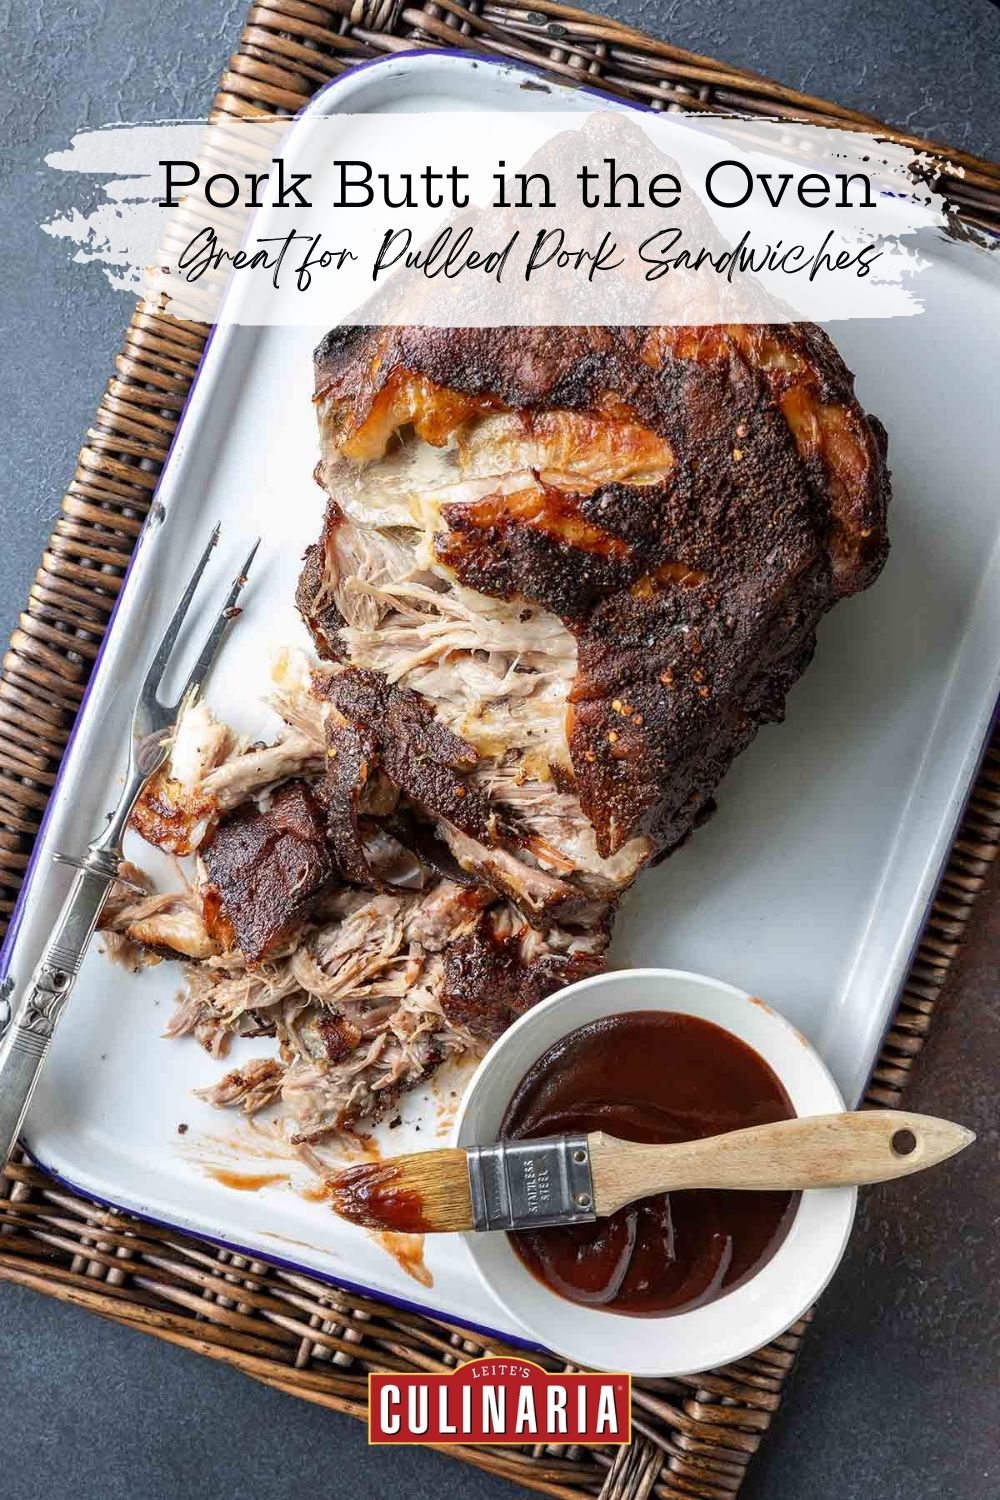
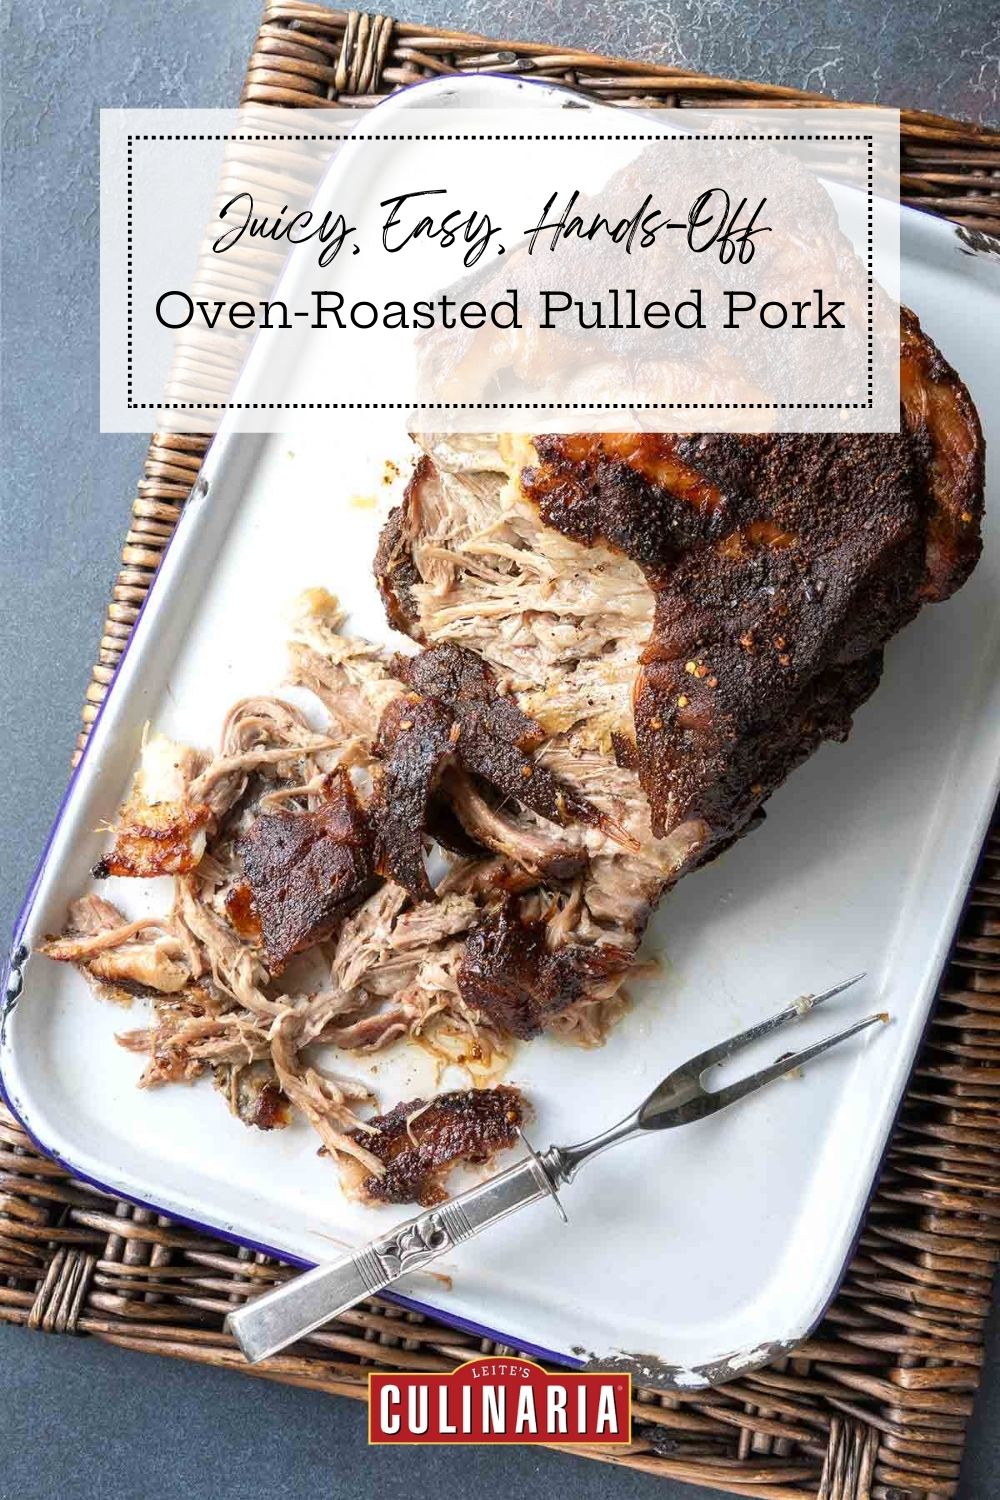
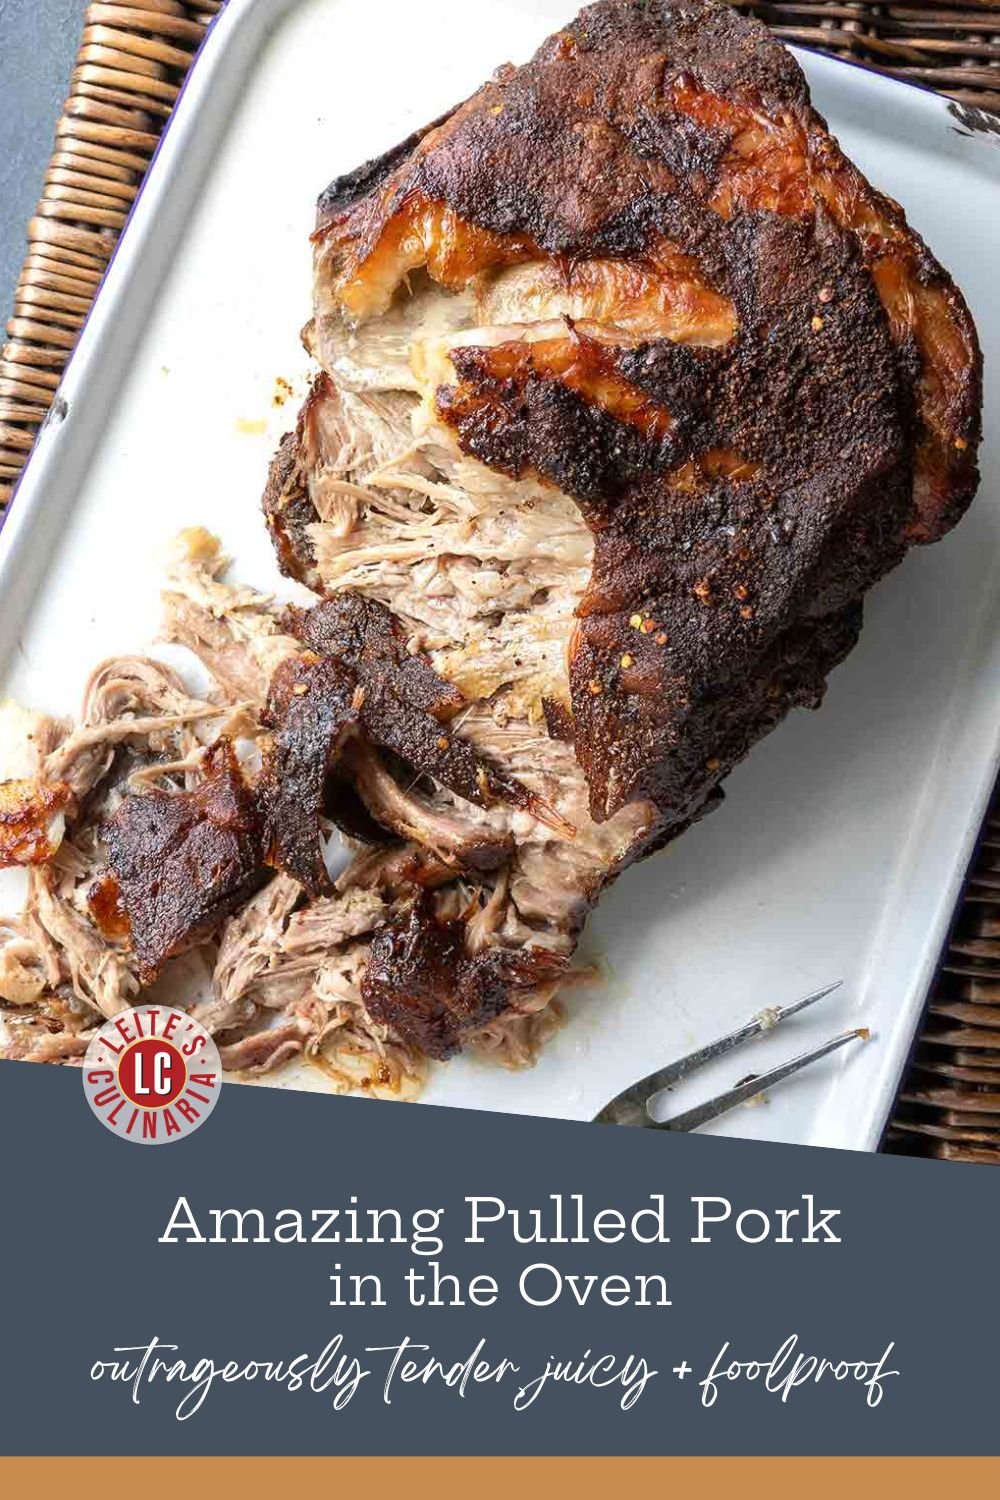
- Why you’ll love it: This foolproof method delivers incredible flavor and the signature “bark” crust, perfect for pulled pork sandwiches or tacos. And you can make it in the oven—year-round. No grill or smoker! (Living in New England, I love that!)
- How to make it: Rub the pork butt with the spice blend, wrap in plastic + refrigerate overnight. Then roast low and slow until falling-apart.
Jump To
- TL;DR (Quick-Answer Box)
- Why this oven-roasted pork butt recipe works
- What’s the difference between pork butt and pork shoulder?
- Notes on ingredients
- How to make roast pork butt: For visual learners
- Your roast pork butt questions, answered
- Pork butt pro tips & troubleshooting
- What to serve with pork butt
- Storaging & reheating
- More juicy pork butt recipes
- Write a Review
- Roast Pork Butt Recipe
- Recipe Testers’ Reviews
Over the past decade, I think of this recipe for oven-roasted pork butt as a masterclass in low-and-slow cooking. Adapted from Nick Evans, it combines a bold spice rub with the magic of slow roasting to create fork-tender, flavor-packed meat. After extensive testing in my kitchen over the past decade, I’ve continued to fine-tune the recipe to give you consistent, foolproof results. Whether served as a centerpiece or shredded into sandwiches, this recipe delivers every time.
During the past 10 years, there were times The One and I wanted to shake up the flavor of the shoulder, so I whipped up what I think is a pretty damn-fine Southwestern Rub, which has a complex, smoky flavor profile.
Chow,

Featured Review
After a lifetime of making Boston butts, this is the No. 1 absolutely best way!!!

Why this oven-roasted pork butt recipe works
This recipe delivers fall-apart tender, flavorful pork butt because of the low and slow cooking method that breaks down tough connective tissue. The balanced spice rub adds complexity, while the “fat cap up” technique ensures the meat bastes in its own juices for maximum moisture and flavor.
Resting the roast allows the juices to redistribute, guaranteeing a tender final product. Basically, it’s a foolproof method for delicious, melt-in-your-mouth pulled pork!
What’s the difference between pork butt and pork shoulder?
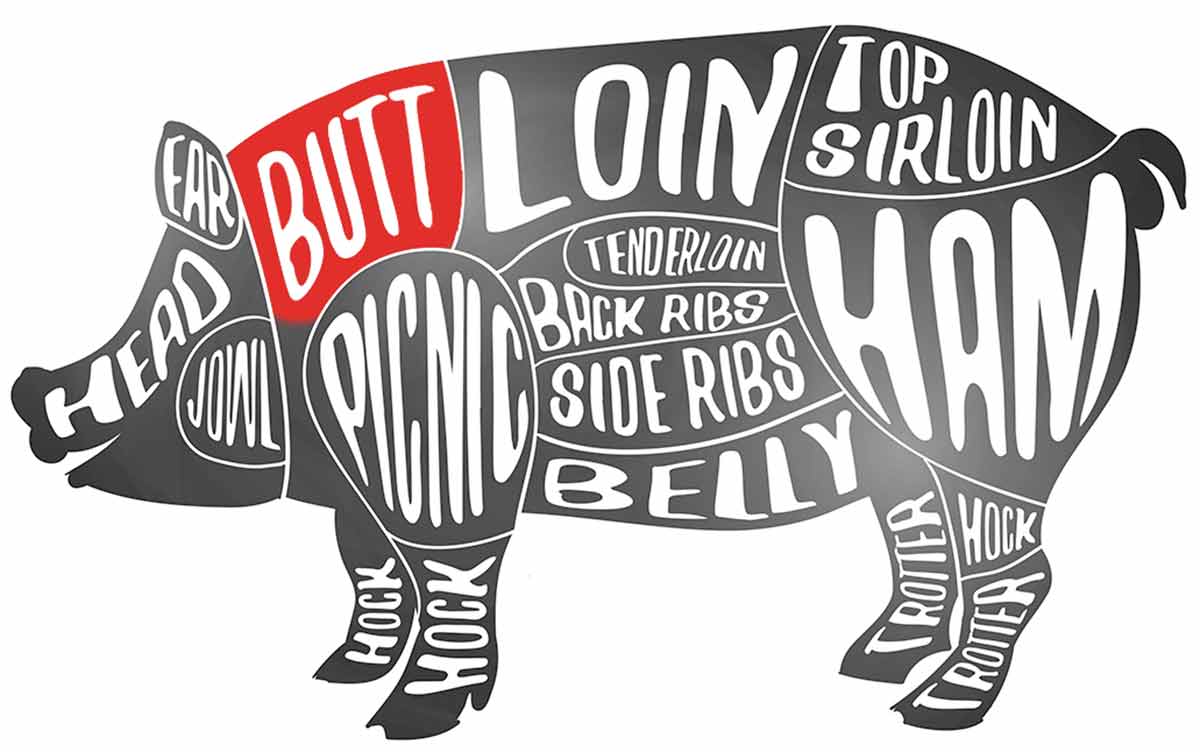
Pork butt isn’t actually the backend of the pig. (I know! Mind blown, right?) That’s the ham. Pork butt is a squarish cut of meat that comes from the upper part of the pork shoulder of the pig and has lots of connective tissue and fat. It’s also known as Boston butt.
Now, pork shoulder (or picnic roast) is the lower, triangular portion of the shoulder and is more muscular.
Where things get confusing is many stores use the terms interchangeably. Luckily, both cuts work in this recipe.
Notes on ingredients
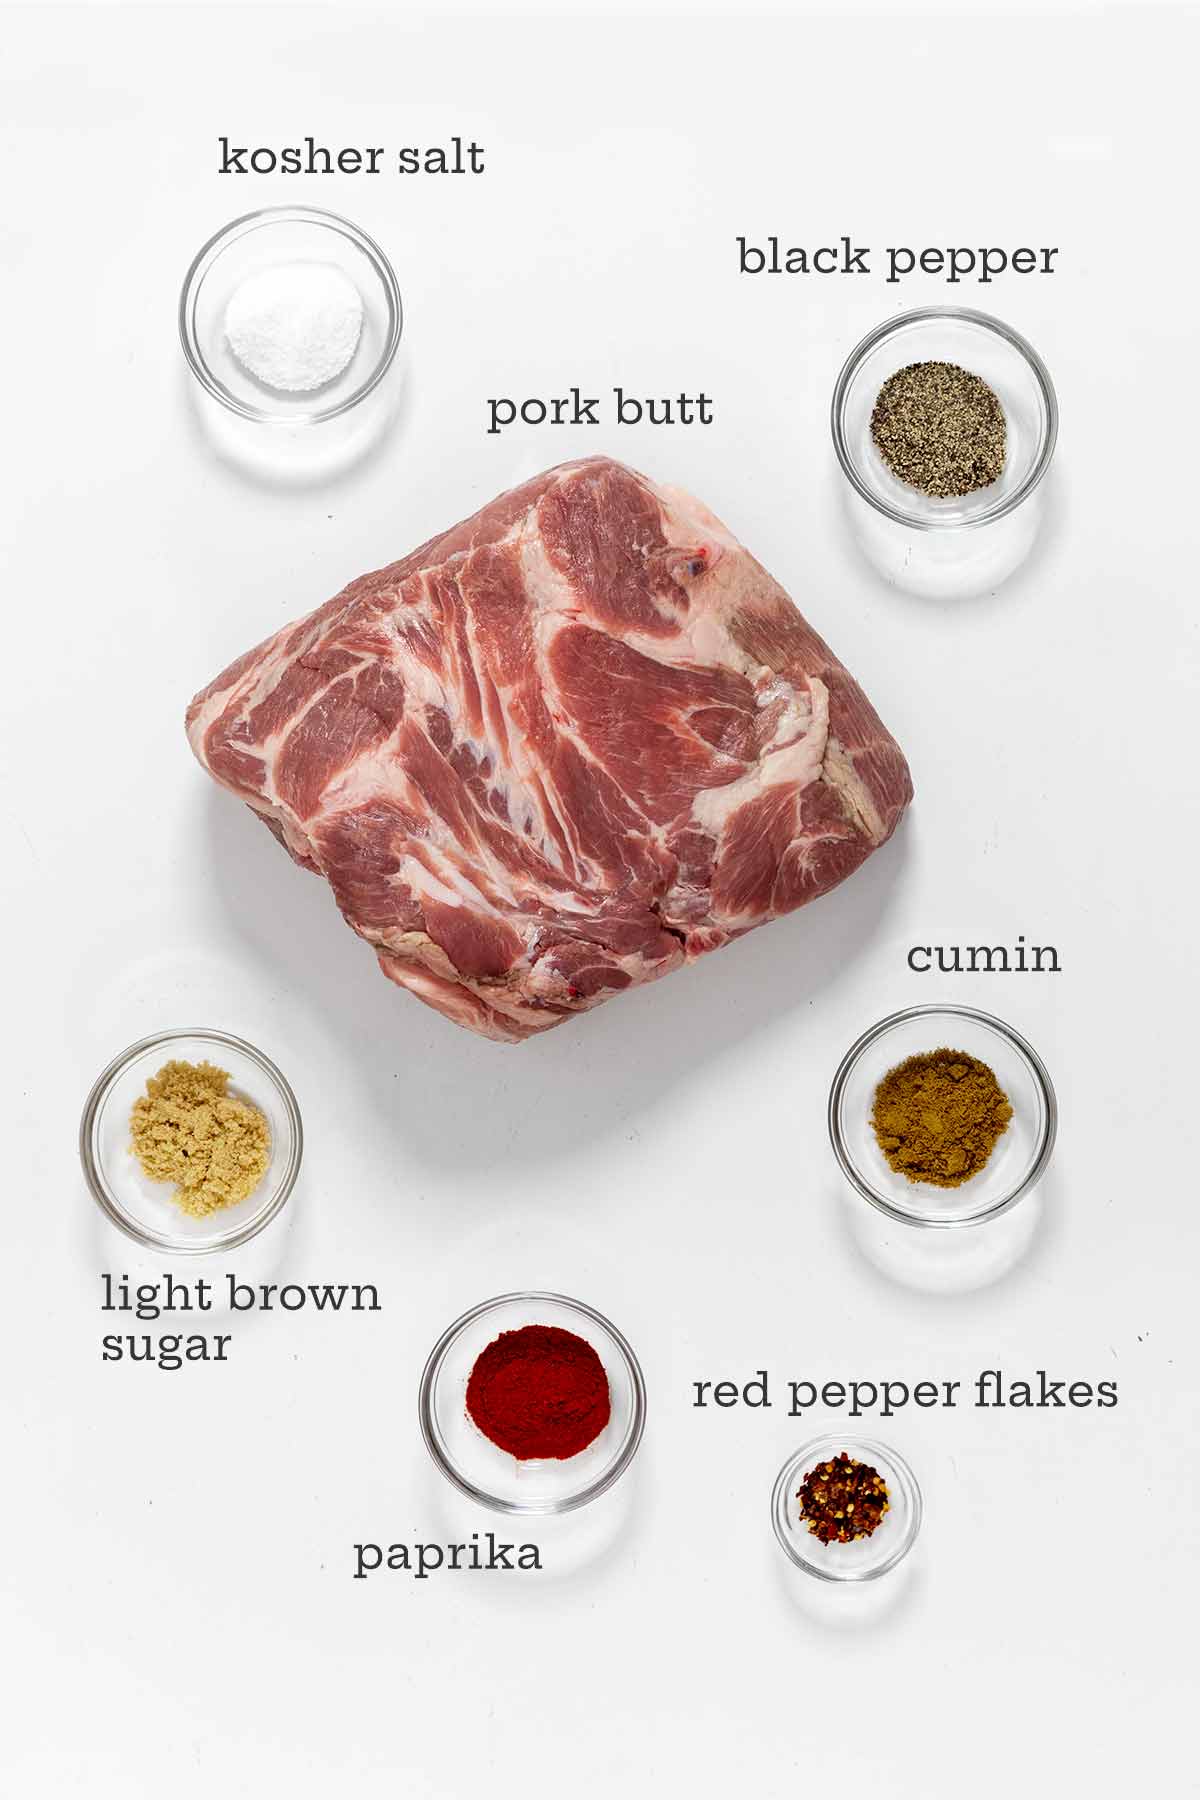
- Pork butt–Use a well-marbled cut of pork butt or Boston butt for best results. If your pork comes with the skin on, have your butcher remove it for you.
- Spice blend—Our blend includes brown sugar, paprika, cumin, red pepper flakes, salt, and pepper, creating a sweet, warm, slightly spicy flavor profile.
- Diamond brand kosher salt—Since salt’s weight varies from brand to brand, please weigh your salt and use 9 grams for this recipe. If you don’t have a scale and aren’t using Diamond brand, use 2 teaspoons to avoid oversalting.
How to make roast pork butt: For visual learners
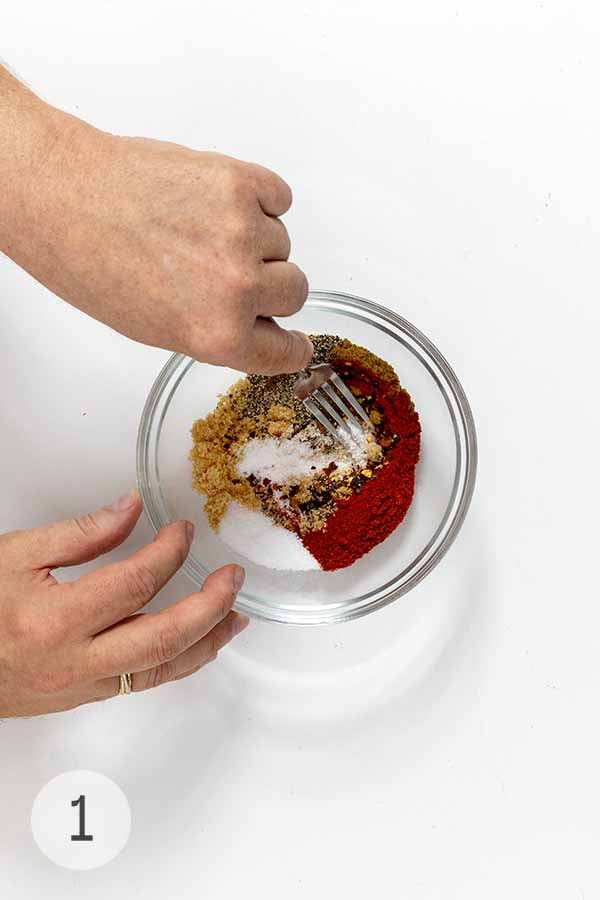
- Stir together the salt, sugar, paprika, pepper flakes, cumin, and black pepper in a small bowl.
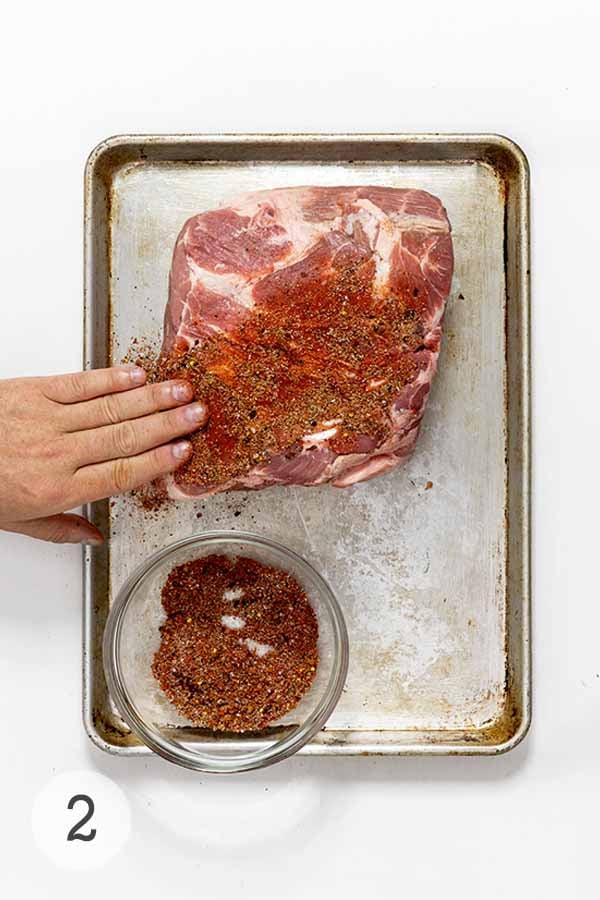
- Rub the pork all over with the spice mixture. It should be coated on all sides.
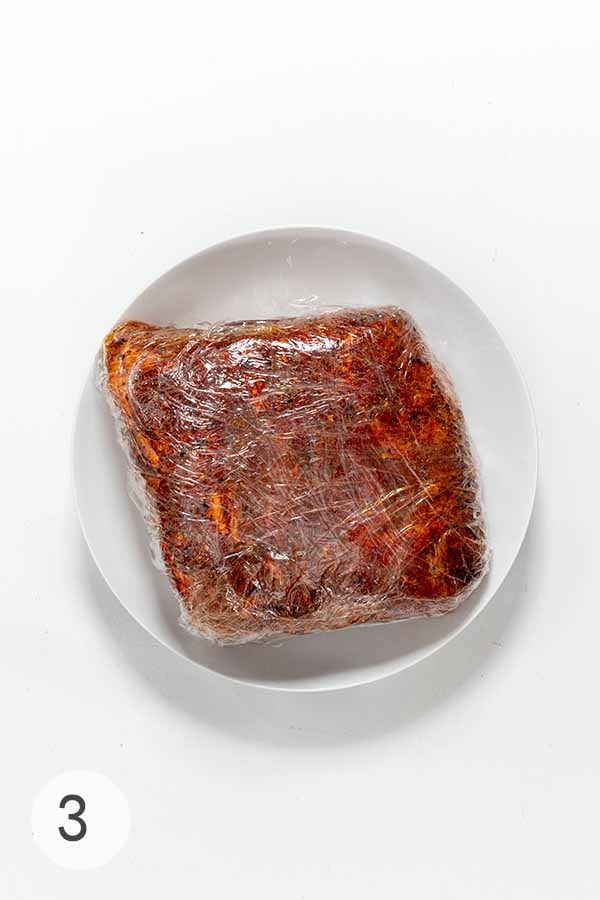
- Wrap the pork in plastic and refrigerate overnight.
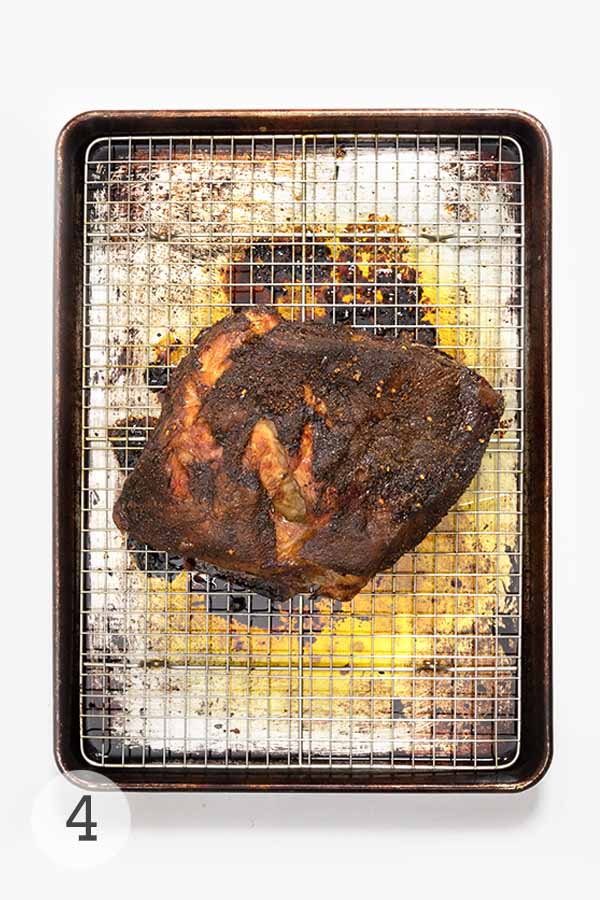
- Roast the pork, fatty side up, on a roasting pan in the oven until the internal temperature reaches 190° to 195°F. Let it rest at room temperature for 15 minutes.

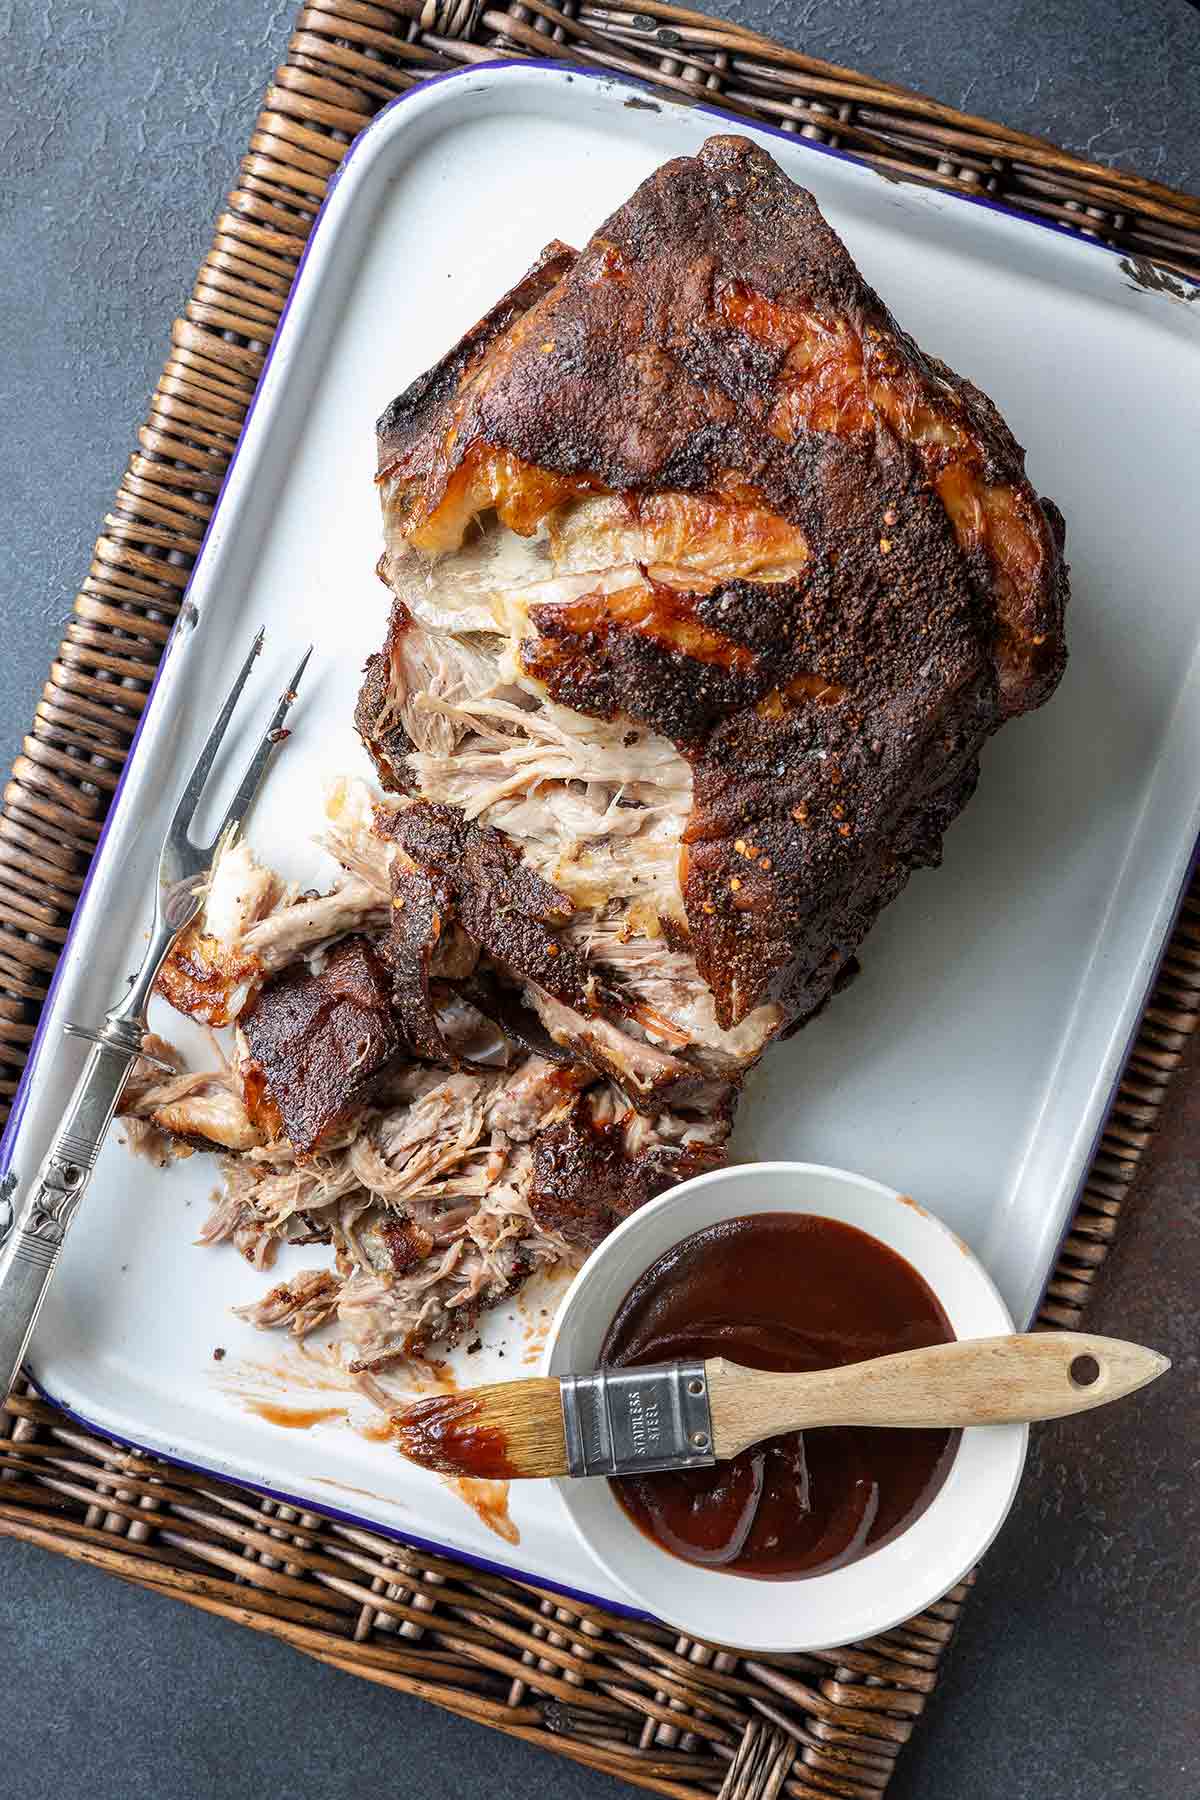
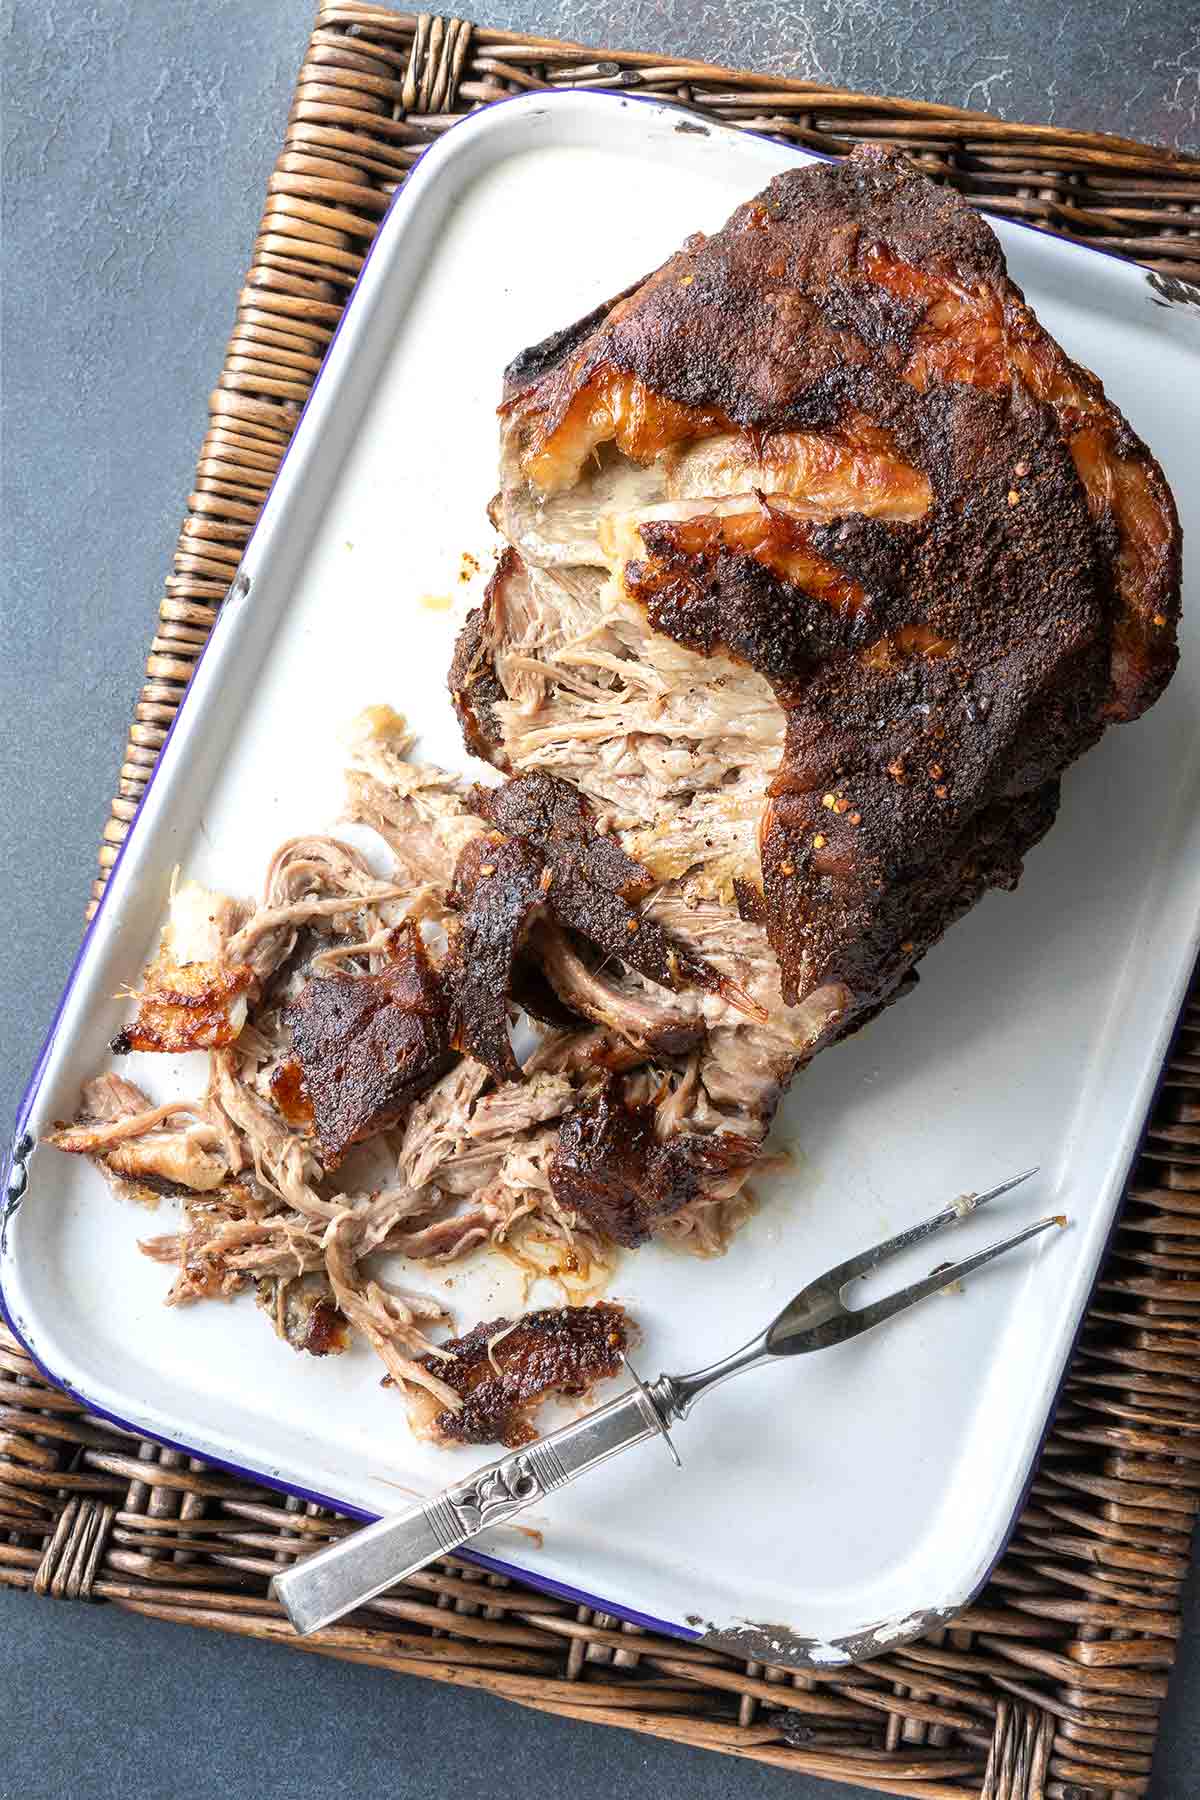
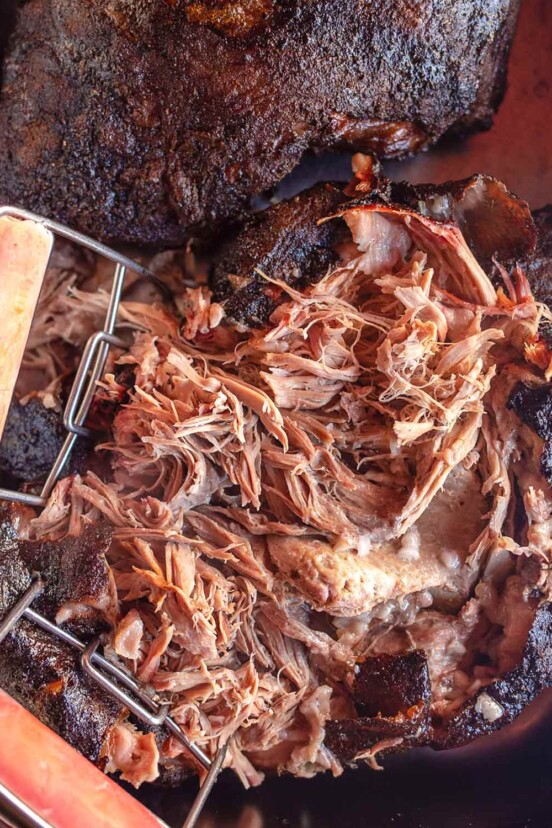
- Use two forks to shred the pork. Serve alone or with your favorite BBQ sauce, if desired.
Your roast pork butt questions, answered
Cook a bone-in pork butt at 250°F (121°C) for approximately 1 1/2 to 2 hours per pound until the internal temperature reaches 195°F to 205°F (90°C to 96°C). A 6.5- to 8-pound bone-in pork butt will take anywhere from 10 to 16 hours to fully cook, depending on factors like fat content. Using a meat thermometer is crucial to ensure doneness rather than relying solely on time.
Totally. This pork recipe is almost impossible to pull off without a meat thermometer. You can’t judge the pork by sight or feel. I prefer a digital probe thermometer that can be left in the pork as it roasts. When you insert the thermometer, stick it into the thickest part of the pork butt, and make sure it’s not touching the bone, or you’ll get a false reading.
Yes! Resting the meat for at least 30 minutes allows the juices to redistribute, ensuring a tender and flavorful result.
Yes! You can cook pork butt in a slow cooker instead of the oven. Cook on low for 10 to 12 hours or on high for 6 to 8 hours, until it’s tender and easily falls apart with a fork. Using a meat thermometer to ensure an internal temperature of 195°F to 205°F (90°C to 96°C) will help achieve the best texture.
Pork butt pro tips & troubleshooting
☞ Park your butt in the fridge overnight
Letting the pork butt sit overnight after rubbing it with the spice mixture is optional but highly recommended.
☞ Cool before shredding
Make sure to let the pork butt rest before shredding it. It will be hot!
☞ Dietary check
His recipe is suitable for gluten-free and dairy-free diets.
What to serve with pork butt

This pork butt recipe is stupendously magnificent on its own, butt (get it?!), consider:
- Serving it shredded on buns for pulled pork sandwiches topped with maple coleslaw.
- Slapping on some cheese for awesome pulled pork grilled cheese.
- Serving it as a main dish with sweet potatoes with lime and hot sauce.
- Dousing it with a vinegary barbecue sauce.
- Heaping it upon homemade buns for pulled pork sandwiches.
- Dolloping a tablespoon or three of creamy coleslaw beneath the top bun.
- Stuffing it into burritos with black or refried beans, guacamole, sour cream, shredded pepper Jack, pico de gallo, and chopped cilantro; and then stuff it in your mouth!
- Sliding it into pork tacos.
Storaging & reheating
Fridge: Pulled pork stores well in the fridge in an airtight container for up to 4 days.
Freezer: If you’re freezing it for later, divvy it into 1-pound servings and freeze it in storage bags for up to 3 months.
Reheating: Reheat in a 300°F oven until warmed through.
More juicy pork butt recipes
Slow Cooker Pulled Pork
10 hrs 15 mins
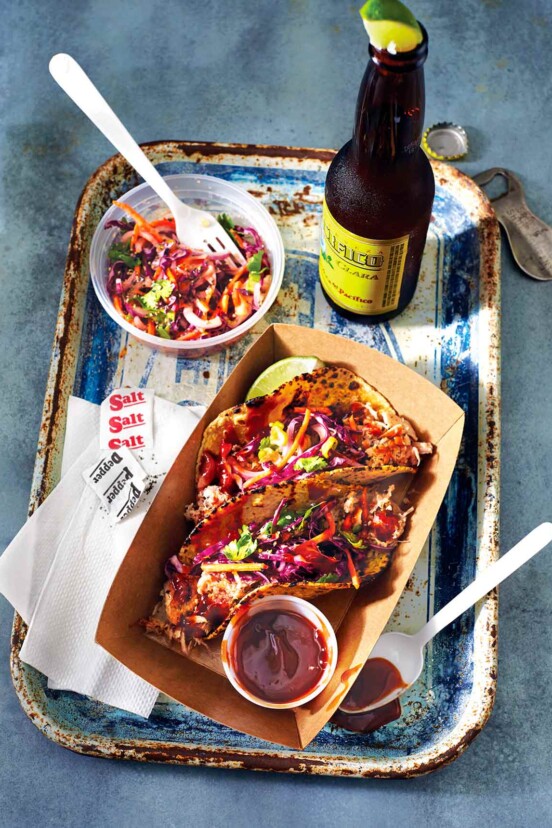
BBQ Pulled Pork Tacos
1 hr 25 mins
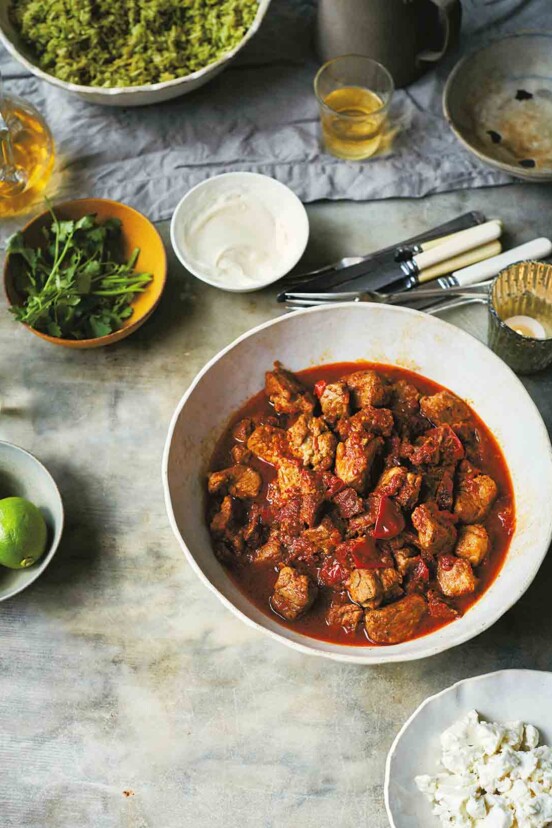
Pork Tinga
3 hrs
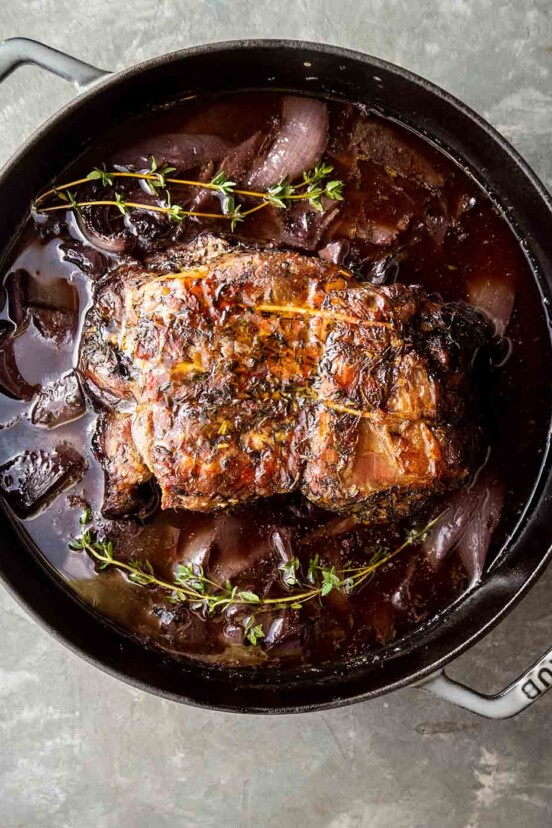
Wine-Braised Pork Shoulder
4 hrs 30 mins
Write a Review
If you make this roast pork butt recipe, or any pork dish on LC, consider leaving a review, a star rating, and your best photo in the comments below. I love hearing from you.–David
Featured Review
Well, this is officially the BBQ Pork recipe that I’ll be using from now on. No more sweating out by the grill! This is by far the most tender BBQ I’ve ever made and it has just the right amount of seasoning and flavor. I did, however, switch the honey out for some pure maple syrup I wanted to use up. It was also outstanding! . . .
I luckily have a built in meat thermometer in my oven, and I set the probe for 200°F. Since I used the probe, the oven cut off when my butt reached 200°F internally. It then sat in the oven until I got up at 5am. . . . it was just perfect. Beautiful bark and all. It was time consuming to shred but it is very tender and juicy!
I will be putting these in the oven and going to bed after from now on. Gone are the days of babysitting the grill!
Mechelle

Roast Pork Butt
Video
Equipment
- Instant-read thermometer
Ingredients
- 1 tablespoon Diamond kosher salt
- 1 tablespoon light brown sugar
- 1 tablespoon paprika
- ½ to 1 tablespoon red pepper flakes
- 1 tablespoon ground cumin
- 1 tablespoon coarsely ground black pepper
- one (6 1/2- to 8-pound) bone-in skinless pork butt, or pork shoulder or two 3 1/2- to 4-pound pork butts
- Your favorite grocery store or homemade BBQ sauce, (optional)
Instructions
- In a small bowl, stir together the 1 tablespoon Diamond kosher salt, 1 tablespoon light brown sugar, 1 tablespoon paprika, ½ to 1 tablespoon red pepper flakes, 1 tablespoon ground cumin, and 1 tablespoon coarsely ground black pepper.
- Rub the one (6 1/2- to 8-pound) bone-in skinless pork butt all over with the spice mixture. The pork butt should be completely coated on all sides.
- If you have time, tightly wrap the pork in plastic wrap, place it on a plate, and refrigerate overnight (8 to 12 hours) to let the flavors "hold hands," as my grandmother used to say.
- Crank the oven temperature to 250°F (121°C). Place a roasting rack in a large pan.
- Place the pork butt, fat cap side up, on the rack. Roast the pork, uncovered, until the internal temperature reaches 195°F to 205°F (90°C to 96°C).By this point, the exterior should be crispy and dry. This is similar to what’s referred to as “bark” when smoking on a grill. This can take anywhere from 10 to 16 hours, depending on your oven and the size of your pork butt.
- Remove the pork from the oven and let the roast rest for 30 minutes on a cutting board.
☞ TESTER TIP: If you’re craving super-moist meat for pulled pork, remove the pan from the oven, tightly wrap the pork butt in a couple of layers of heavy-duty aluminum foil, and let it rest for 30 to 45 minutes to soften the exterior.
- Shred the roast pork butt with a couple of forks, evenly mixing the crisp, dry edges with the insanely moist, tender pork inside.
☞ TESTER TIP: You may want to slather the pulled pork with barbecue sauce to impart flavor and sauciness, but I urge you to try it naked first.
Notes
- Rest—Letting the pork sit overnight after rubbing it with the spice mixture is optional but highly recommended.
- Cool—Make sure to let the pork butt sit before shredding it. It will be hot.
- Storage—The pulled pork will store well in the fridge for up to 4 days. If you’re freezing it for later, divvy it into 1-pound servings and freeze it in storage bags. Reheat in a 300°F oven until warmed through.
- Dietary—This recipe works for gluten-free and dairy-free diet.
Southwestern Rub Variation
For a Southwestern vibe, mix these together and use in place of the rub above:- 2 tablespoons chili powder
- 1 tablespoon smoked paprika
- 1 tablespoon ground cumin
- 1 tablespoon dried oregano
- 1 teaspoon garlic powder
- 1 teaspoon onion powder
- 1 teaspoon cayenne pepper
- 1/2 teaspoon chipotle powder
- 1 tablespoon light brown sugar
- 2 teaspoons kosher salt
- 1 teaspoon black pepper

Explore More with AI
Nutrition
Nutrition information is automatically calculated, so should only be used as an approximation.
Recipe Testers’ Reviews
Did you know only 68% of the recipes we test make it onto the site? This recipe survived our rigorous blind testing process by multiple home cooks. It earned the Leite’s Culinaria stamp of approval—and the testers’ reviews below prove it.

This is one of the best pork butt recipes. Excellent. I rubbed the blend on and then refrigerated the pork shoulder roast overnight so the flavors would meld.
The hands-on time is minimal—about 15 minutes to assemble the spice mixture and rub it all over the pork butt. I used about 1/2 the stated amount of red pepper flakes because I thought 1 tablespoon would give too much heat for my taste. I used a bone-in pork shoulder roast that was four pounds, and it took 6 hours in a convection oven set to 225°F.
I served the pork with the classic coleslaw recipe and a bit of Bobby Flay’s barbecue sauce on a soft roll. The pork definitely needs some kind of sauce.

Sometimes we either don’t have access to a smoker or can’t commit 6 or 8 hours to low and slow cooking on a grill. And while slow cookers can make WONDERFUL slow cooker pulled pork, one thing will be missing, and for me, that’s an essential part of pulled pork—the BARK!
When you rub a piece of pork with a spice rub and cook it, low and slow, on a smoker, grill, or in an oven, after several hours, the rub mixes with the hot fat and juices and eventually gets a hard crust called a BARK.
For my money, this is the VERY best part of ANY barbecue! Anyone who loves meat must LOVE a crisp, spice-rubbed exterior.) This bark can be achieved in your oven, and–as long as you have a clock and a thermometer–you can create a nice crust on your pork butt with this recipe. The rub mentioned here is great, but if you have your favorite rub on hand, by all means, use it.
From here, shred the roast pork butt by any means necessary (two forks work nicely) and top it with your favorite sauce, coleslaw, or, as I do, both.


I make it the English way. Make parallel incisions on the rind (skin) with an exacto knife just through the skin. Rub with oil and salt. Cook at 425 for an hour or so until the skin is crisp and then cover in foil and cook at 300 for several hours, depending on the size of the roast (the bigger the better has my vote). Remove the foil for an hour at the end so that the crackling (what you term the bark) gets crisp again. Rest for 20 minutes before carving; the crackling will come away from the roast and is divided amongst the diners. Fights have been known to break out over who gets the best pieces.
I believe I still have scars from one of those very fights you mention, Roger! Love the English version—especially the time to crisp part—and greatly appreciate you sharing it here. Will be trying your version very soon…
Pouring a box of stock (whatever kind you want, beef, chicken, vegetable, etc.) in the bottom of the roasting pan helps to make sure your pork will be as moist as possible….try it, you’ll like it!
Love that tip, Melissa. I’ve also been known to add balsamic vinegar to my butt. Pork butt, that is.
This is a great recipe to play with. I added a tablespoon of onion and garlic powder. I also added 7 cloves of garlic into slits in the meat.
I had to cook it at a lower temperature because of the small apartment I live in. 200° in a gas stove for approximately 16 hours. Because I was asleep I never had the chance to take it out and put it in tinfoil. It turned out remarkable! It is the juiciest, delicious and exceptional pork roast I’ve ever cooked.
Theresa, I couldn’t be more delighted! I love your additions, and the fact that you freelanced for 16 hours is amazing. I hope others follow suit, and have a superb pork dinner.