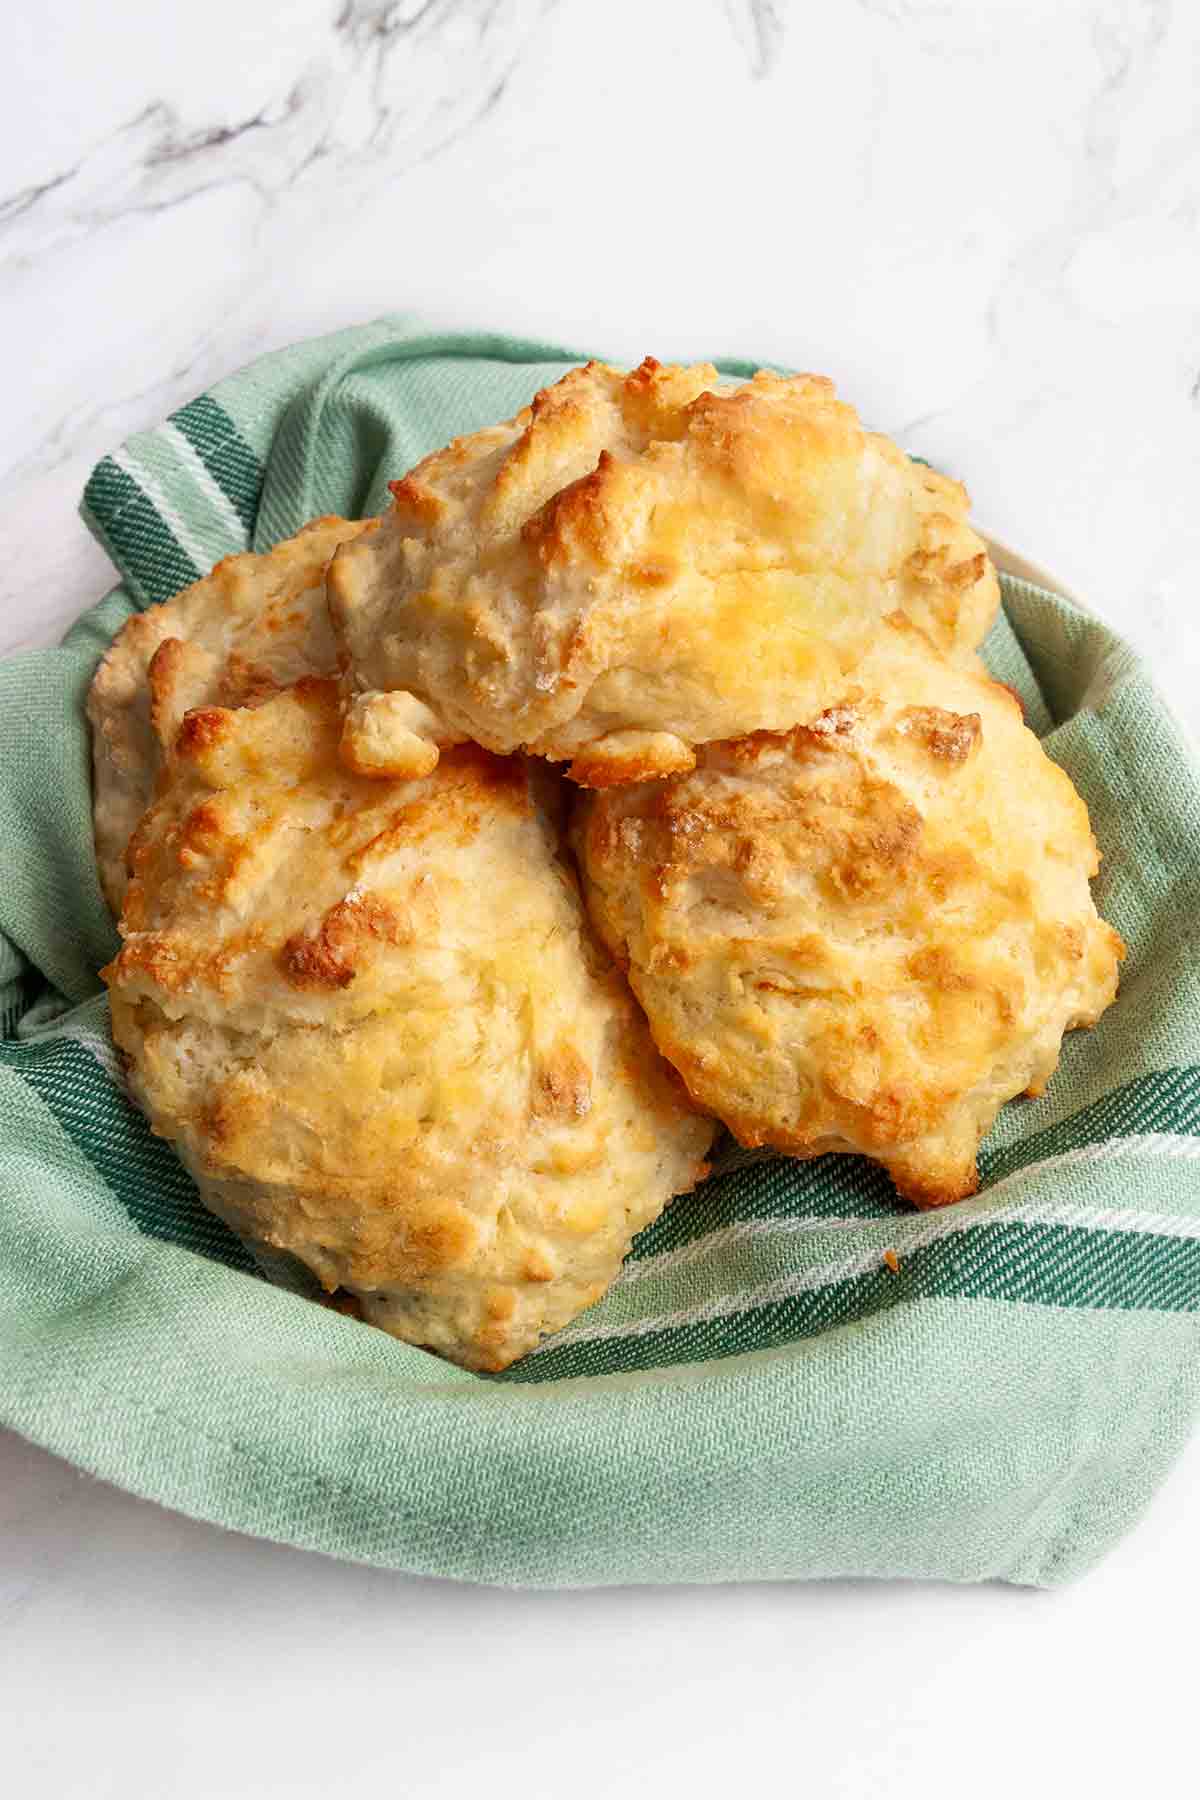
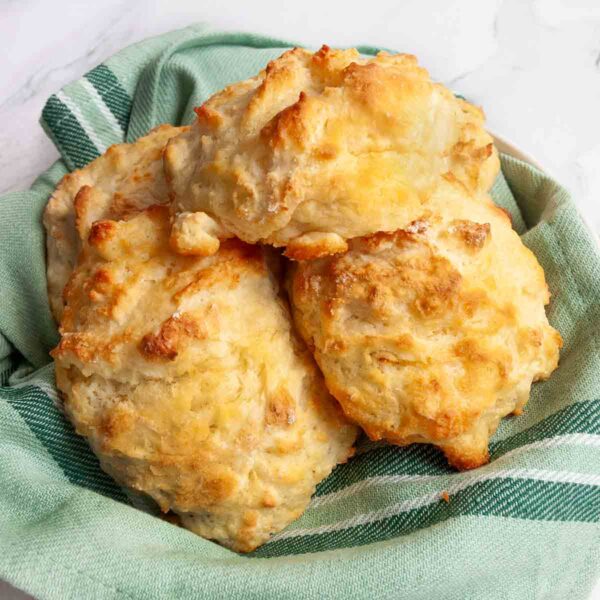
The search stops here if you, like senior tester Anna Scott, have spent the better portion of your life seeking a tender, buttery, quick buttermilk drop biscuits recipe. It’s a simple, old-fashioned recipe that turns out light, fluffy biscuits, and no messy flouring, folding, rolling, or cutting is required. They can be cooked in a cast-iron skillet, on a baking sheet, or even in a muffin pan.

Why Our Testers Loved This
The testers adored these easy-to-make biscuits that turn out soft and fluffy every time. Susan Bingaman describes them as “light and buttery and quite addictive.”
After spending years trying to recreate her grandmother’s famous Southern buttermilk drop biscuits, Anna Scott claims these are “the BEST biscuits I have ever eaten” and “were just as good as I remember hers being.” High praise, indeed.
Notes on Ingredients
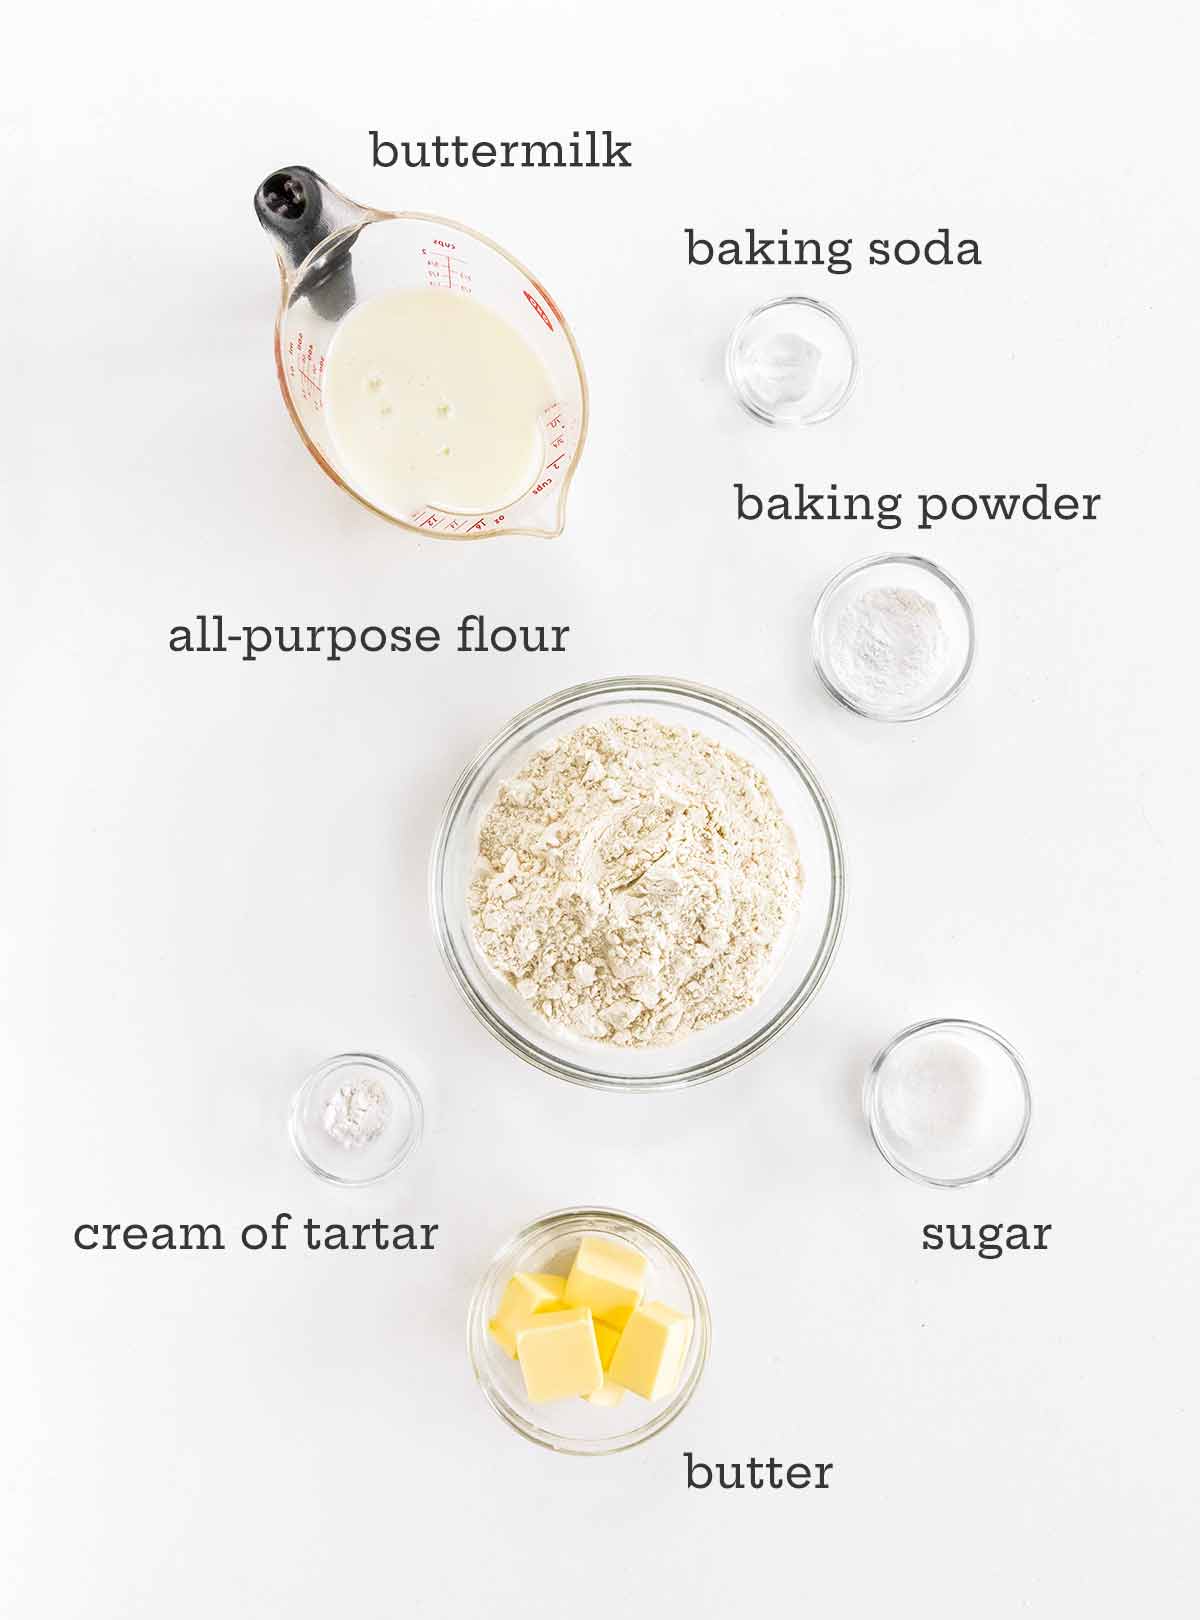
- All-purpose flour–I like White Lily best for making the flakiest biscuits.
- Baking powder–This is the leavener for these biscuits, so you want to be sure that your baking powder is fresh. To check, pour some boiling water over 1/2 teaspoon of baking powder. It should bubble and fizz. If it doesn’t, it’s kaput, and you should replace it.
- Cream of tartar–This also plays a role in helping the biscuits rise by reacting with the baking soda.
- Buttermilk–Adding buttermilk adds some fat and a subtle tang to your biscuit dough, and the acidity acts as a leavener, helping the dough rise to create a tall, fluffy biscuit. Use cold, full-fat buttermilk for the best results.
How to Make This Recipe
- Preheat the oven to 450°F. Butter a large cast-iron skillet or rimmed baking sheet.
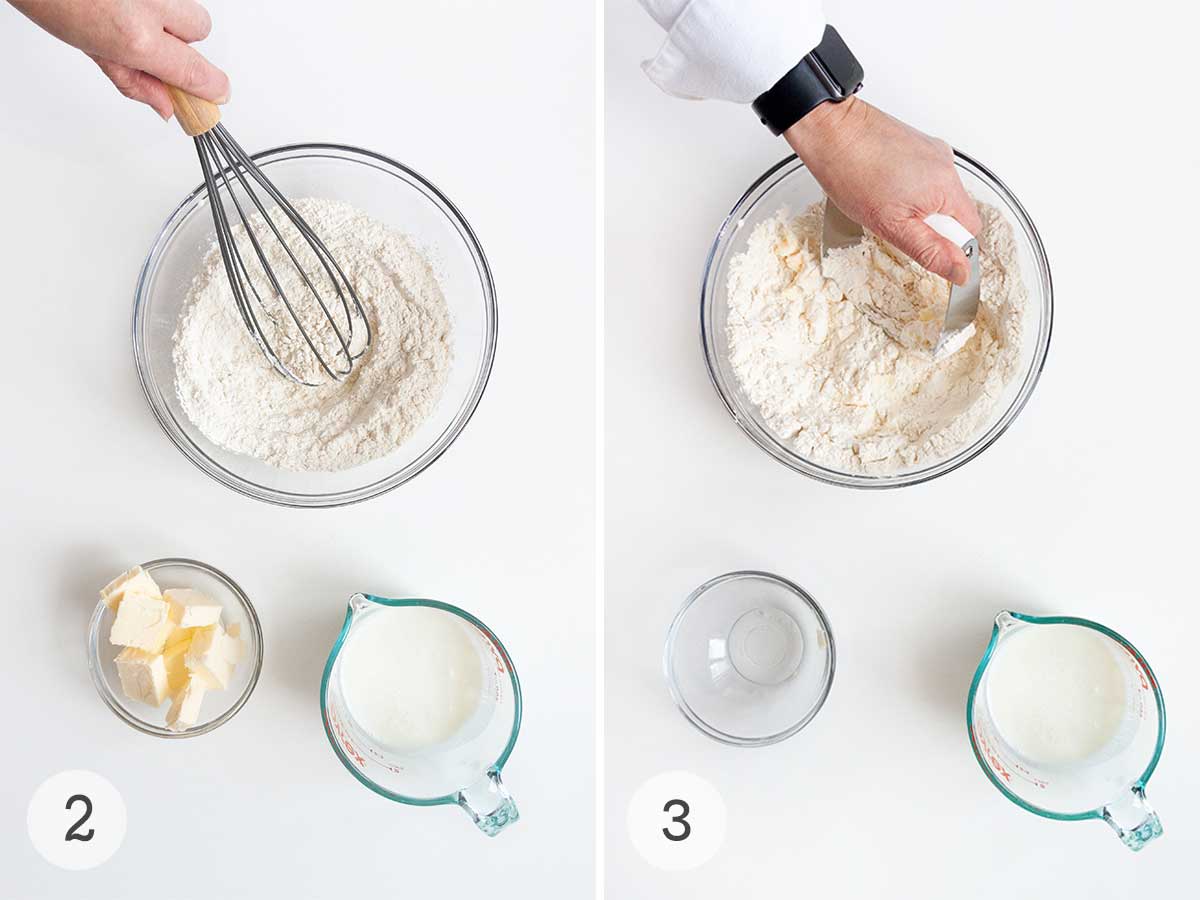
- Whisk the dry ingredients together in a large bowl, making sure there are no lumps.
- Cut the butter into the flour mixture until it is the consistency of coarse crumbs.
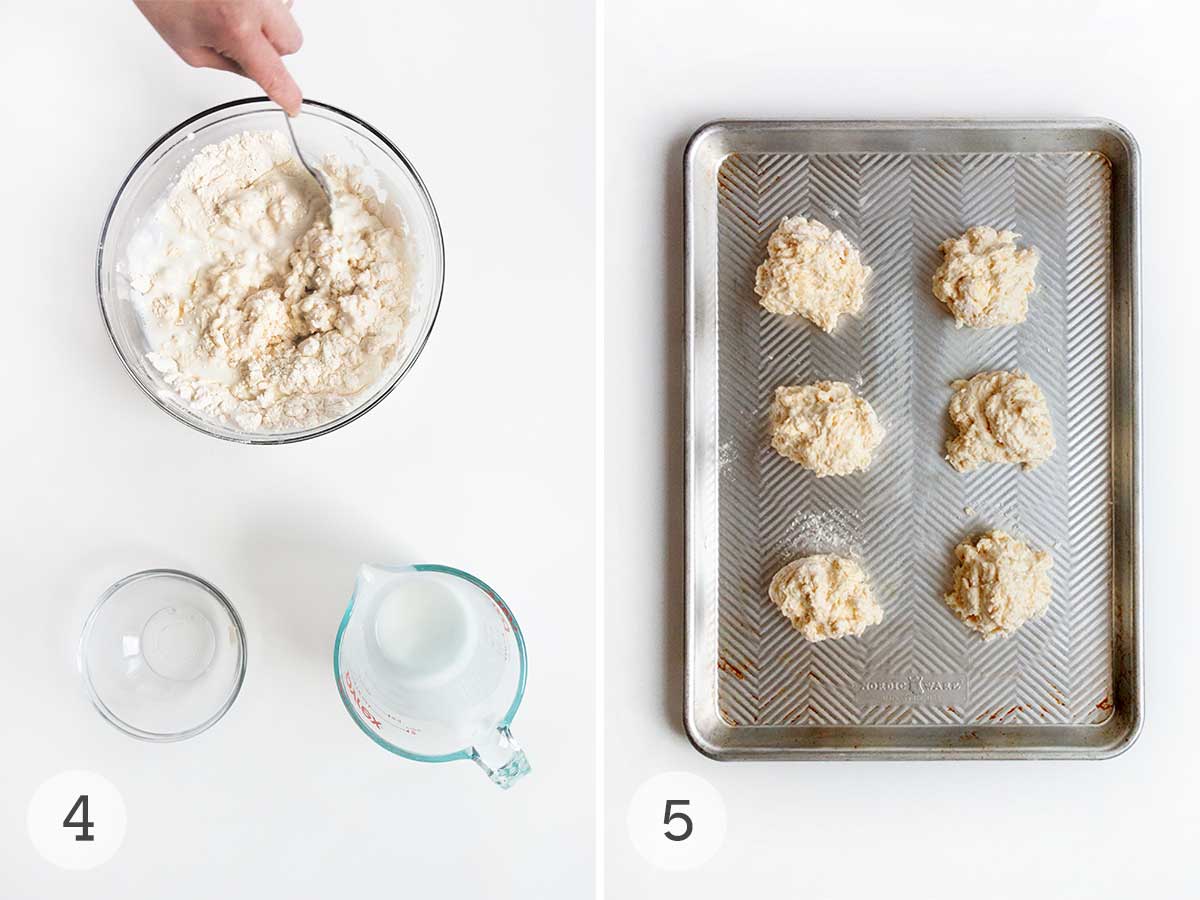
- Pour in the buttermilk and use a fork to gently mix the dough just until no dry patches remain.
- Drop 1/4 cup scoops of batter onto the skillet or baking sheet.
- Bake until golden brown on top. Cool slightly before serving.
Common Questions
To make the 1 1/4 cups buttermilk called for in this recipe, combine 1 cup plus 3 tablespoons of whole milk and a generous tablespoon of white vinegar or lemon juice and stir gently. Let the mixture sit for 5 minutes before using.
Absolutely. Follow the recipe, divvying the batter between 7 buttered muffin tin wells. Bake until golden.
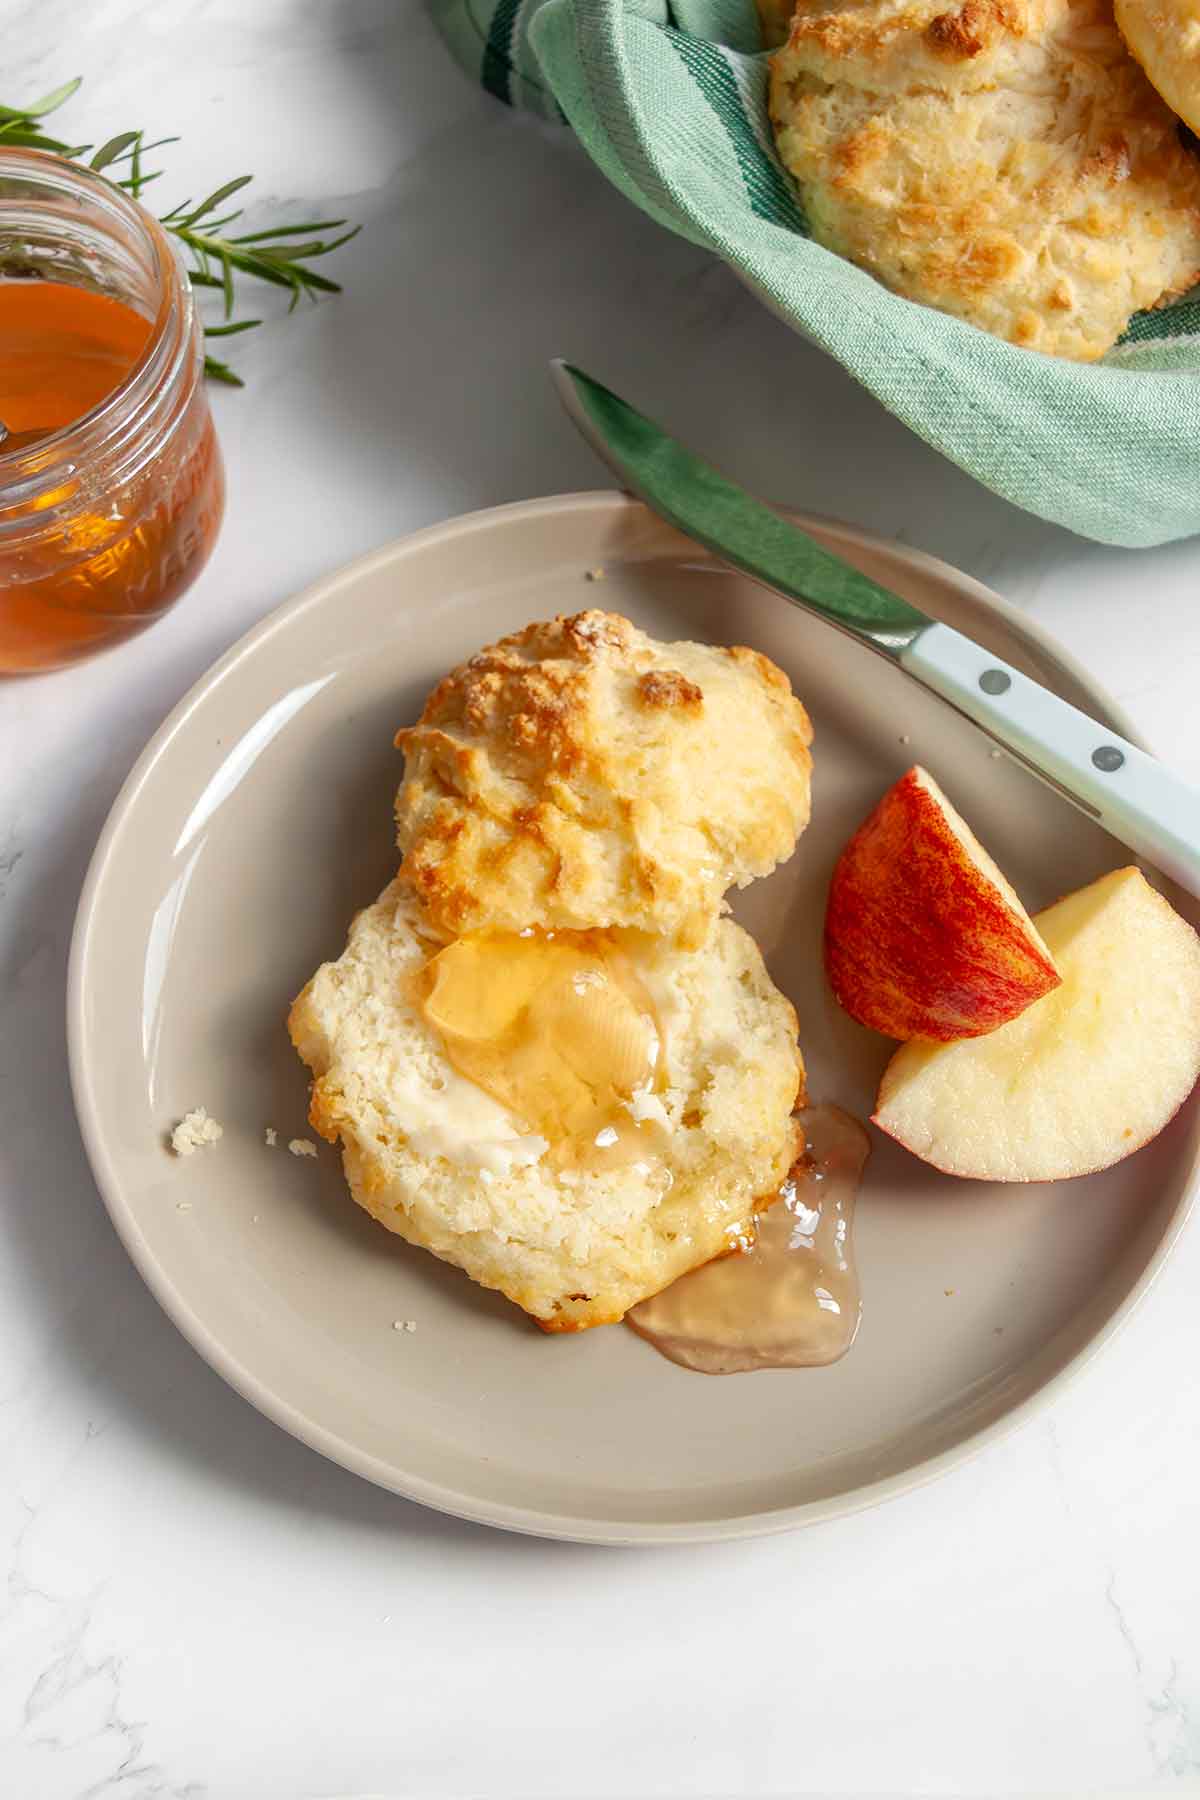
If you prefer a savory biscuit, simply slather them with butter and a sprinkle of salt. If you like your biscuit topped with something sweet, try drizzling with honey or topping it with blueberry jam or apple jelly. If you want to enjoy these in true Southern fashion, smother them with sausage gravy.
The options are endless, but here are a few of our favorites:
-Split them open and stuff them with maple-bourbon fried chicken.
-Serve them alongside a bowl of beef stew with red wine or homemade chicken soup.
-Enjoy them for breakfast on their own or topped with creamy scrambled eggs.
Pro Tips
- Make sure all the ingredients are cold. This will help to keep your biscuits light and airy.
- If you make these in a cast-iron skillet, the biscuits may run into each other a little. Once they’re finished cooking, use a knife to cut between them, or let them cool and pull them apart.
- To make smaller drop biscuits, reduce the amount of batter to 2 to 3 tablespoons per biscuit and start checking them for doneness at 13 minutes.
- If you want to make these in a small skillet, divide the batter in half and make two batches.
- These are best enjoyed the day they’re baked but can be stored at room temperature for up to 3 days, or frozen for up to 3 months. Rewarm in a low oven or the microwave before serving.
Write a Review
If you make this recipe, or any dish on LC, consider leaving a review, a star rating, and your best photo in the comments below. I love hearing from you.–David
My biscuits were perfect both times I made them. What a wonderful recipe with eight everyday ingredients, (okay, maybe not the buttermilk), but they really do bake up in 30 minutes, start to finish. A classic, simple biscuit recipe.
tod
Buttermilk Drop Biscuits
Ingredients
- 2 cups all-purpose flour
- 1 tablespoon baking powder
- 2 teaspoons granulated sugar
- 1/2 teaspoon cream of tartar
- 1/4 teaspoon salt
- 1/4 teaspoon baking soda
- 1/2 cup (4 oz) butter, margarine, or vegetable shortening, cold, cut into small pieces, plus more for the pan
- 1 1/4 cup buttermilk , (either low-fat or full-fat)
Instructions
- Preheat the oven to 450°F (232°C) and lightly butter a 12-inch (30-cm) cast-iron skillet or a single baking sheet.
- In a medium bowl, whisk the dry ingredients together, smashing any lumps.
- Cut in the butter with a pastry blender or two knives until the mixture resembles coarse crumbs.
- Pour in the buttermilk and use a fork to gently stir everything together until a soft, sticky, clumpy dough forms, and no dry patches remain. Don't overmix the dough.
- Drop 1/4 cup blobs of the dough onto the prepared pan, spacing them about an inch or two apart. You should have 6 to 8 biscuits. Bake until browned on top, about 20 minutes.
☞ TESTER TIP: If you're baking these in a skillet, drop one blob of dough in the center, and six more around the outside of the skillet.
- Let the biscuits cool slightly. Chances are you'll need to swat hands away.
Notes
- Use cold ingredients–This will help to keep your biscuits light and airy.
- Using a cast iron skillet–If you make these in a cast-iron skillet, the biscuits may run into each other a little. Once they’re finished cooking, use a knife to cut between them, or let them cool and pull them apart.
- Making small biscuits–Reduce the amount of batter to 2 to 3 tablespoons per biscuit and start checking them for doneness at 13 minutes.
- Using a small skillet–Divide the batter in half and make two separate batches.
- Storage and reheating–These are best enjoyed the day they are made but can be stored at room temperature for up to 3 days, or frozen for up to 3 months. Rewarm in a low oven or the microwave before serving.

An LC Original
View More Original RecipesNutrition
Nutrition information is automatically calculated, so should only be used as an approximation.
Recipe Testers’ Reviews
It’s no exaggeration to say that these were the BEST biscuits I have ever eaten. My family has been trying to recreate my great-grandmother’s buttermilk biscuit recipe for years and these were just as good as I remember hers being. They had a nice buttery crust, and the inside was super fluffy and moist.
They puffed up very high, which made you want to eat all seven yourself! We served them with a choice of jams and jellies, which also made for a nice presentation.
I used buttered muffin cups instead of a drop biscuit pan, which was an ingenious suggestion. I used very cold butter as opposed to margarine or shortening. The cooking time was right on, and the recipe made exactly seven dreamy biscuits!
I don’t save many recipes to make more than once, but this one will become a breakfast staple.
I have always loved biscuits but never had great luck making them. They’re usually dense, flat hockey pucks.
This buttermilk drop biscuit recipe took away all my previous apprehension in attempting to make biscuits. The tops and bottoms are buttery and crunchy, while the insides are soft and almost cloud-like. They’re very fast to put together and will undoubtedly be on my table again soon.
These were so amazing that I’m wondering if maybe I have some Southern blood in me. (Not likely for someone of Fillipino-Irish descent.)
These couldn’t have been easier to make. The simple ingredients are quick to stir together and pop in the oven. I’ve had a Lodge biscuit pan for many years, and I loved finding another recipe to give me an excuse to use it. The biscuits had a nice tangy flavor from the buttermilk and were fluffy inside, with that lovely crunchy crust on top.
These would be perfect for biscuits and gravy (along with some bacon) for breakfast or with stew or chili at an evening meal.
These homemade buttermilk drop biscuits are light, moist, fluffy, and tender. It’s a good biscuit for butter and jam, shortcakes, or a good helping of sausage gravy. I found that to make seven biscuits, each one called for a little more than one-quarter cup of dough.
I own a biscuit pan, so I made the drop biscuits in the pan and on a baking sheet.
If you use the Lodge pan, I would recommend preheating it in the oven instead of dropping the dough into a cold pan. Otherwise, the bottoms of your biscuits won’t be golden brown. We preferred the biscuits baked on the baking sheet, as you end up with more crispy, craggly edges, and the entire biscuits are golden brown.
These biscuits looked so simple I thought they couldn’t possibly taste that great. Wow, was I wrong. The biscuits are crisp on the outside, light and fluffy on the inside. They are lightly sweet but still have great flavor.
The drop biscuit recipe works exactly as written without rolling or kneading. They taste great without any accompaniment, but add some butter and honey and they become heavenly.
They’re delicious, and I’m pretty sure I could make a meal of just these biscuits.
My husband loved these biscuits and claims he will only eat the ones that come from a certain fast food fried chicken and biscuit joint. These are light and buttery and quite addictive.
Instead of using the biscuit pan, I dropped them on a silicone-mat-lined baking sheet. I found they spread quite a bit, so if you’re going to drop instead of plop in a pan, making more than seven might be a better idea. These biscuits don’t have staying power, so eat them the day they are made. Not that they will last that long, anyway.
This basic but tasty recipe for buttermilk drop biscuits was easy as could be. Quick mixing, no rolling. Very unfussy.
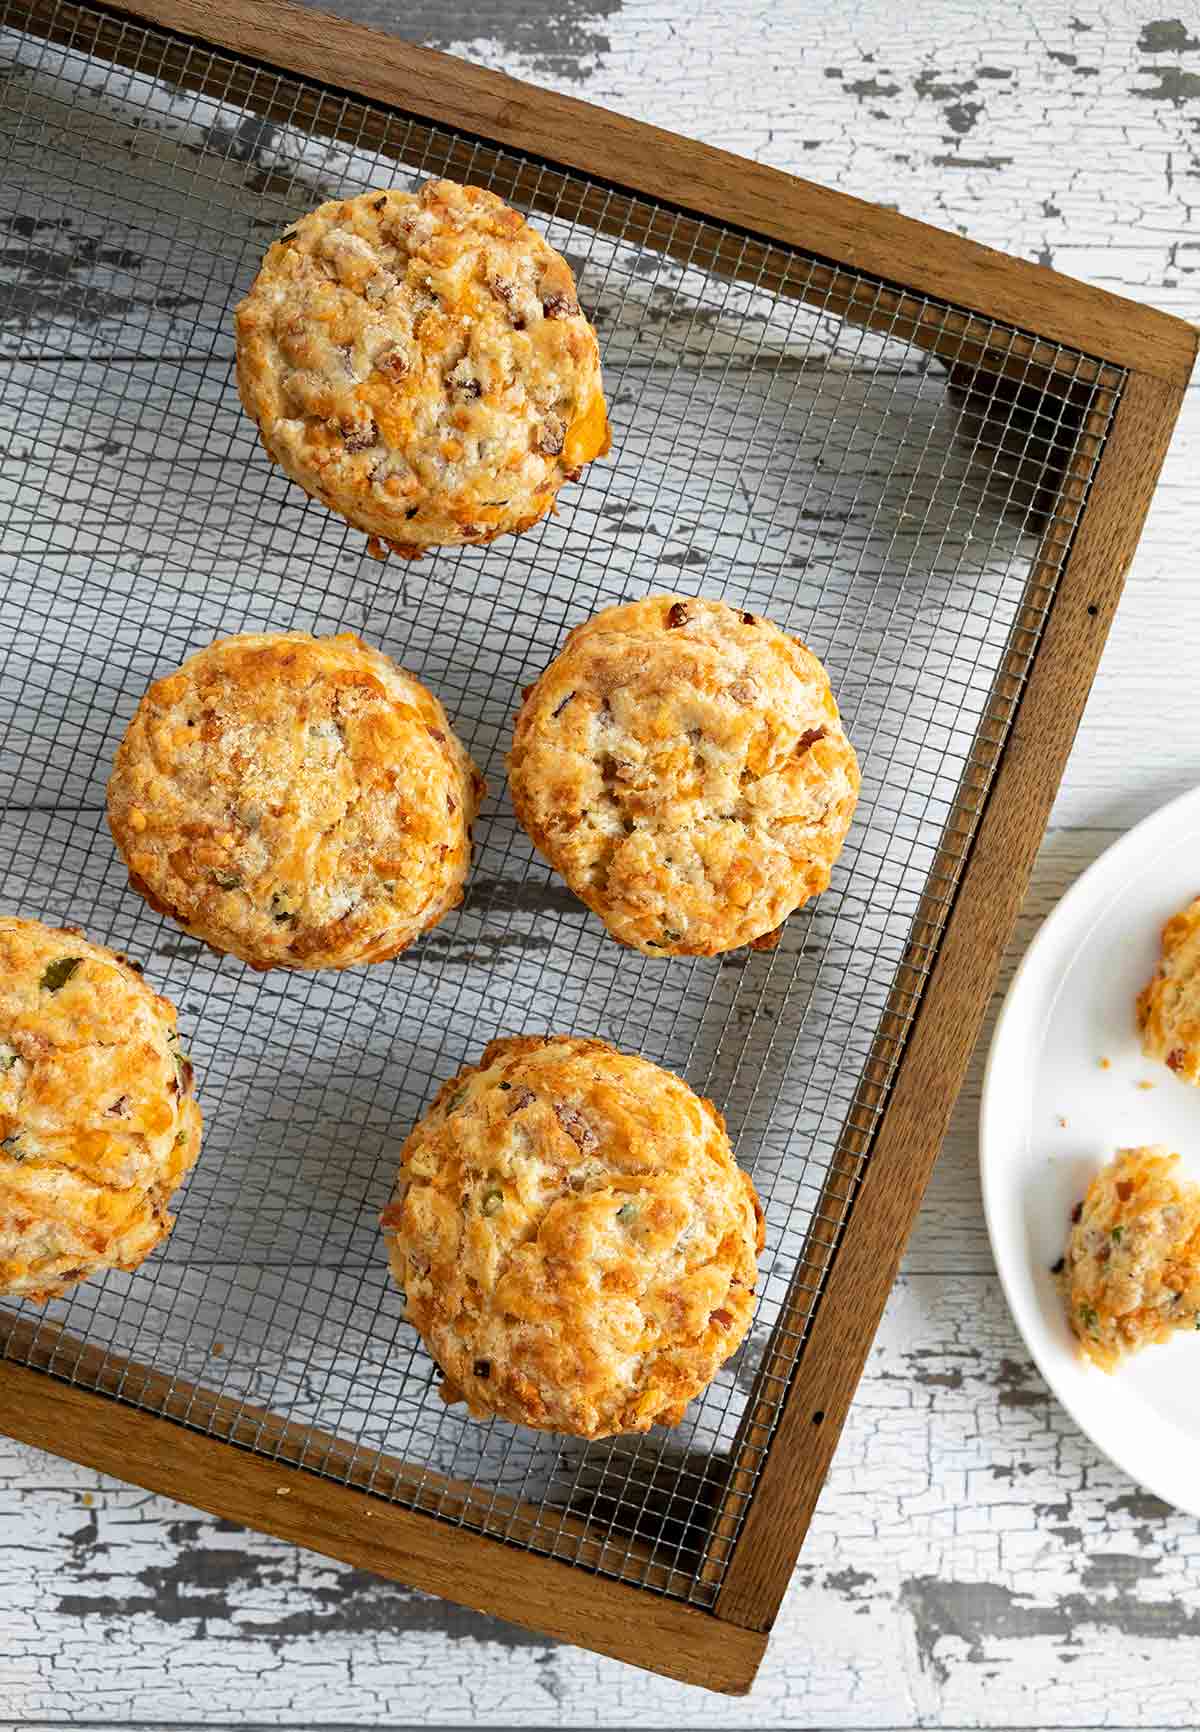
I didn’t have a special biscuit pan, so I just dropped the dough onto a heavy parchment-lined sheet pan, my baking tray of choice for biscuits. This made larger biscuits (if you make only the seven indicated) than I like, so when I did a second batch, adding cheese and chopped chives to some and grated orange, toasted pecans, and dried cherries to the rest, I made them smaller and got 10.
The smaller biscuits needed only 13 to 14 minutes to bake. All the biscuits were delicious, nicely browned, and light and tender.
I wasn’t sure this would be a hit here since we don’t care for sugar in our biscuits, but these were great. I didn’t tell hubby and son about the small amount of sugar until they had taken a couple of bites and proclaimed them a winner. They were really surprised but said I could make these again.
I can see where a biscuit pan would come in handy to keep them from coming together but don’t let that stop you from making these lovely biscuits. I didn’t have one, so I used a large cast-iron skillet to drop the biscuits in instead. They did run together while baking, but that didn’t cause that much of a problem. All I had to do was run a knife between biscuits, and they popped right out.
I like the ease of stirring the ingredients together and dropping them from a spoon into the pan. I mixed the butter in with my hands like I do with scones, to get the preferred crumbly results.
“Memories of Gramma” is what these biscuits brought back for me. Light, buttery, and utterly delightful, these are easy to put together and easy to bake. They taste like “more,” as my dinner guests said.
I used my large cast-iron pan to make these, and they came out great—light and fluffy with a crispy bottom. I can’t imagine how big the biscuits would be if I followed the recipe exactly because my batch made about 16 good-sized biscuits. Even the one or two left over were great the following day for breakfast.
I will certainly make these again and again and again.
Wow, these are light, fluffy, and melt-in-your-mouth good. We had breakfast a few nights ago for dinner, and this was just what was needed.
I love formed biscuits rather than drop, so I rolled the dough out, careful not to overwork it, and floured it lightly. I put the biscuits in an iron skillet with the bottom and sides coated with the shortening. They turned out so crispy.
They were requested the following morning by my youngest granddaughter, who wanted them sliced open and topped with scrambled eggs. I can hardly wait to make these again.
One tiny criticism from the hubby is that he felt they needed more salt. But by the time we put some butter on them, we were happy.
This recipe is it. The position has been filled. Thank you. No need to flour your countertop, get out your rolling pin, or buy a special biscuit pan; these delicious biscuits are a perfect spur-of-the-moment accompaniment to salads, soups, scrambled eggs, etc.
After mixing the dough with my pastry cutter (a breeze), I grabbed a handful of the dough and dropped it in the middle of my seasoned 12-inch cast-iron skillet. Six more handfuls followed, surrounding the first dollop. Voilà!—beautiful round biscuits in no time at all.
It’s OK if the dough touches each other as the biscuits pull apart easily.
While I usually steer clear of drop biscuits (since my childhood days of Bisquick “drop” biscuits), this recipe has changed my mind. I made them in my much-loved cast-iron skillet, and it produced a tender biscuit that I popped in my mouth, steaming from the oven.
It came together quickly and took a bit longer than 20 minutes in my oven, but well worth the wait. A nice tender crumb that would make any grandmother proud.


Hi David! I was just wondering if you’ve ever tried the melted butter method for biscuit making? That is…put your buttermilk or cream in the freezer for 15 minutes. Meanwhile, melt butter in the microwave, then set aside to cool a bit. Pour into your chilled fluid, stirring with a fork. Tiny fat globules will appear (& if they don’t, put mixture back into the freezer for a few minutes), which then just get poured into a well in your dry ingredients, and stirred in. Granted, you have an extra dirty dish, from melting the butter, but no more dirty hands.
Thanks so much for all the great recipes!
Terry, no, I’ve never tried. In fact, I’ve never heard of it. But you can bet I’ll be in the kitchen very soon trying it out. Thanks so much for the heads up!
A little late to the party, but I love this recipe and how quick and easy it is to make! I was worried it might not come out well because I have to use gluten-free flour (I used the Measure-for-Measure flour from the King Arthur brand) and haven’t really worked too much with GF flour blends yet, but it was wonderful and worked great with this recipe, I think especially because there’s no kneading involved. I also used a baking sheet with parchment paper, but next time would like to bake them in a buttered cast-iron skillet. Also, next time I’ll add a bit more salt, which might be because of the flour used. They were nice and crusty on the outside and perfectly soft on the inside. This will now be a go-to recipe!
Rachael J, we’re so pleased you enjoyed these lovelies! Even better you had success with gluten-free flour. Ever since I tested the recipe I’ve made them countless times with reliably fabulous results every time. Balancing salt could be tricky, not just with this recipe but with baking in general. These biscuits don’t get brushed with butter, but I think could do so with melted salted butter. That’s what I would try in my kitchen, either just before baking or immediately after the biscuits come out of the oven. Give it a try let us know how it worked. And I highly recommend using a cast-iron skillet!