
Author Josey Baker can make a mean loaf of homemade sandwich bread. He can also write a mean recipe for an easy-peasy, no-knead bread that’s geared specifically for novice bakers and takes no experience and barely any effort. “Let’s get started on your first loaf of sandwich bread. Don’t be a weenie; you have everything you need to do this. You don’t need any fancy anything—just flour, water, yeast, and salt.” Such a sweet talker! He actually goes out of his way to outline all manner of tips and visual cues and other assurances for those of us who aren’t so confident (yet!) in our baking abilities. Witness just how instructive his writing is: “Good bread takes time, and there’s just no way around it. You spend 10 minutes mixing up your bread dough on day one, and then leave the dough in the fridge for a few days before doing anything else. So plan ahead and invite someone over for dinner this weekend.” Our sorta sweet talk.–Renee Schettler Rossi
☞ Like homemade bread recipes? Try these:
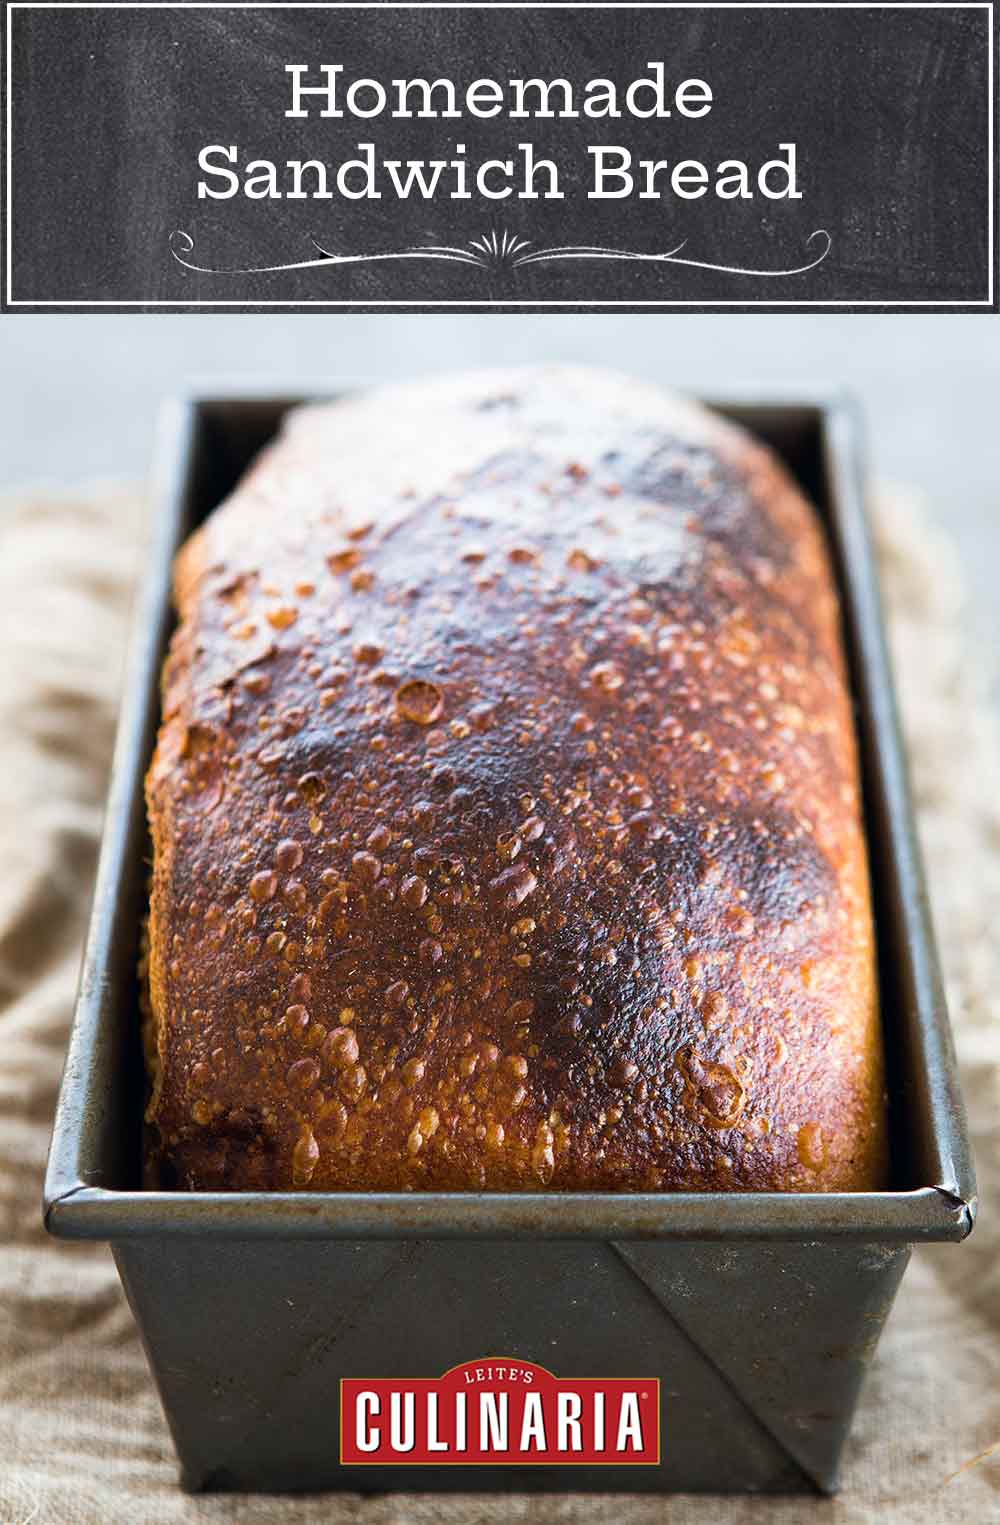
Homemade Sandwich Bread
Ingredients
- 3 1/2 cups bread flour*, plus more for shaping the dough
- 2 teaspoons fine sea salt
- 2 1/4 teaspoons yeast, (this is one of those little packets of yeast; “active dry” is fine)
- 1 2/3 cups lukewarm water, about 80°F (27°C), plus more as needed
- Oil for the pan, preferably one with a high smoke point, such as grapeseed
Instructions
- In a large bowl, mix the bread flour, salt, and yeast. Stir them with your hand so they’re mixed evenly and you can’t see any lumps of salt or yeast.
☞ TESTER TIP: When you’re measuring the flour, dig into it with your measuring cup and “fluff” up the flour a little bit before you scoop it. Then dip the measuring cup in and get enough flour so that it’s piled high. Use the back of a knife to scrape off the mound of flour from the cup, leaving you with a smooth, level top. If you have a digital scale and want to instead weigh the flour, go for it.
- Pour in the water, roll up your sleeves, and mix it all up with your hands. (Okay, if you really don’t care for the squishy feeling of dough clinging to your fingers, you can use a wooden spoon.) Mush the ingredients up real nice, grabbing the dough and squishing it through your fingers. You just want to get things mixed evenly, so all of the dough looks the same and there isn’t any dry flour left. It should be the consistency of really wet Play-Doh. This’ll take only 30 seconds or so. (If there is still some dry flour left in the bowl, add another 1 or 2 tablespoons water and mix it in. If the dough is more liquidy than a really wet Play-Doh, add 1 or 2 tablespoons flour.) You won’t be able to pour the dough, but it will want to slouch down in the bowl when you aren’t touching it. This dough is definitely a bit wetter than what most beginning bakers are comfortable with, and that is just the way it should be. Don’t fret.
- Cover the bowl with a lid or plastic wrap so moisture can’t sneak out and let the dough alone at room temperature. Let the magic happen for about 3 hours. By this point, the dough should have blown up to about twice its size but will still be sorta sticky.
- Put the dough in your fridge and leave it there for at least a day and up to a week. (If you’re feeling ridiculously impatient, leave it in the fridge for 3 hours. That is the absolute minimum time it will take for your dough to cool, and this bread dough is much easier to work with when it’s cold. Besides, the longer your dough stays in the fridge, the better the flavor will be, as you’re giving the yeast time to create all sorts of delicious flavors in your dough.)
- Generously oil the inside of your loaf pan as well as the top rim and the upper outer portion of the pan and then take your dough out of the fridge. It will be a little sticky, but don’t worry—this is the way it should be. Sprinkle a small handful (about 2 tablespoons) of flour on your countertop and on top of the dough in the bowl. Tip the bowl over and gently squish the dough out. Sprinkle another little bit (1 tablespoon or so) of flour on top of the dough so it doesn’t stick to your hands and flatten the dough into a circle.
- Fold the left side of the dough into the center, then fold in the right side, and then gently fold or roll the dough into a log, and plop it into the loaf pan with the smooth side facing up.
- Brush the top of the loaf with oil and also slick a large sheet of heavy-duty aluminum foil with oil. Cover the loaf with the foil, oil side down, tenting the foil so that there’s room for the dough to rise about 2 inches. You want the foil to cover the edges of the pan.
- Let the dough sit at room temperature for 2 to 4 hours. Put it somewhere out of the way so it won’t be disturbed, like on top of your fridge or on a shelf in your kitchen. You’re waiting for the dough to rise about 2 inches—it should peek above the sides of the pan but it shouldn’t be flopping out over the sides of the pan. (If you can’t bake the dough in 4 hours, instead let it sit out for just 2 hours, then put it back in the fridge for anywhere from 1 to 3 days—the exact timing doesn’t matter here.)
- Adjust one of your oven racks to the middle position. Heat your oven to 475°F (246°C) and let it preheat for at least 20 minutes. (If your dough is refrigerated, take it out of the fridge when you preheat the oven out so it can warm to room temperature while the oven preheats.)
- Take your loaf, complete with the aluminum foil covering, and put it in the oven for 20 minutes. Then open your oven, take off the aluminum foil, and get excited—your dough is turning into bread! Bake for another 10 to 20 minutes, being certain to check the loaf after 10 minutes. When the top is a nice golden brown, it’s done.
- Use a towel or pot holders to remove the pan from the oven and tip the bread out of the pan. (if it sticks in the pan, use a spatula or butter knife to gently loosen it). Leave the bread on a cooling rack or lean it against something so air can flow around it while you let that sucker cool down. For real. You’re just gonna burn your mouth if you eat the bread when it’s too hot. It’s best to let it cool for an hour, but I know…just wait at least 30 minutes.
Notes
*What You Need To Know About Bread Flour
Yes, you do need bread flour for this homemade sandwich bread. Bread flour is similar to all-purpose flour. But the wheat used for bread flour has more protein than wheat used to make all-purpose flour and, as a consequence, dough made with bread flour is “stronger.”
Nutrition
Nutrition information is automatically calculated, so should only be used as an approximation.
Recipe Testers’ Reviews

YES! I LOVED this homemade sandwich bread recipe. I loved how easy it was. And I loved that I was able to bake it in an unfamiliar oven in an unfamiliar kitchen with unfamiliar flour and yeast (yes, this does make a difference) and yet it still came out FABULOUS.
It does require some forward-planning, but it’s worth it. Hands-on time was about 20 minutes through the whole recipe. I stuck to the resting times as suggested—3 hours at room temp, then 24 hours in the fridge, then 4 hours resting in the pan—before it was baked. I did not have to add any extra flour. The dough was definitely the consistency of very wet Play-Doh. The baking time of 40 minutes was accurate. I will be making this again.

This was not my first loaf of sandwich bread, but it is one that I will be making over and over again. It’s a great beginner bread recipe—just about foolproof and very flexible with the timing. That flexibility is what I really like about this recipe. Very often, I will talk myself out of baking bread because I have other commitments that will prevent me from being there at the right time to complete the various steps of the recipe. By using the refrigerator to slow down the proofing times, if necessary, you can go back to the recipe when you can, as long as you are within the ranges specified in the recipe.
The instructions in this recipe are incredibly detailed and very, very easy to follow. Without any prior bread-baking experience, there should be no problem in getting a home-baked bread with great flavor and a perfect crumb.
The dough comes together very quickly, literally in a matter of minutes. It’s a bit messy to mix with your hands, but then you don’t have a piece of equipment to clean when you’re done. Once I mixed the dough ingredients, I did not have to add any additional water or flour. The dough definitely felt like wet Play-Doh.
This is an extremely versatile loaf which can be used for sandwiches or anything else.

I don’t have a lot of experience baking bread but I’ve had varied results with the breads that I have attempted to make. This recipe worked. It was very easy to make, didn’t require kneading, and the finished loaf was delicious.
The finished product was wonderful. I did not have any salted butter in the house so I used a very good unsalted butter and sprinkled some salt on a couple slices of the bread. Quite delicious. This is something that I will make again.
After letting the dough sit at room temperature for the 3 hours required, it did double in size. I left the dough in the refrigerator for 5 days. By that time, the dough was very puffy and springy with lots of tiny little bubbles. A couple tablespoons flour on the counter and on top of the dough was nowhere near enough flour to make forming the dough go easily. It wasn’t a “little sticky” as indicated, it was VERY sticky. I had to sprinkle a lot more flour on the counter and on top of the dough. I formed the dough into the required circle and folded it into a log.
The dough was far too sticky to get off of the counter and into the loaf pan. I ended up having to get the “log” onto a piece of plastic wrap, reform it into a log, and then turn it over into the loaf pan. I brushed the top of the loaf with oil as indicated and tented my foil. After 40 minutes, my loaf was a nice dark brown. I removed it from the oven and after a few minutes was able to tip the loaf over onto a cooling rack.

This was, indeed, my first loaf of basic sandwich bread, and I enjoyed the challenge so much I baked it 2 weekends in a row. I can see how people become obsessed with baking bread! In addition to the sense of pride, I was rewarded with 2 loaves that were wonderful warm, cold, toasted, or untoasted. The bread had a great salty flavor.
I didn’t put anything on it most of the time (although a little butter and homemade raspberry jam were pretty darn good). The dough was quite wet, but easy (and fun) to put together. It definitely wasn’t as daunting as it seemed. The dough spends a whole lot of time resting and rising (36 hours in my fridge), but the actual hands-on time was minimal.
The crust on my first loaf got very dark—a bit too dark, in fact—10 minutes after I removed the aluminum foil, so I baked my second loaf at 425°F the entire time, and it came out perfect.

One shouldn’t expect a sandwich loaf like this from a recipe nicknamed “Your First Loaf of Bread.” One should expect a loaf of plastic white bread, right? Wiggly and bland with nondescript crust. But this loaf is crusty and yeasty and chewy and not really what I thought I was going to get. My husband actually asked me if there was beer in the bread since the bread had so much flavor.
I think I spent 15 minutes tending to the bread over the course of 36 hours. Mixing the dough with my hands took only about a minute before the dough sat quietly in the corner for nearly 3 hours. Then it was off to the fridge, where the dough sat for 48 hours before I shaped it into a loaf. It sat for 4 hours, then back the loaf went into the fridge. I baked it 24 hours later.
This recipe is a very easy way to have fabulous homemade bread while keeping crazy hours. Keep in mind, the crust will soften a bit once you wrap it, but the bread still retains a nice texture. Slice for sandwiches or hack off a hunk for munching.

With minimal fuss, this homemade sandwich bread recipe delivers a solid loaf and delivers unto the baker one of life’s elemental pleasures—bread that can be enjoyed fresh and warm from the oven. While this isn’t one of the finest loaves of bread I’ve ever had, this is a recipe that can turn timid bakers onto the joys of bread-baking at home, and for that reason alone it’s worthy of a TC.
I found the recipe to be well-written and accurate as to the ingredient measurements, though I did find the 4-hour second rise in the pan to be a bit too long in my 74 ℉ kitchen, as the dough had risen above the top of the pan and started to cascade over the side. Oops. I also found the 40-minute baking time to be about 10 minutes longer than I needed to achieve a fully baked loaf with a gorgeous, well-browned top. I would advise you to take a good look at the bread at about the 30-minute mark of baking to be sure you don’t overcook the loaf.
Once I wrestled the crown of the bread from the pan where it had drooped over the side, it slid easily onto the rack to cool. I gave it 15 to 20 minutes cooling time before I sliced into it, admired its fine crumb, slathered it with a generous pat of salted butter, and enjoyed one of life’s simplest treats, fresh from the oven and oozing with melted butter. Mmmmmm.
I would be lying if i did not reveal that this was not my first loaf of homemade sandwich bread. That said, I tried to look at this through the eyes of a true bread-baking beginner, and with that vision I allowed the recipe to guide me through the process. The directions are detailed, wordy, and very descriptive. Following the directions to a T, I mixed my ingredients and left my bread dough in the fridge for 3 days and baked off a loaf for dinner one night. It was easy, and it made my house smell like I had truly been working hard at a recipe.
Most importantly, this recipe works. The descriptions were spot-on, and each step made me feel like there was someone guiding me through a process that could be intimidating to a new bread baker. I added another tablespoon water to the dough to get the consistency that the recipe described, and it did in fact feel like Play-Doh. The dough definitely doubled in size, and I found that the baked loaf was nicely browned after 7 minutes without the foil. Overall, a beginner would be so happy to accomplish this so easily. You miss out on the pleasure of kneading, but we can save that for more advanced bakers. This was perhaps not my most favorite homemade bread ever, but it definitely had flavor and developed a gorgeous crust.
Truly, even at its worst, homemade bread beats out commercial store-bought bread any time.
This homemade sandwich bread recipe produced a tasty loaf of bread with a nice, yeasty flavor, a soft, moist crumb, and a crisp, thick crust. There was a natural sweetness from the long, cool rise. It’s a great recipe to keep on hand since you can make the timing fit your schedule. All in all, it’s a good, basic bread recipe.
I bake a lot of bread, and I prefer the texture of fully kneaded bread versus the no-knead texture of this bread. But the recipe did produce a beautiful no-knead bread with its signature slightly rougher, but fabulously moist, crumb. It’s a nice, light bread that’s perfect for eating warm from the oven and as toast.
I find it to be a little too soft for sandwiches, but it can be done. My dough doubled in the time specified. The bowl was full of stretchy and airy, but sticky, dough. I was not a fan of mixing literally by hand. I get that the author doesn’t want the baker to have to own any special equipment, but a big wooden spoon or a sturdy spatula would have worked. I ended up with one hand pretty much covered with dough, and would have preferred using a spoon. Maybe it’s just me, but I hate washing good dough off my hand and down the drain instead of keeping it in the bowl.
I let the dough rise for 72-plus hours before forming the loaf. I mixed it up Thursday night and formed the loaf Sunday afternoon. I used an 8-by-4 inch loaf pan, and the formed loaf filled almost 3/4 of the pan. I thought it was too much dough for the pan, but it ended up working just fine. I let it rise a little more than 2 hours for the final rise before baking. The dough was 2 inches above the top of the pan at 2 hours, and the edges of the dough were flopping down over the edges of the pan. I decided to bake it at that point, rather than let the dough glop out onto the counter. Can you tell I have had this happen to me in the past? I don’t know for a fact that the dough would have overflowed, but better safe than sorry.
The bread was beautifully light and airy after baking, suffering not at all from the missing 2 hours rising time. The very edges of the top of my loaf, which weren’t fully covered by the aluminum foil tent, got a lot browner than I like. My loaf only took 13 minutes, instead of 20, to brown after I removed the foil tent. I’m glad I stayed close so I could keep an eye on the loaf as it was getting brown.
This homemade sandwich bread has great flavor and is simple to make. I let it stay in the fridge for 3 days. I didn’t have to add flour and the dough was still like Play-Doh. I let the dough rise in the kitchen and it took 2 hours and 45 minutes to double in size. After removing the aluminum foil, the loaf took 17 minutes to get brown.

For the sake of testing and reporting, I might eat the whole loaf of bread. Myself. Tonight. Then if I’m smart, I’ll start another batch so I can keep this bread baking going nonstop.
So little effort and so little hands-on time. Let’s see: 10 minutes to mix (no need to weigh anything here, but do watch for lumps when mixing)! Also, I did not take the temperature of my water. (I guessed.) The flour-water balance was fine, and I had no need to add either water or flour to my mixture. By the way, if you’re buying yeast just for this recipe, note that 2 1/4 teaspoons (7 grams) of yeast, is one of the little packets.
Then you have 3 hours of resting time, after working for just 10 minutes. After 3 hours, my dough had blown up to at least double its original size. I left my dough, per the recommendations, for just over 17 hours. Here’s a really good part of this recipe: right now, this dough could stay put in the fridge for up to 1 week. To me, this means you really do NOT have to plan ahead—simply keep a batch of this dough going in your fridge at all times, and you can have fresh bread day in and day out, but more on that later!
Note that the bread will bake in a very hot oven so go with an oil with a high smoke point, such as grapeseed oil. And oil everything, not just the inside of the pan, but also the rims, and partway down the outside. My loaf crept out of the pan during the next step, and tried to wrap itself around the outside of the pan, and partially succeeded. It would have been much easier to clean up after baking if I’d oiled more than just the inside of my pan.
When preparing for the tenting process, use heavy duty aluminum foil. The thin stuff doesn’t hold the tent shape nearly as well as the heavy duty. At this point you may have spent another 10 minutes on your loaf. And then it’s rest time again.
I baked for less time than the recipe stated: the first 20 minutes were as per the instructions, then the second 20 minutes, in my case, turned out to be just 3 or 4 minutes under to bring the bread to the dark brown crust stage, and my bread was done to perfection. I certainly did not need that extra baking time.
How did it taste? Terrific!
But while waiting for the oven to preheat, I chatted with some friends. The big what if question came up: what if it doesn’t work? What if that first loaf of bread, “fails”? Well, here are some suggestions from the group: almost any bread will make a good grilled cheese sandwich. Or French toast. Croutons, nice homemade croutons. Or bread crumbs, homemade bread crumbs.
And, if you master the loaf, here are some other thoughts: add a bit of whole wheat flour. Sprinkle the top with seeds, sesame, poppy, sunflower, or a mix. Add some chopped nuts. Or dried fruit. Swirl in a little cinnamon right into the dough. Add raisins. Go savory with some chopped up olives. Toss in chopped herbs. Rosemary would be so lovely. Change out the size of the loaf. Make smaller loaves. Or rolls.
So, yes, just flour, water, yeast, and salt. Plus a little oil. Twenty minutes of hands-on time. A bit more than 24 hours of real time. One great loaf of bread, whether your first, tenth, hundredth, or thousandth, the recipe works and it works well. Now, off to eat another slice!

Bread-making is my obsession. It’s what I do for fun. I HIGHLY recommend this recipe to anyone, beginner or otherwise. Flour, water, yeast and, salt. It’s really all you’ll ever need. I like this bread recipe because it’s very basic, explains the steps to a beginner, and, produces a fine loaf of bread. The hands-on time is no more than 10 minutes. The overall time can be from 24 hours up to a week. The more patient you are, the better the bread will taste. I baked mine after about 28 hours and, truth be told, the flavor was still FAR better than any store-bought bread. This recipe works perfectly as written.
After you remove the foil, begin checking the loaf after 10 minutes. Depending on your oven, it may begin to burn before the 40-minute mark.


After making a second loaf of no-knead bread (so good!), I thought I’d try this recipe, which looked really good for sandwiches and toast. The most amazing part was untenting and watching the pale loaf turn a beautiful brown. The bread is dense but soft with a thinner crust. Delicious warm with butter and will be really good for sandwiches or toast.
Marnie, it looks like you knocked it out of the park!
I was really thrilled with this recipe for my rainy afternoon. Who would have thought such an easy recipe would create an excellent loaf of bread baking. I egg washed my crust, and I do believe a well seasoned bread pan helps create an excellent loaf, but not necessarily a must have. The cold fermentation was fun to try, and there’s no difference in converting the yeast from dry to fresh for me. This bread will be a keeper, and we particularly loved it smothered in homemade whipped hummus with the summer Sunkist garden tomatoes. Don’t skirt away from the recipe if you think it’s time-consuming as it’s time you physically don’t need to attend. Just make it and bake it! I am so grateful I have.
That looks like it turned out perfectly, Nicole. Thanks so much for sharing.